Make A Necklace With Blue And White Beads

Do you have a lot of blue and white outfits in your wardrobe? Jewelry is one way to dress up any ensemble, and this hub will show you how to make a simple necklace with blue and white beads. Here are the supplies I used for this project:
- beading wire
- jewelry pliers for cutting beading wire
- jewelry pliers for wrapping beading wire
- blue seed beads
- fake white pearl beads
- fake light blue pearl beads
- one blue shell bead
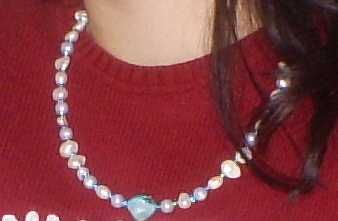
However, select any supplies your wish because this will be your own personalized creation. The fake white pearls used for this necklace were small white shells with holes drilled in the middle, but white acrylic beads also work well. I made a pattern with the beads, which created and simple and interesting necklace. Handmade jewelry makes a creative and thoughtful gift and I gave this particular necklace to my sister for Christmas.
Step One: Add A Blue Shell Bead As The Pendant
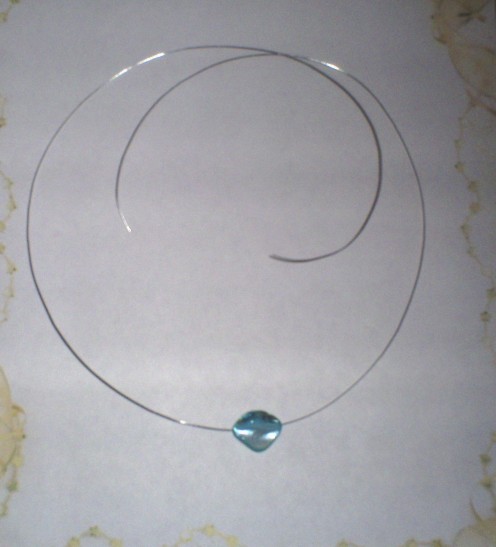
Use the jewelry pliers to cut the desired length of beading wire needed for the necklace. I cut off about sixteen inches of beading wire, which was a good starting point. For this necklace I decided to use a blue shell bead in place of a pendant because I loved its iridescence and irregular shape. Buy a large package of shell beads for inspiration because you never know what you will find.
Step Two: Add Two Blue Seed Beads
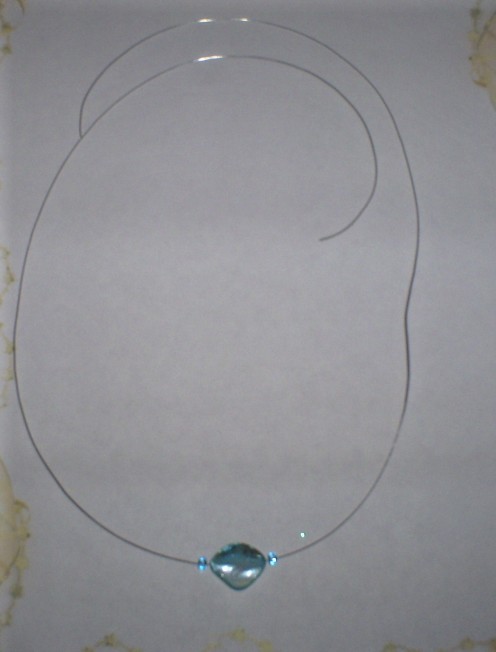
Add a blue seed bead on each side of the blue shell pendant. The blue seed beads are reflective of other colors, and make great accent beads for the necklace. Many crafters have seed beads stored in their crafting supplies, so you might as well use these up for this project.
Step Three: Add Two Fake Light Blue Pearl Beads
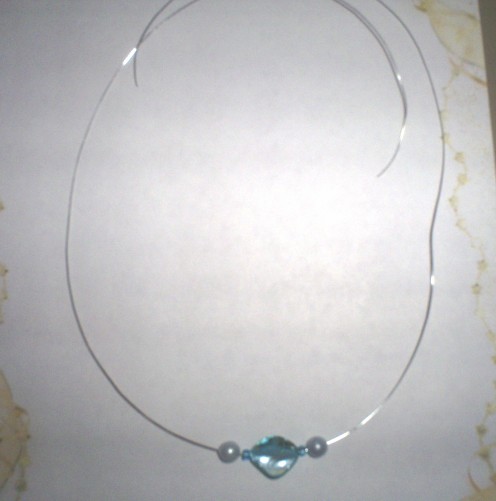
The next step in the pattern is to add a fake light blue pearl bead to each side of the necklace. These fake light blue pearl beads are acrylic and made in the USA, but use any beads that I have in my crafting supplies. I enjoy making a pattern when creating my necklaces, but keep in mind this will be your personalized creation.
Step Four: Add Two More Blue Seed Beads
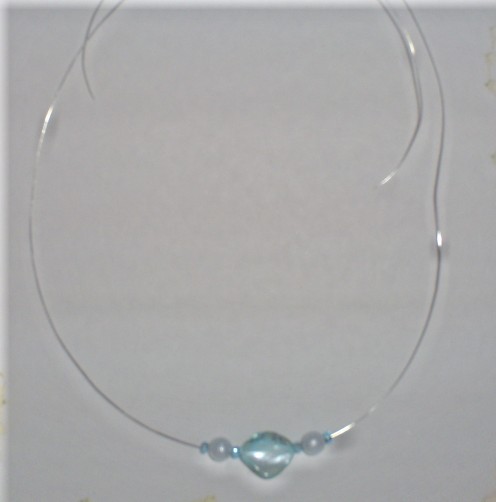
Continue the pattern by adding a blue seed bead to each side of the necklace. The seed beads are the accent beads in this necklace because of the pretty blue reflective colors.
Step Five: Repeat The Beading Pattern
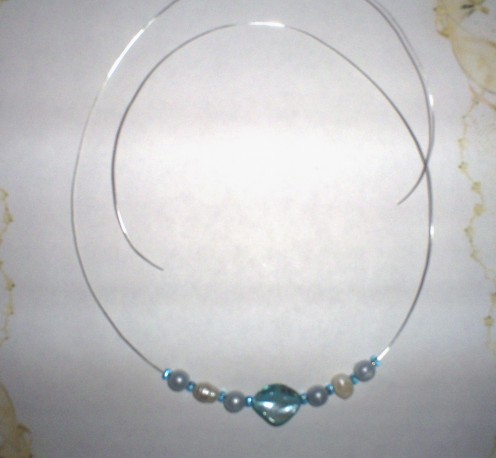
The easiest way to make a simple piece of jewelry is the use pretty beads and to continue the same beading pattern up both sides of the necklace. However, feel free to experiment with the pattern, or do not follow a pattern at all. This is your necklace, after all!
Step Six: Continue With The Beading Pattern
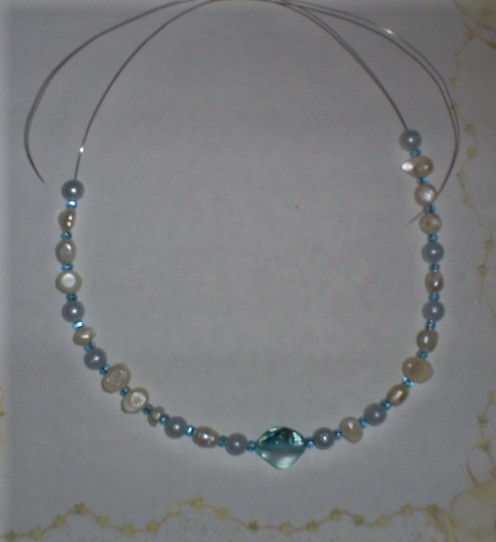
This is what the beading pattern looks like when half-way completed. Even if you follow this pattern your necklace would like slightly different because everyone will be using different beads.
Step Seven: Finish The Beading Pattern
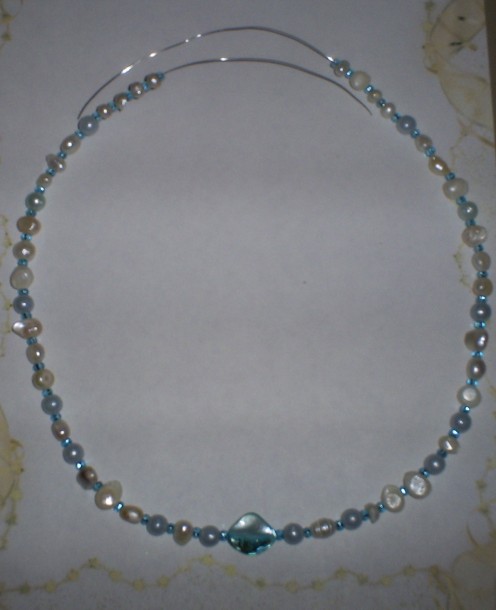
Finish the beading pattern when the desired length is reached. My necklace measure about thirteen inches in length before I added the clasp. However, make sure the necklace is long to go around the entire circumference of your neck before added the finally clasp.
Final Step: Add The Barrel Clasp
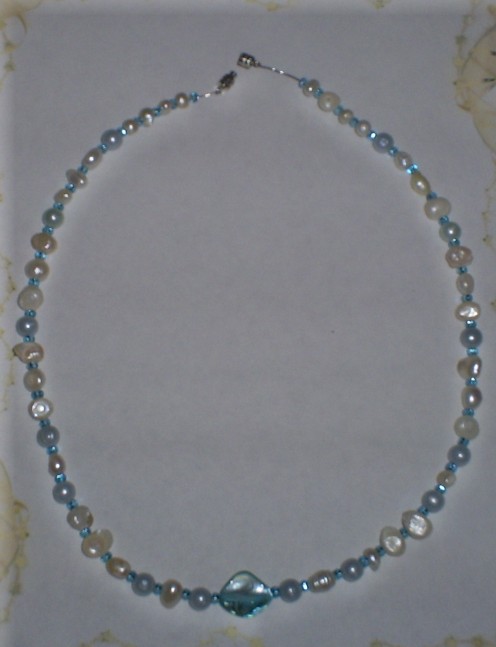
Use the jewelry pliers designed for wrapping wire to attach the barrel clasp to each side of the necklace. This is done by making a knot to secure the barrel clasp on each end of the beading wire. Next, use the jewelry pliers designed for cutting to remove the excess beading wire. Now it is time to enjoy wearing your beautiful new necklace, or give it to a special friend.
Do you like to make your own jewelry?
Related
DIY Jewelry Tutorial: How to Hand-Paint Beads With Acrylics
How to Make a Bib Necklace Using Recycled Paper Beads
How to Make a Beaded Mask or Eyeglass Holder and Necklace
DIY Jewelry Tutorial: "Love Letter" Polymer Clay Pendant or Key Chain
How to Price Your Beaded Jewelry: How Much Is It Really Worth?