Paper Quilling Craft
What Is Paper Quilling?
Paper quilling is a craft that I've done a few times myself and have friends who also do this. Quilling however takes patience.
This is one reason I don't do it so much anymore. Just because I don't paper quill very often doesn't mean I can't teach you the basics, so lets get started! Now moving on to What is paper quilling?
Quilling is the art of twirling and creasing small strips of paper to form shapes and patterns attractive to the eye.
The possibilities of quilling patterns are endless, not only does quilling include 2D designs but 3D designs as well. Quilling can form abstract shapes or resemble something in particular, that is up to the the quiller entirely.
What You Need For Basic Paper Quilling:
To start quilling you will need a couple of basic items. These items are not really that hard to find so you might even be able to find them all around your house!
You will need:
- Paper
- Scissors
- Glue
- A Clean Surface For Working
- A Tooth Pick
- Tweezers
- And A Desire To Start Quilling!
You will need to cut straight strips of paper, that are about 1/8-1/2 an inch thick, and depending on the project 4-8 inches long.
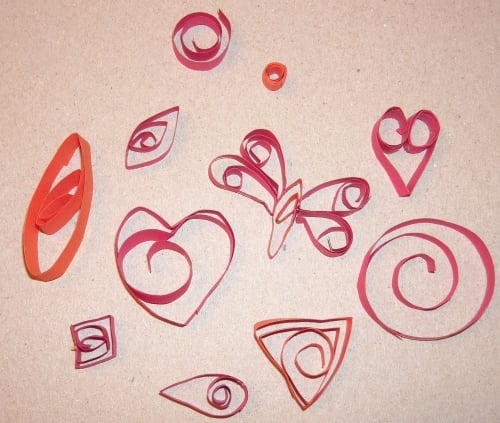
Instructions:
- To start Quilling you must begin rolling the paper, moisten one end slightly and press the end onto the side of a toothpick.
- Continually wrap the paper around the toothpick, winding it very carefully and lining up the edges to keep them straight. When you reach the end of the strip of paper, gently pull or slide the roll off of the toothpick.
- If you want a tight circle, immediately glue the end of the paper strip to the roll, then continue holding it into place until the glue is dry. Simply hold the paper roll between the tweezers until the glue dries, or dries enough to hold it together, this should be fairly quick.
- For loose circles, let go of the roll after sliding it off of the toothpick and allow it to relax and spread out. When the roll reaches your desired size, glue the end as said above.
What To Do With Your Finished Projects?
I know, you have a bunch of little shapes, maybe more than that, now that you have a gazillion little shapes on your table and need room to make more you need to know what you can do with those shapes!
There are a lot of purposes for paper Quilling (Besides the fact it's just plain fun and relaxing!), including, but not limited to:
- Art Journaling
- Scrap Booking
- Brightening Up Holiday Cards
- Adding To Invitations
- Making and Framing To Put Around Your House
- Given As Fun Gifts
- Great For Vision Boards
As in any art project using your imagination is an important part of Paper Quilling, use your imagination and the possibilities are endless!
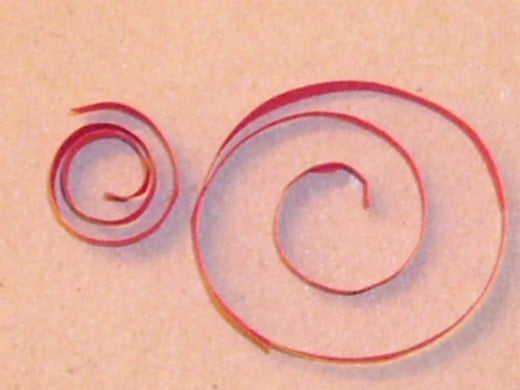
Make A Circle
This shape is mostly used in pinching other shapes from it.
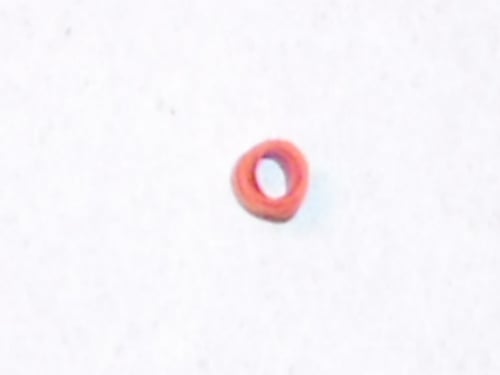
This Quilling shape is done just as the one above, done by wrapping the paper around itself until you come to the end. Promptly glue down the end of the paper to get the tight look. This shape is mostly used in the center point of projects.
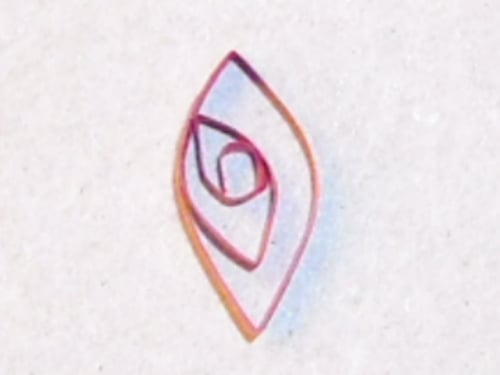
Make A Diamond
To make this Quilling shape you will need a loose circle already made.
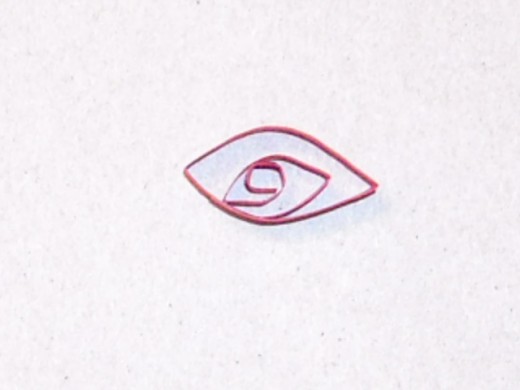
Now at the same time pinch two sides of the circle to form two pointed ends, resulting in the diamond.
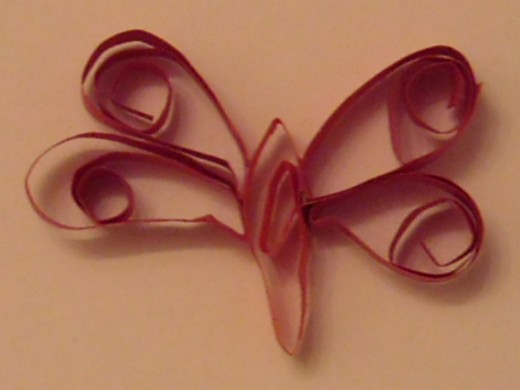
This shape is used in Quilling projects such as Quilling flowers, Quilling butterflies, Quilling dragonflies and other such items.
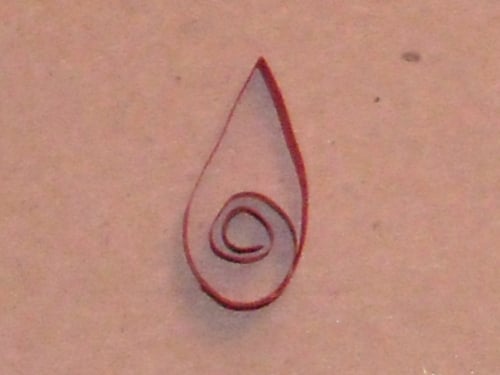
Make A Tear Drop
To make a tear drop shape in your Quilling you will need a loose circle already made.
This time pinch only one side of the circle, resulting in a quilling tear drop shape.
This shape is used in flowers, butterflies, leafs, and other types of quilling projects.
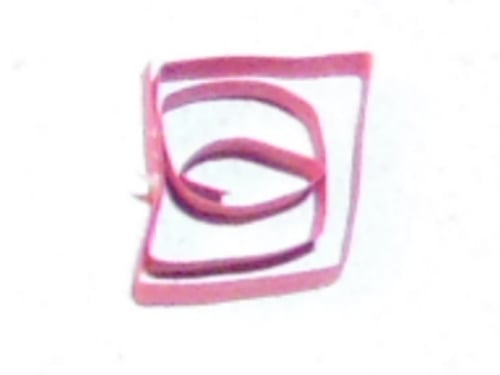
Make A Square
To make this Quilling shape once again you must start off with a premade loose circle.
From there, just as in making a diamond, pinch two sides of the circle, and then again pinch the remaining rounded sides to have four pinched sides.
Now resulting in a square shape to be used in your quilling projects.
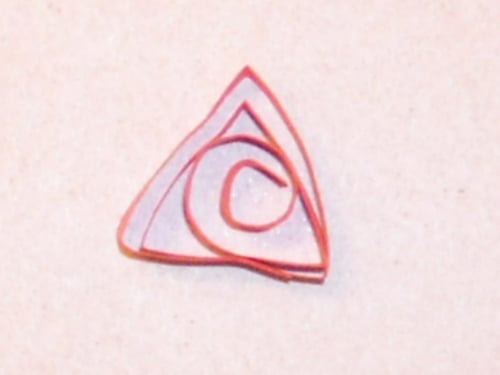
Make A Triangle
How to make a triangle shape, once again you will need to have a already made loose circle shape.
Now pinch three of the corners on opposite sides, one on the top, and both bottom corners.
This shape is used in many Quilling projects.
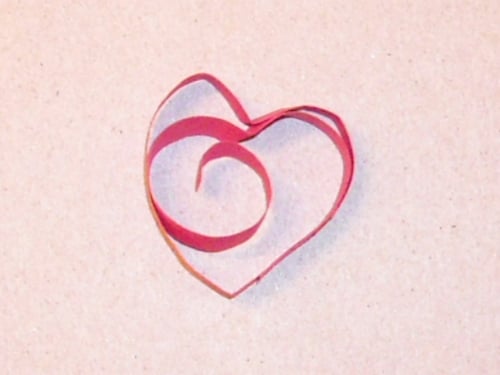
Make A Heart
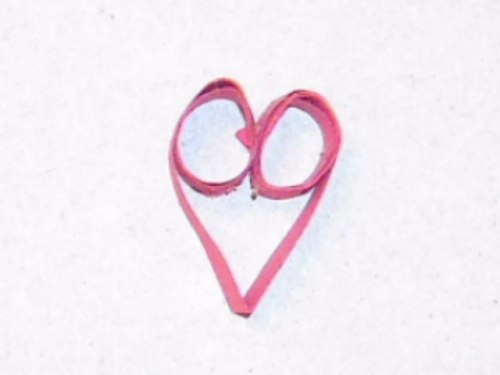
To make this Quilling shape you need to start off with a loose circle, pinch one end of the circle, and dent in the opposite end to form the to "humps" of the heart shape.
This Quilling shape is a tricky one to master, but with time and practice you will get it. This Quilling shape is used in a variety of things, especially valentines or love designs. -There's no sweeter design!
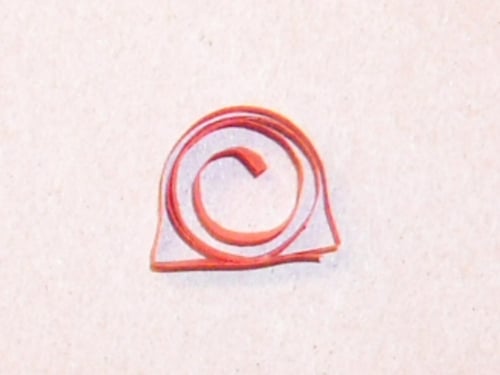
Half Circle
This Quilling shape is made by making a loose circle, and pinching two corners on the bottom of the shape, pulling the two corners slightly at the same time will result in a straighter bottom edge.
This is a fun shape, it was one of my favorites to make,I am not really sure why, I guess it's just fun. The heart is my other favorite shape to quill.
Ending Notes
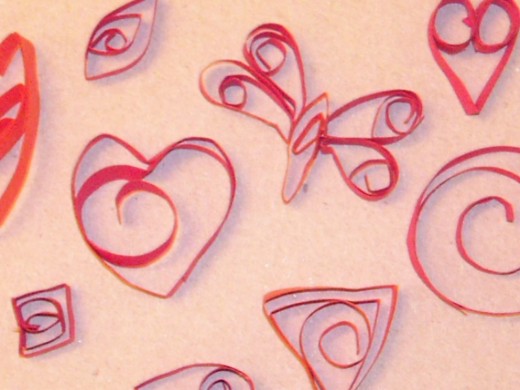
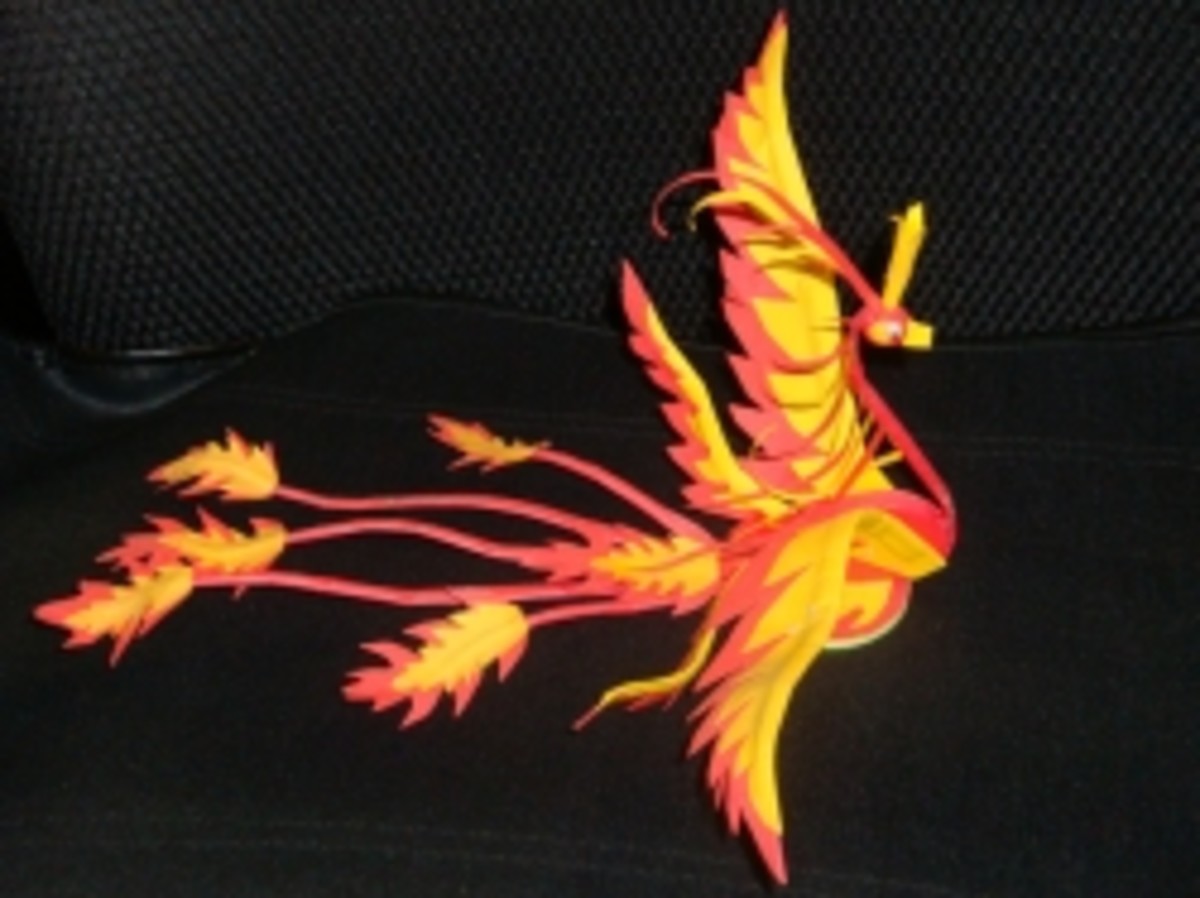
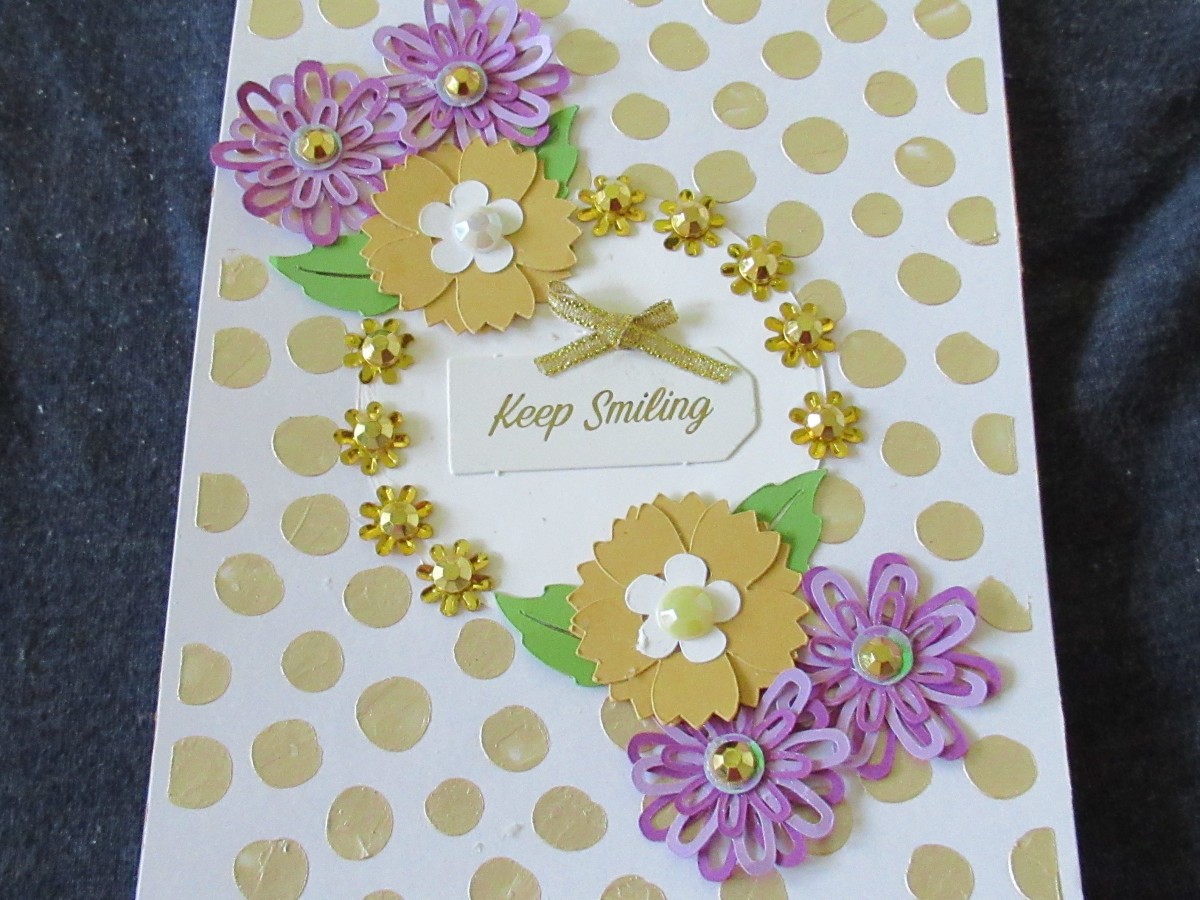
Here are some more paper quilling pictures, but that's all for teaching shapes!
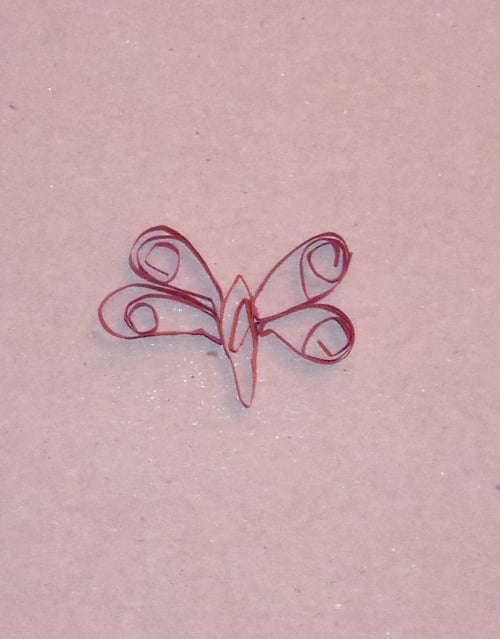
Explore more with this, figuring out how to make more shapes isn't hard, just try, pinch, fail, try again!! Also remember to glue your single shapes together to make other things, as ou can see a butterfly is my favorite thing to make in general! Took me forever to get it right.
That remeinds me! Keep practicing. It's frustrating, hard.. unravels... but in the long run is amazing! Keep trying, keep practing and you'll get farther then you ever imagined!


