- HubPages»
- Home and Garden»
- Home Improvement»
- Kitchen Improvements
Resurface Your Home Kitchen Cabinets

Recent Articles
- AskMyContractor.com
Information and experience in one tough package. - Building Your House With 2x6 or 2x4 Framing
- How to Paint Your Room Two Colors | eHow.com
Remodel Info from Amazon.com
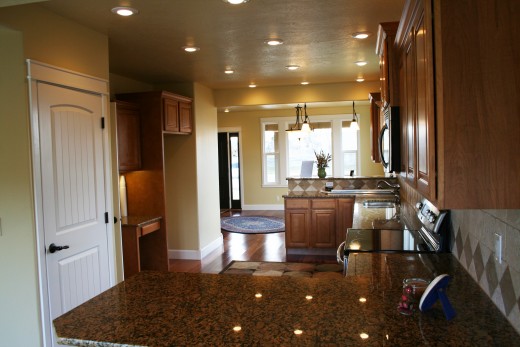
Are you tired of your old cabinets? Don't like the look of them or are they worn out? There are a couple of ways to fix the look of your kitchen cabinets. One is obvious, replace them with new ones. This can be either alot of work, or alot of money. You can spend thousands on having a contractor tear them out and replace them with new ones. Or, you can do it your self, tear them out and install them. But even if you do it yourself, it still will cost thousands of dollars, depending on the type of cabinets and the layout. An easier and cheaper way to update the look of your kitchen is refacing your cabinets.
Refacing your cabinets means replacing the doors, drawer fronts and hardware, and covering the sides and framework with a stick-on veneer or glued-on plywood. The end result is a new-looking cabinet at half the cost. You also avoid the stress and inconvenience of completely removing and replacing your old cabinets. Not only is it cheaper, but it is faster, and less work. You can usually resurface your cabinets in a day.
If your cabinets are in good shape, and you like the layout of them, then you are ahead of the game. Some cabinets before the 1980's are probably a better cabinet to work with because they have better craftsmanship. You should look into how you want to change your cabinet, and find a company that offers refacing materials, you can find many companies on the internet. Home improvement stores will also have these items, but most likely will be special order. You want to figure out if you will use a self-adhesive covering (a thin sheet of wood-like laminate that can be glued or ironed onto the front of the cabinet) or plywood.
After you decide on the material, you will then need to measure your cabinets. You will need the correct measurements for the material you will order. You can draw the cabinet layout and label sections to keep everything the way it was. You must measure the cabinet doors, and drawer fronts.
After you have measured, remove the doors, drawer fronts, and the hardware, such as hinges and knobs. You can decide if you want to re-use this hardware or replace them with different ones. softly by hand, sand all surfaces of cabinet box and end panels. You can use 150 or 200 grit sand paper, but be sure to do this by hand, and not use a power sander. You only want to lightly rough up the surface for better adhesion for the wood or self-adhesive covering. Clean the dust from the surface with a cloth and then use soapy water.
After you get the material, you will first start with the end panels. Using wood glue, apply the glue about an inch or so from the edge and also putting glue on the panel from top to bottom. Line it up pressing firmly. Wipe any excess glue and then use finish nails to secure the panel. Put the finish nail in each corner, then every 6 to 8 inches apart on the sides.
Next apply the self-adhesive covering to the front of the cabinet. Use a sharp utility knife to cut the veneer. You want to make sure you measure a half inche wider and about 2 inches longer then the part you will be covering. Peel off the adhesive paper starting at the top of the strip, and making sure it is lined up evenly before you press firmly down. Peel the rest of the paper as you go down, while pressing onto the cabinet. Once the pieces are in place, you can trim the excess. You can use sandpaper to smooth the edges of the veneer. The final step will be to apply pressure from top to bottom to make sure it is glued firmly to the cabinet.
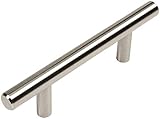
Next is putting the hardware back on. You can install the hardware either with your existing hinges and knobs, or with new ones. If you get new hardware, make sure the holes line up before purchasing them. Otherwise you will have a hole in your cabinet and have to fill it with wood putty. Attach the door and drawer fronts
Finally attach the door and drawer fronts. You can then decide if you want to use the same material as the cabinets for the doors and drawer fronts, or use a different material to give it a creative new look. If you don't want to do this, and want to spend the extra money, you can always order premade doors.
If you don't want to go through the effort of using plywood or self-adhesive covering, there is always the option of painting your cabinet. Either way you will have a great looking and updated kitchen.
To see other ideas on fixing houses then see my page on How To Flip A House Even In This Economy


