Figure Drawing Basics
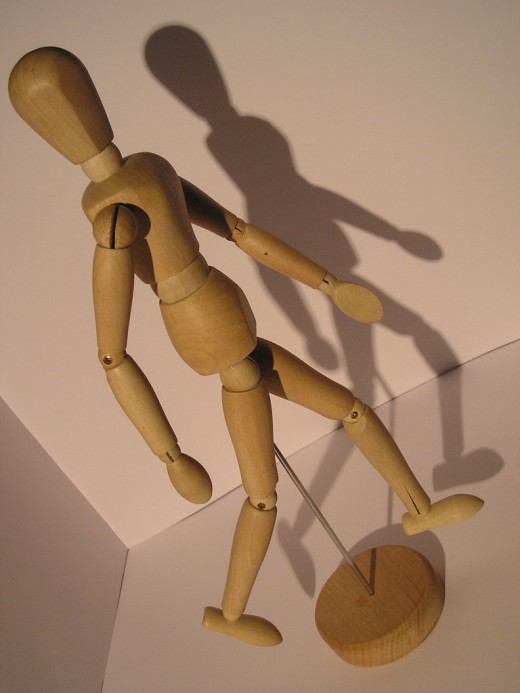
No task or subject seems more intimidating and difficult to most of us than attempting to draw the live human figure. Do you start from the head and go down, or start in the middle and work out from there? Having drawn for a few years now, I realize there is no one perfect approach that works best.
A new artist would be wise to try several different approaches before settling on one that is best for them. In the beginning it is also important to stay flexible and not get caught up in the details of the figure.
Light Sketches First
It is suggested that the first sketches from life are done in a very light and loose scribbling manner capturing the gesture of the figure. The artist can then adjust and correct earlier lines to look more proportional.
It is also very helpful to mark the top, middle and bottom of the figure on your paper to make sure the drawing fits well on the drawing surface. Without focusing on one particular part of the body, the artist can then zero in on the details.
Mark Your Paper
Make a mark on your paper where the middle of the figure is. By doing this, if the top section of your figure begins to grow larger when you start putting in the details, you' will notice, and be able to correct it before the figure is top or bottom heavy. It is good to have a vertical line thru the center of your figure so that you can compare both sides. This way, if the model shifts slightly, this line acts as a reference point.
It is also wise to be aware of where the quarter points typically fall on the figure. When standing, these points usually fall at the nipples, crotch and at the knees. Of course, these points vary for each individual, but at least you have a reference point.
Observe the Negative Spaces
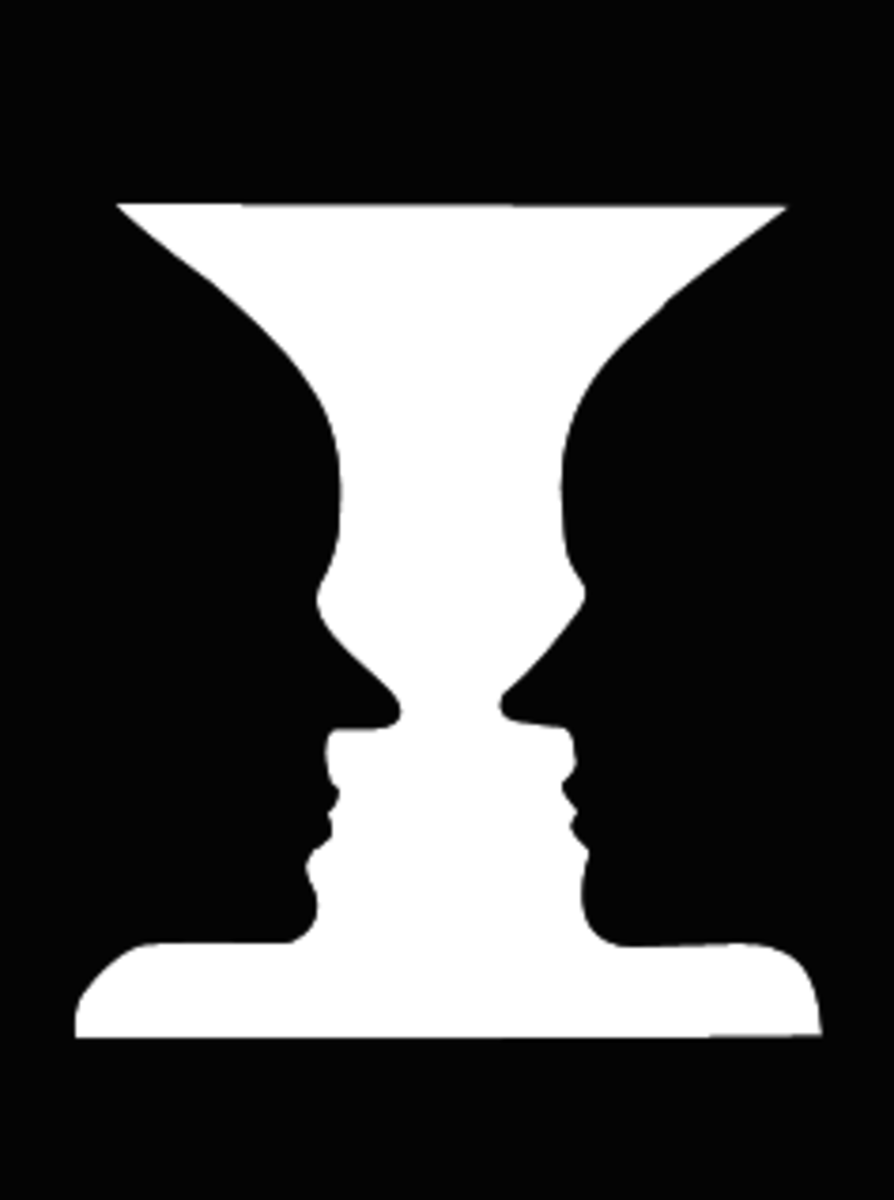
When looking at the model, be aware of the empty negative spaces that surround the figure. They also form shapes. In our art class, one session was spent just filling in the negative spaces on the outside of the figure with chalk. This helps you increase your span of vision and train your eyes to see the whole scene, rather than concentrating only on the subject.
Geometic Shapes
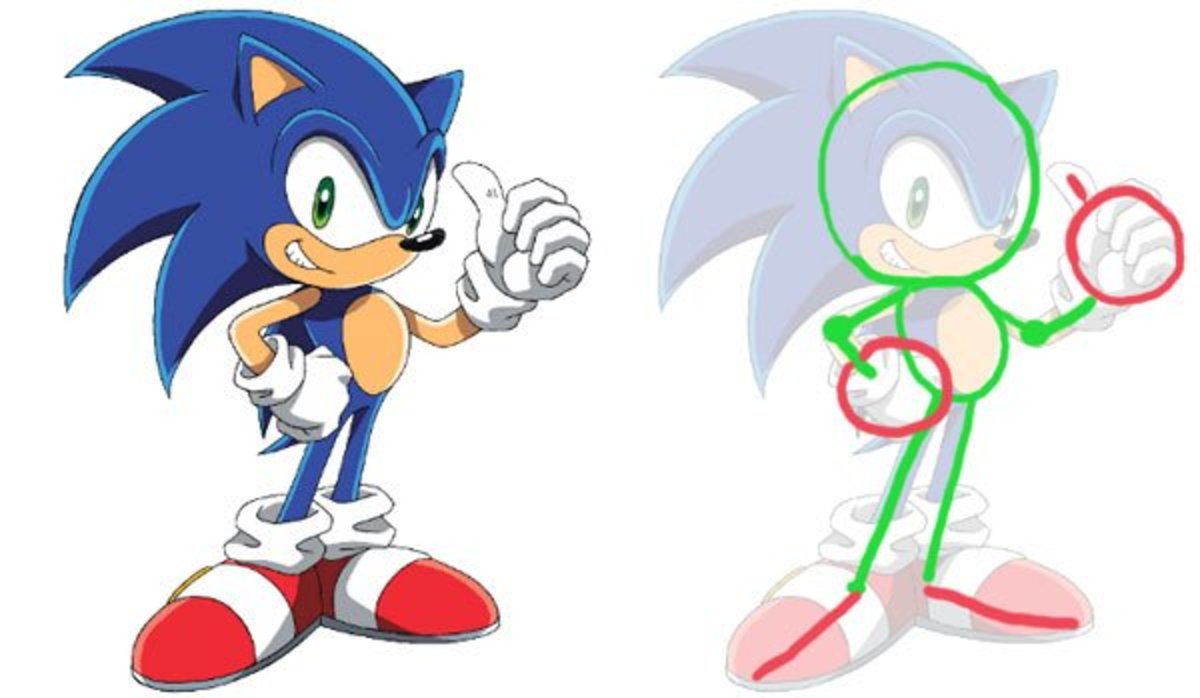
Next, look for the basic, cylindrical structures that form the arm, leg and neck, the spherical shape of the head, and the barrel shape of the chest. Make sure you distinguish between the more angular, squared-off shape of the male pelvis as compared to the curving lines of the female figure.
Try to make connections between body parts. Draw in the shape of the limbs such as the bulging front of the thigh and the muscles at the back of the calf forming a long “s”.
Give It Personality
After you have determined that the shapes and proportions are acceptable, it is time to give your drawing some personality. This is done with action lines that follow the movement in the figure. This could be an entire sweeping line depending on which way the model is standing. Or, it could be movement lines from one limb to another.
Step Back and Take A Look
It is good to take a break, and in a few minutes come back and look at your drawing with a fresh eye. You can then notice what seems a little off and then make your corrections. An opinion from another person can help, if you accept the criticism and learn from it. It is best to ask someone who is a seasoned artist, and they will usually give you suggestions that you can use to improve your drawing.
Practice
Practice, practice and more practice. Draw wherever you go. Look at people from different angles and try to capture the gesture and personality after first setting in the foundation. By trusting your knowledge and estimating proportions first, you won't become overly dependent upon the visual crutches.
Although figure drawing can be intimidating, by keeping it loose when you begin, making reference lines and practicing often, you can improve to the point where it comes naturally.


