Step By Step Guide to Create a Child’s First Vegetable Garden
If you’re thinking of creating a garden for a child, but you’re not a gardener don’t worry. Vegetable gardening is not really as difficult as you might think. A garden can do so much for a child. It can also help you eat healthier and save money. The trick to creating a first garden is to break it down into manageable steps so you don’t get overwhelmed and give up before you begin. Here are some baby steps you can take today for fresh vegetables tomorrow.
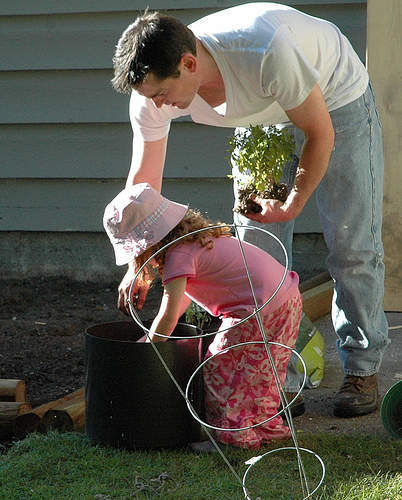
Easiest Vegetables to Grow:
- Carrot - Plant seeds several times throughout the growing season, early spring into fall for a continuous harvest. Soil should be loose and deep.
- Cucumber - Wait until warm weather to plant seeds.
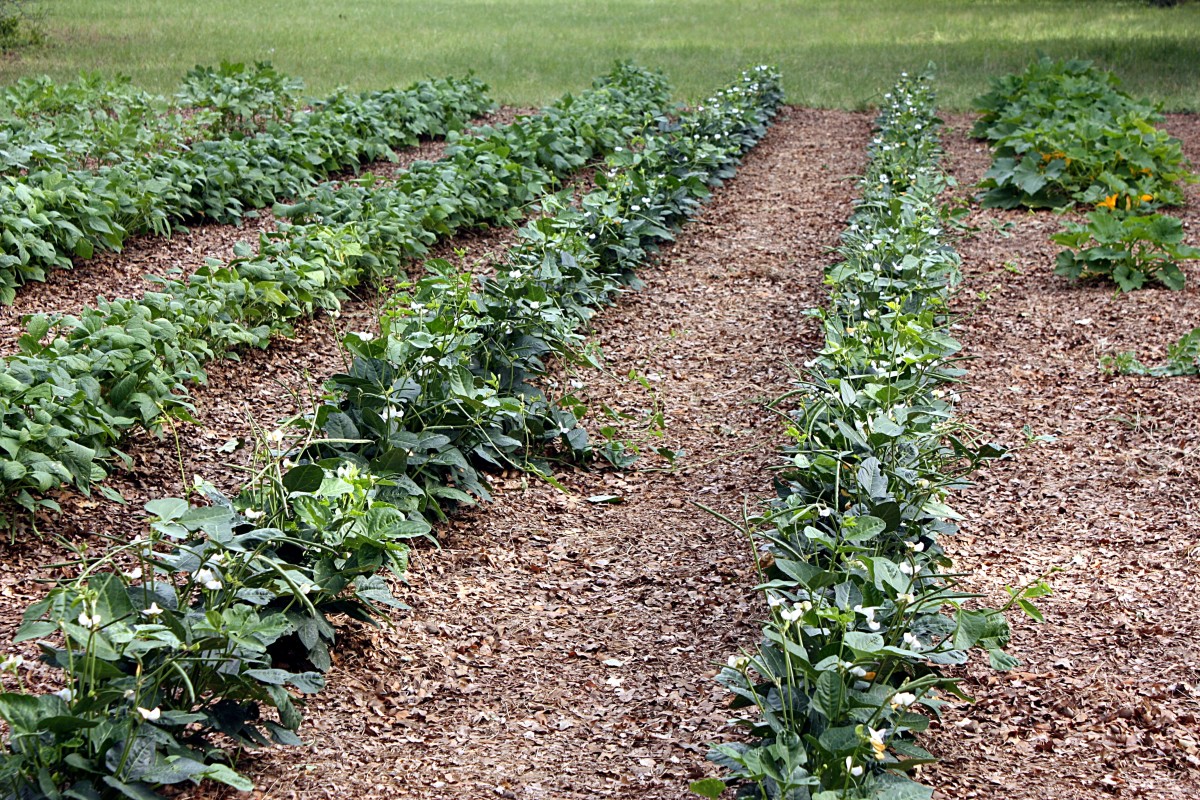
- Green Beans - Plant seeds after frost danger. Bush types are easier to manage, but pole types are more productive in an equal space.
- Lettuce - Plant seeds as soon as soil can be worked. Hot weather ruins the plants.
- Peas - Sow seeds early in spring as soon as you can work the soil.
- Radish - Sow seeds during the short, cool days of spring and fall. During these times, radishes are perhaps the easiest and fastest vegetable to grow.
- Summer Squash - Sow seeds after weather warms up. Grow bush types to save space.
- Sweet Pepper - Plant seedlings in warm weather along with tomatoes.
- Tomato - Set out seedlings after the air and soil have warmed up. Tomatoes are one of those rare plants that actually benefit if seedlings are planted deeper than they grew in the nursery pot.
Step 1: Plan Think small. You’ll have plenty of years to grow a larger garden with your child if you enjoy the process. However, if you plant a huge garden the first year, you'll likely become frustrated and give up on gardening altogether. Plan to start with a garden no larger than 8' X 10.' I’ve also seen very successful backyard gardens within a small strip of about 2’x10’. (The beauty of this is that you can access all parts of the garden from outside the garden – no muddy knees and feet!)
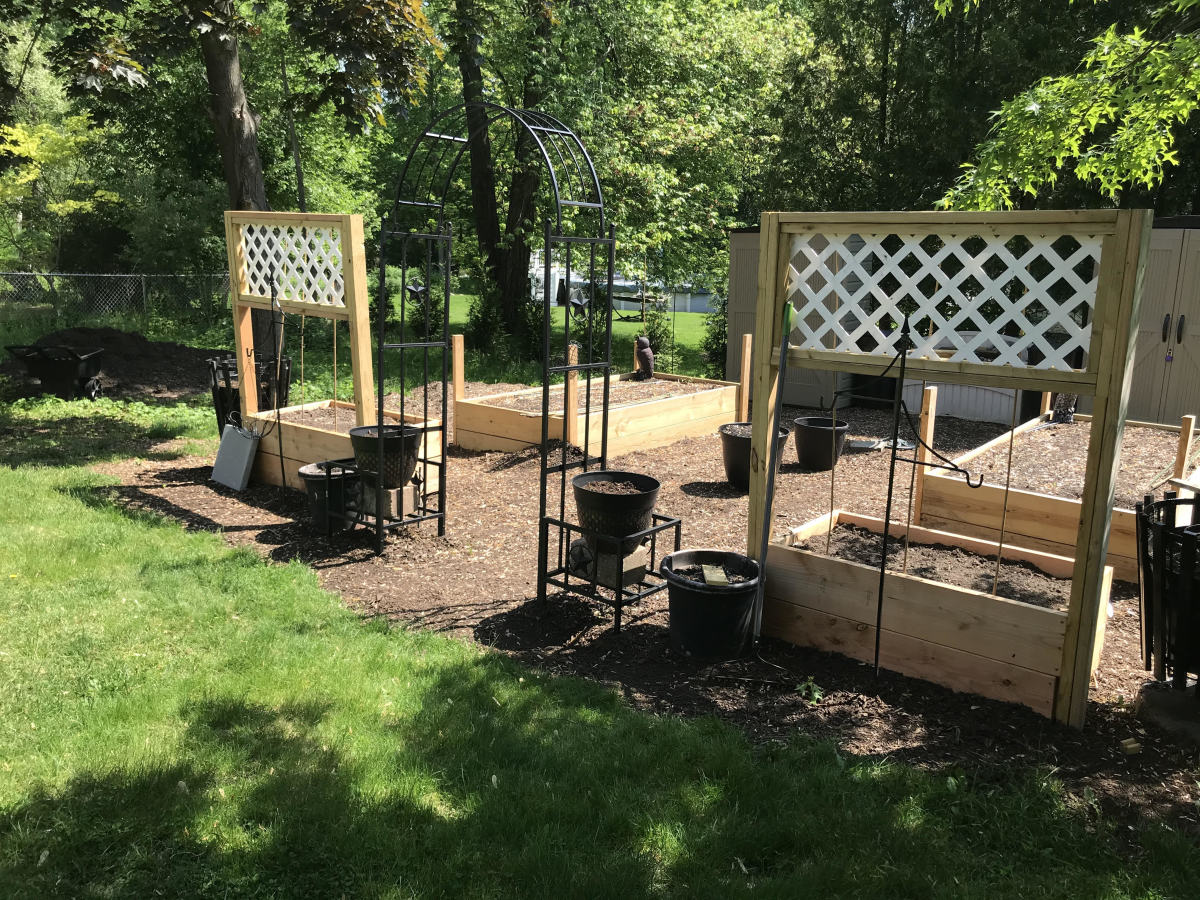
Step 2: Choose a Location Choose a location that receives as much sun as possible throughout the day. Consider whether or not you will create a raised bed. You can make one from landscape timbers or treated 2 X 12's, but the prettiest one I’ve seen was lined with the type of manufactured stone pavers you’d use to create a retaining wall. A raised bed can be easy to get to if it’s a small enough area and is much kinder to the back. Make a family affair of walking the yard or other spot where you plan to have the garden.
Step 3: Choose Plants Take the kids to a garden center or look at seed catalogs together. Or just talk about vegetables you might want to try and grow. Dinner time is a good opportunity to think about the things your family eats on a regular basis and whether or not those would be good candidates for your child’s first garden.
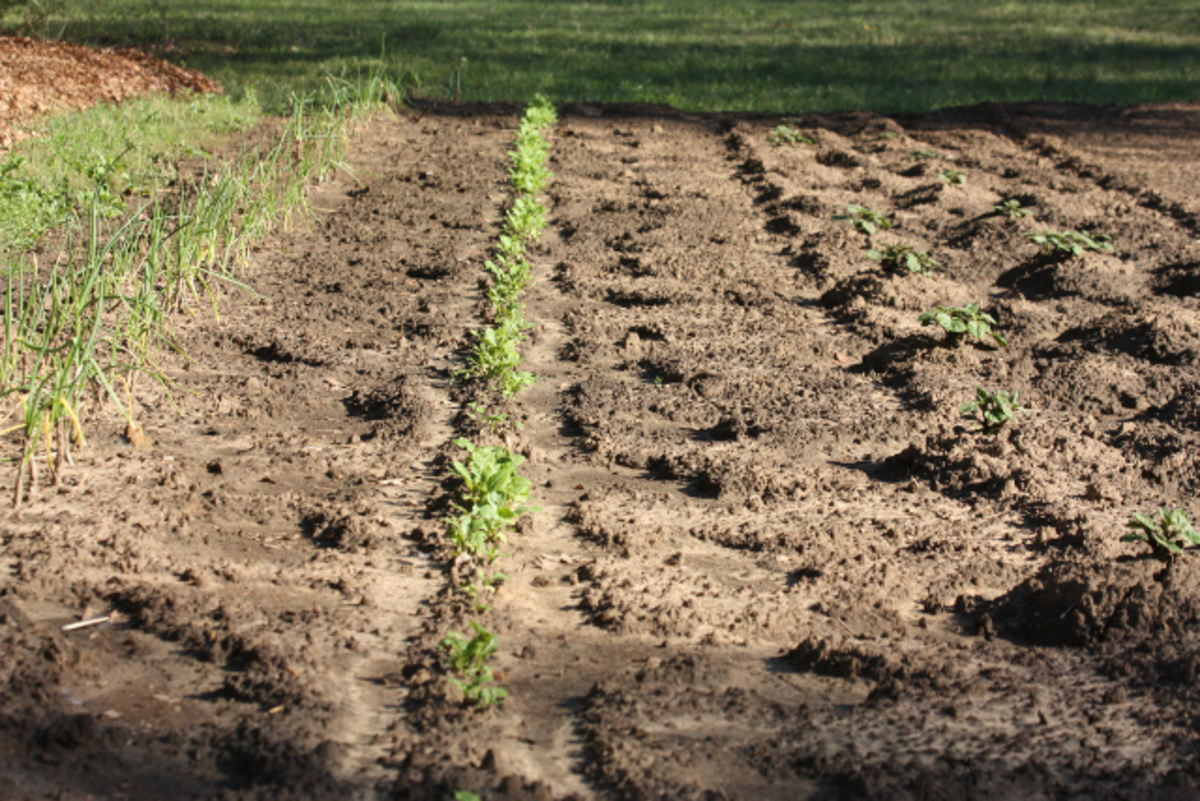
Step 4: Prepare the Soil You’ll probably need to improve the soil somewhat. Rent or borrow a tiller to make your life easier! You don’t have to remove the sod, just work it into the soil. Determine if your soil is mostly clay, sand or a sandy loam. The latter is the best. To identify sandy loam, take a handful of dirt and squeeze it in a ball. If it crumbles when you let go, you've got a sandy loam. If you’ve got predominantly sandy or clay soil, you’ll want to bring in some topsoil. Compost is also great for this and many communities offer it for free through the waste utility or extension office.
Step 5: Fertilize Apply granular fertilizers a few days before you plant. Work it into the top six inches of topsoil. (After plants start coming up you can fertilize them at two or three week intervals with a water soluble fertilizer like Miracle Grow.
Step 6: Plant Now we’re getting to the good part! Once you’ve got your soil in order, you’re ready to plant! You may think that seeds are seeds, but it actually is worth it to buy high quality seeds. You want to maximize the chance for success. Kids want to see real plants shoot up! Follow the instructions on the packets and make sure you plant by the expected last frost dates, not the weather.
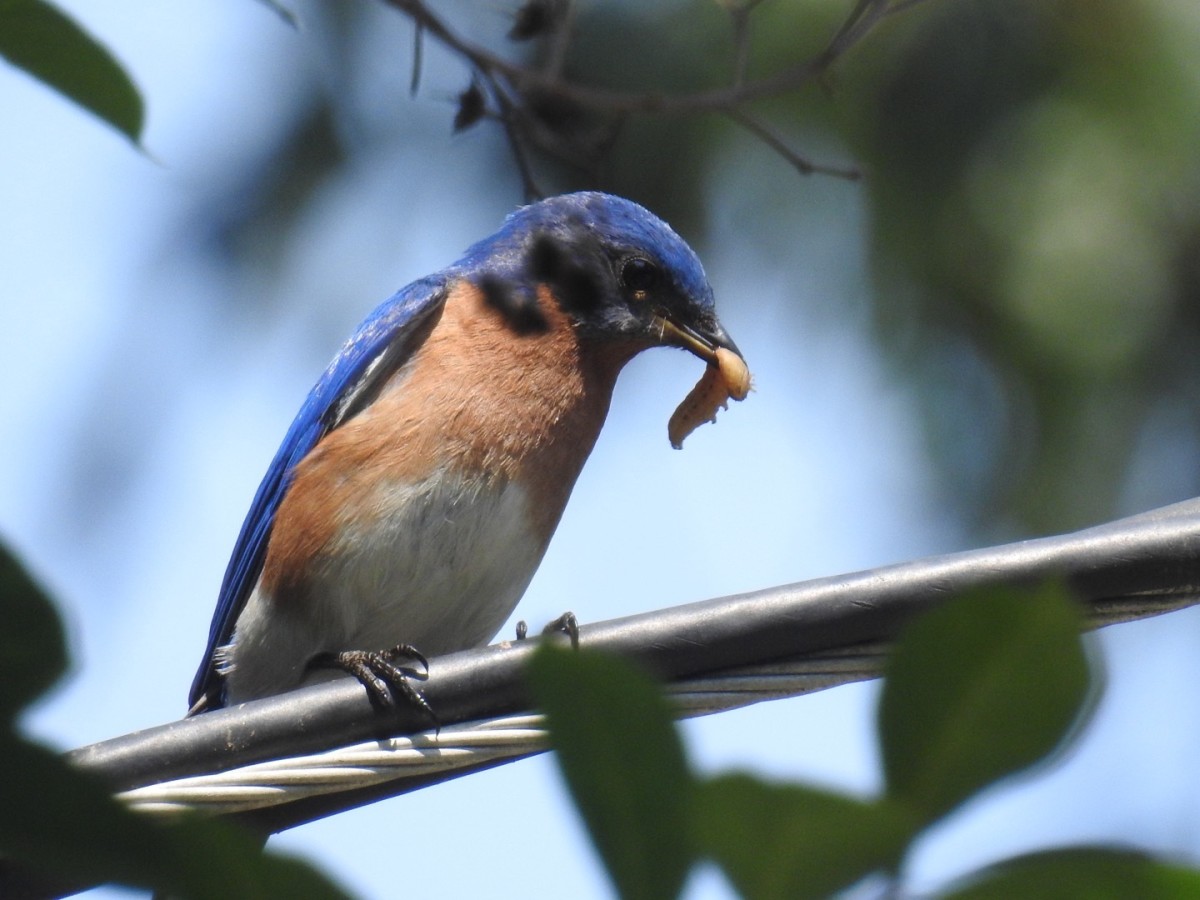
Step 7: Protect While the kids will enjoy watching the rabbits, geese and deer that may visit the new garden, these can be a problem. A wire mesh works well around a small garden. It will discourage most animals. Watch out for insect infestation. If things are properly spaced in your small garden, insects shouldn't be a big problem. However, if you see evidence of chewing on plants, especially things like cabbage, take action right away. Identify the insect causing the damage and choose an insecticide or organic alternative that will control that specific insect.
Step 8: Weed & Water Aside from harvest, this is the most fun part for kids. It’s active! They are doing something they can see and touch. Explain how keeping the weeds out helps the plants to grow better and protects against bugs taking up home.
Step 9: Explore Use your child’s first garden to open up conversations about the natural world and our place in it. Let the child lead and follow her interests. Whatever intrigues the child can be a launching point to learn about all kinds of things from water quality to the life cycle of broccoli! Don’t miss the opportunity.
Step 10: Harvest! For the healthiest meals, harvest your veggies when ripe and don't over cook them. Imagine how proud your child will be to eat his the carrots he grew in his very own garden


