The Making of a Dollhouse
Tackling the Task
When I was in high school, I decided to take building trades since I enjoyed working with wood so much. We did everything from drawing plans, reading blueprints to actually building a house. Right down to the plumbing, wiring and bricklaying. And I must say that my grades were much better than some of the guys in my class. This was especially cool since some of them teased me about being the only girl taking building trades.
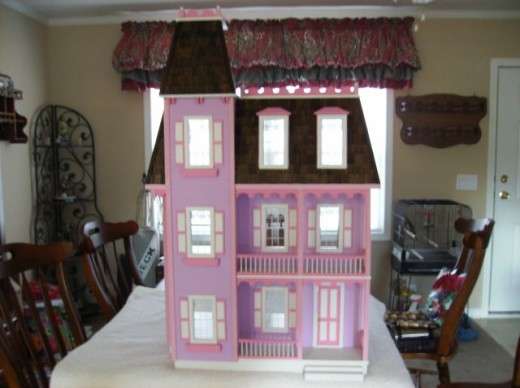
So, when I decided to take on the task of building my granddaughter a dollhouse for Christmas this past year, I figured I should be well prepared for it. After all, it is a kit and I have had some experience in the woodworking field. I figured this should be a piece of cake. Hehehe...WRONG!
First of all, they claim to give you everything that you need to build the house as featured on the box. This was a blatant lie since none of the pieces were even primed, much less painted. And forget about not having to measure and cut the pieces! They could have at least started with a set of instructions that made sense! None of the pieces were even labeled so that you could compare them to the list of materials they gave you to be sure you had everything. This also left you guessing at what piece they were calling what. Just to give you an idea of the crazy instructions that were furnished, this piece of informative concoction had me building 2 stories of the castle style house before even building the foundation. This left me having to put this portion of the house on top of the base.
Now, I know the school I went to is in a small town but we were taught in the beginning that the foundation should be where you start. Wouldn't you agree with that? I mean, it doesn't take an Einstein to figure out that when you are building pretty much anything, you should start from the ground up, right?
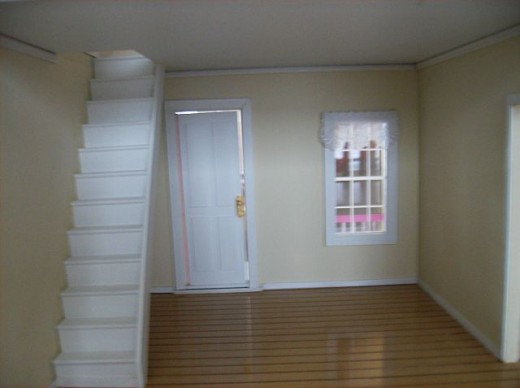
Finished Living Room
Getting started
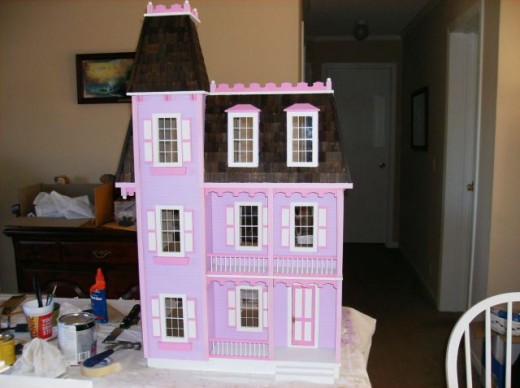
Once I had the instructions figured out enough to know that I should toss them in the garbage and look at the picture on the box, I was ready to go! The excitement kept the adrenaline flowing so fast that I spent at least 10 hours a day drilling away at this creation of pure love that could be nothing less than perfect for my Granddaughter.
Rather than to take you through three long weeks of infinite detail, I will break it down into a review of sorts. The hardwood floors had 4 coats of polyurethane and took 5 days to complete, having to allow 1 day for the stain to set and 24 hours between each coat of polyurethane. In the meantime, the porch railings had to be assembled piece by tiny little piece, allowing time for the glue to dry on each piece before moving on. Then, there was the very tedious job of priming and painting these bite-sized pieces as well as the inside walls and the outside walls and trim. There was also the doors to paint and trimwork on the whole thing.
Look closely at the picture to the right and you can see the detail in the flooring as well as the tiny curtains that I made from strips of lace trimming that I bought at Walmart.
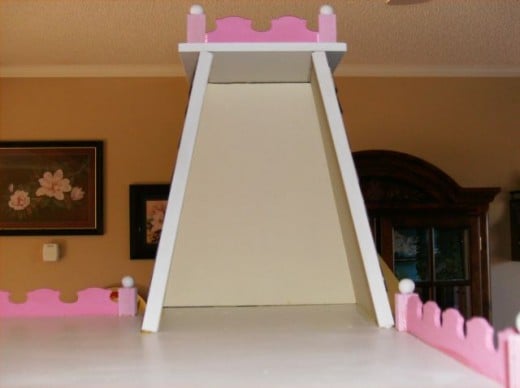
Inside the tower room
Coming Along!
Once I had the foundation in place and the first two stories done, it was time to add the tower. Now, this being the smallest of the whole thing (just the one room) you would think it would be smooth sailing on this. Think again! The rest of the house was straight up and down. This thing slanted and if it wasn't just so-so, it would stand out like a sore thumb! But eventually I did get it and it was on to the next step.
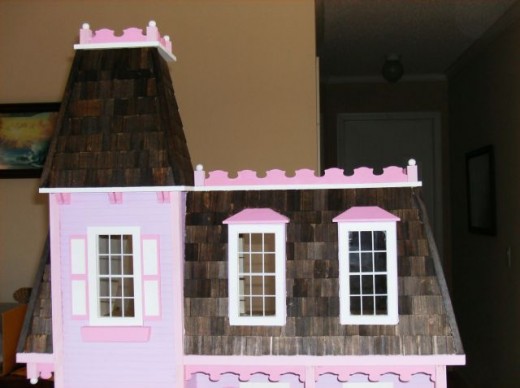
Finished top section
Time for the Roof
Now it was time to start the shingles. This totally horrified me! If you will look very closely at the picture to the right you can see that the shingles are individual pieces! These pieces are about 3/4" by 1 1/4" each and there are over 1,000 of them on this roof! Each one was individually glued in place and cut where needed. While I was not experienced in roofing, my husband just happens to be an ex-roofer. My original plan was to rope him into putting the roof on but his company felt compelled to make him work! Can you beat that?
However, armed with the crash course he provided in roofing, I dove in with all four feet and soon the once-plain roof began to take on a life of its own. After that task was completed and the glue (or should I say liquid nails) had dried, it was just a matter of taping off and staining the shingles. This was a bit trying in some areas as it is not easy to keep stain from bleeding into the trimwork that it connected with. Therefore, after the stain dried, I went back to do the priming and painting touch-up needed from the stain bleeding. But I finally made it and you can see the results of that in the picture to the right.
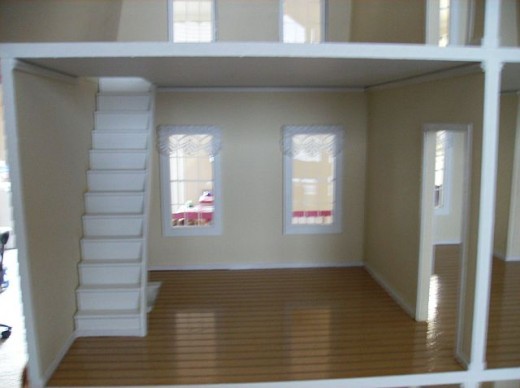
Finished second floor
Time for some trimwork
Now it was time to cut, prime, paint and glue on the baseboards and ceiling moldings on the inside of the house. This was especially trying due to the fact that the pieces were so thin that it would bulk easily once the wet glue was applied. This is where lots of masking tape came in handy! All in all I think it turned out pretty well.
Detailing the front
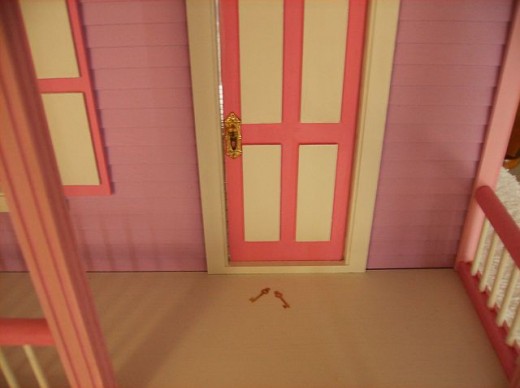
Once I finished the inside, it was time for last minute touch-ups to the front porch. The steps were not even included in this totally complete kit I had so I had to make those from scratch, prime and paint them and then attach them to the front porch. Once this was done, I had to find a safe place for the little tiny skeleton keys that went to the brass door knobs that I found at Hobby Lobby that was just the perfect touch. Knowing that a 7 year old would never be able to keep up with something so tiny, I had to be creative on how to keep them safe. Therefore, I glued them to the porch for safe keeping. I then took a piece of poster board, cut a square from it and glued pink felt to the top and made a mat for the porch. I inserted the full size picture below to allow you to see the tiny keys that the mat will cover. You can also see some of the details of the brass doorknob.
Front Porch
Full view
Finishing up
Now it was time to put in the curtains and load it up to deliver Christmas morning. It had been a long, hard road and all the while I was swearing I would never do this again! And I have kept that promise so far. That is, until I start on the BIGGER one she wants next year!
Elayna Danielle Ramsey

Total Cost
Dollhouse kit: $100.00
Supplies and tools: $250.00
Dollhouse furniture (the real wood furnishings) $300.00
Pain control: $20.00
Total hours worked: 200+
The joy on this little princess' face......PRICELESS!
The things we won't do for those grandbabies! That reminds me, I better get started if I want to get her castle and her borther's firehouse finished by next Christmas!


