- HubPages»
- Arts and Design»
- Crafts & Handiwork»
- Textiles»
- Textile Dyeing
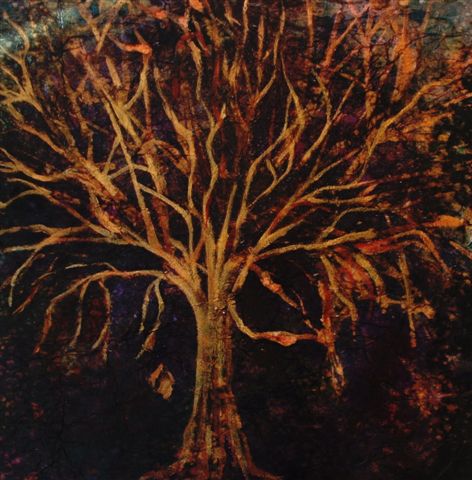
Traditional Indonesian Craft -The Art of Batik

Long ago in a land far, far away
I was first introduced to batiking when I was in Grade 10, and Ithought it was the coolest thing I had ever seen. Everyone knew how to'Tie-dye' but this was different. This was art! This wasn't a fad -here today, gone tomorrow - this was steeped in tradition.
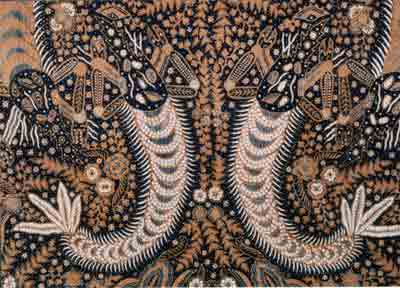
No onereally knows the precise origins of Batik - some say it can be tracedback 1500 years to Egypt and the Middle East. It has also been found inTurkey, India, Japan, China and West Africa, although none of them haveelevated this art form to the levels achieved on the island of Java inIndonesia.
Scholars believe the word Batik comes from the Javanese word 'ambatik'which means 'a cloth with little dots', and was reserved for Javaneseroyalty. Others disagree, stating that it was regarded as an importantaccomplishment for young ladies to handle a 'canting' (a penlike instrument used to apply wax to fabric,) with a certain amount of skill and dexterity.


Preparation and tools
Regardless of who won the debate, the fact remains that Batik is an incredibly intricate and time consuming art form, that produces some amazing results.
There are a couple of different ways to achieve these results, the main or traditional way of dying the fabric, and the method of using paint instead of dye when using more than three colours.
The cloth is first selected by the quality of the fabric - meaning, the higher the thread count, the higher the quality. This was done to ensure the intricate design qualities of the batik could be maintained. Only natural fibers are used, the two main ones being silk and cotton, so that the wax can be absorbed in the dying process.
Then the cloth is washed and boiled several times prior to any wax applications to rid it of starches, lime, chalk and any other sizing materials. Back in the day, the material was then beaten with a wooden mallet by the men, to soften the material. With the implementation of modern technology, the material is now woven into a finer blend and this step is not necessary.
While the designs may be complex, the tools used to apply them are quite simple. The 'canting' (a Javanese invention) or wax pen, is used to draw the designs on the cloth. The 'canting' is a small, copper container that is attached to a short bamboo handle. The container is filled with melted wax, and the artist simply draws the designs on the material.
These tools come in different sizes for the different types and thickness of the lines and dots used for the patterns.
Different types and qualities of wax are used when creating batiks. Bees wax is used when a malleable wax is needed, and paraffin is used because it easily reduces to tiny particles, called friability. Resins are sometimes added to increase adhesiveness, and animal fats create more liquidity and flexibility.
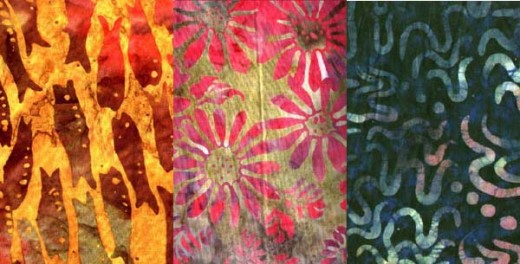
The dyes that were used were mostly organic in nature and generally were beige, blue, brown, and black. Now a days however, you can use literally every colour under the sun to create stunning fabric masterpieces.


How to Make a Batik
Once you have chosen your fabric, in a plain white colour, you need to prepare it. Wash and iron the material, then draw out the picture, or pattern that you would like, on the fabric.
Your first step is to apply wax to the areas of your design that you want to remain white. In this picture you can see the areas that will remain white when the process is complete.
The next step is to immerse the fabric in a dye bath - this artist has chosen blue as the first colour - be sure to use a cold water dye as hot water will melt the wax. (This is from experience!) The brown colour that you see, is the wax covering the white areas.
Next, apply another coating of wax to the areas that you want to remain blue. A different colour of wax has been used so you can differentiate between the applications. It is sometimes a good idea to do this when you have a large area to keep track of.
Then the cloth is immersed in another dye bath - this time another blue. The parts that remain unwaxed will become a dark blue.
For this design, the next step is to remove the wax that has been applied up to this point. This can be done by adding heat (paper and a hot iron) or by pouring hot water on the print and sponging off the wax.
The next step is to reapply wax to any area you want to remain dark blue.
Apply wax to any areas you want to stay white.
The fabric is now dyed a final colour - this time brown. Anything that is not waxed, will become brown.
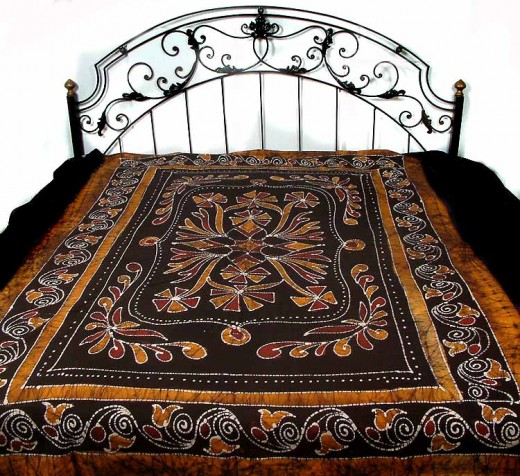
Finally, remove all the wax. It is best to dip the material in a bath of hot water and melt the wax off...less muss and fuss. Wash the fabric in cool water and vinegar to seal the colours, and you have a beautiful finished picture to grace your walls, bedspread, curtains, or sari - however big you want to go.


")


")
")
