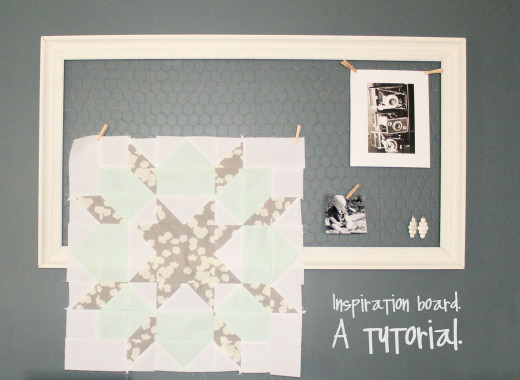
A tutorial for Creating a Chicken Wire Frame

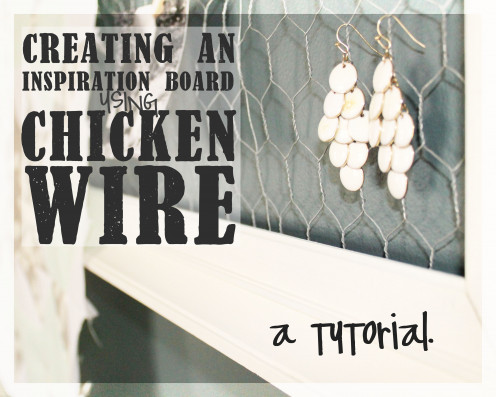
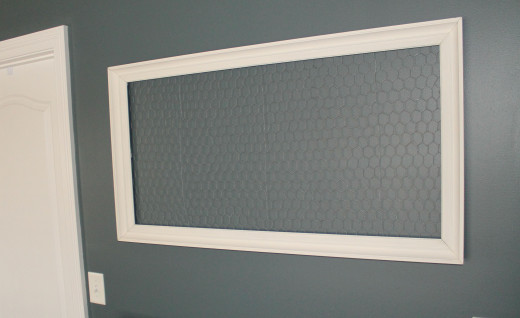
An Inspiration Board
Do you ever feel you need a great spot to hang that random magazine clipping or an old letter from your great grandma? Some of us need a place to fuel our creativity...a place where we can hang our random findings. These findings that are great inspiration but not worthy of framing above the fireplace.
We found an ideal place to hang our randomness.
Supplies
- Wooden picture frame.
- Paint brush.
- Paint.
- Staple gun with staples.
- Chicken wire.
- Wire cutters.
- 1 1/2 inch screws.
- Screwdriver.
#1.
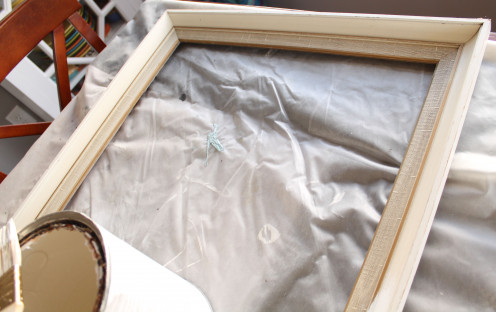
#1. Paint the picture frame.
Have you found a great old WOODEN picture frame worthy of a facelift? May I repeat? Please ensure the frame is WOODEN. Take apart the picture frame and dispose of the old painting and glass. Depending on where you found the frame, a good cleansing may be in order. Wipe down the frame with some warm soapy water and a washcloth.
Unless there are some really rough spots on the frame or a high gloss finish, sanding is likely not needed. Be sure to shake your paint can real well. For our frame, we used an eggshell finish of Benjamin Moore's 'Floral White.' This is a great white...just a few shades off of a real white.
Find your paint brush and start painting. We recommend allowing one coat to dry and painting a second coat.
#2.
#2. Find some chicken wire.
I sent my husband out to all the gardening supplies behind the shed to find a piece of chicken wire. The challenge...I did not want rusty chicken wire. BUT, if you really are a shabby farmhouse type home, I could see a bit of rust adding some character. While I enjoy browsing all the farmhouse decorating trends on pinterest right now, I don't always choose to go the shabby farmhouse feel.
Measure your picture frame. Using wire cutters, cut a piece of chicken wire that will fit over the entire frame. The flatter the chicken wire you can find, the better.
#3.
Click thumbnail to view full-size


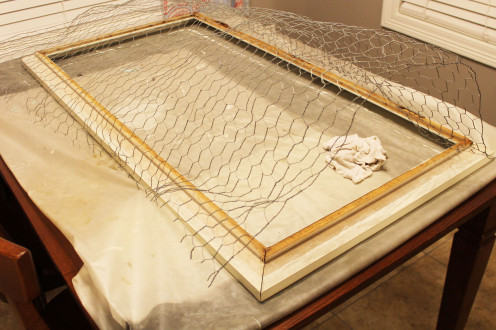
#3. Stretch and Staple the Chicken Wire.
The trickiest part of this project is attempting to pull the chicken wire flat over the back of the frame. Flip the picture frame over. Center the chicken wire over the back of the picture frame. In the center of the top of the frame, staple the chicken wire. We recommend starting in the center so you can slowly pull the chicken wire taught as you staple toward the outer edges.
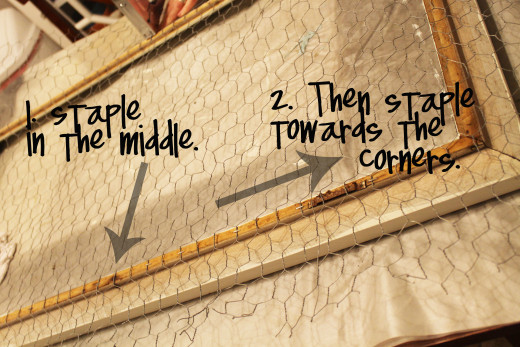
In summary:
1. Staple the chicken wire in the center at the top of the frame.
2. One person pulls the chicken wire to the right, keeping it taught. Other person staples.
3. One person pulls the chicken wire to the left, keeping it taught. Other person staples.
4. Pull the chicken wire taught toward the bottom of the frame. Staple. Repeat steps two and three.
Now the chicken wire is stapled to the top and the bottom of the back of the frame.
To staple down the sides, have one person, once again, pulling the chicken wire taught while the other staples down each side of the frame.
This is much easier to do than it is to read about. :)
#4.
Click thumbnail to view full-size


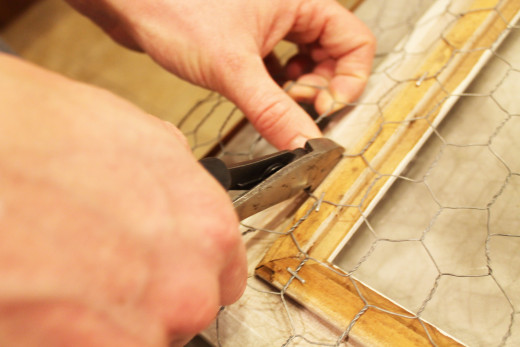
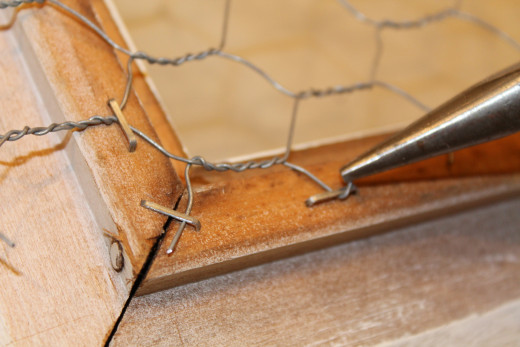
#4. Clip the excess chicken wire.
The chicken wire is stapled on, and next up we need to remove the excess. Using your wire cutters, snip the excess chicken wire. Leave about a centimeter of wire on the outside of the staples. Leaving a bit of excess gives you the freedom to bend back the wire over the staple for a little extra security. (see the picture for a little more explanation.)
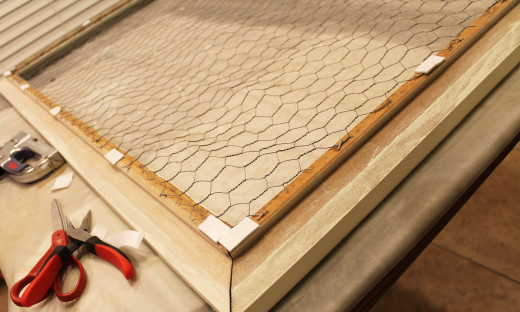
We also chose to cover some of the rough spots with adhering foam to keep the frame from scratching the wall.
#5.
Click thumbnail to view full-size

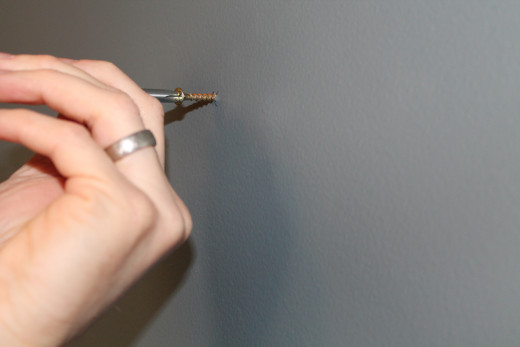
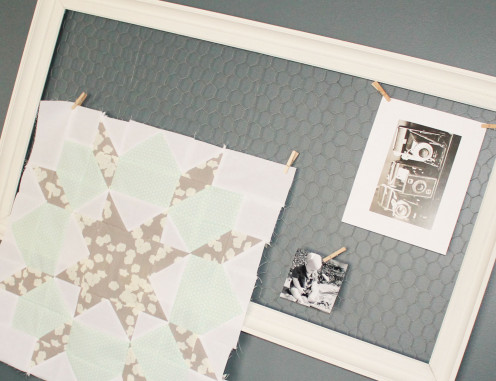
#5. Hang the Frame.
The frame already came with two picture hangers on it - the ones with the little jagged teeth. After deciding which wall we wanted to hang the new frame on, we located where we needed our nails in the wall. We used screws this time, 1 1/2 inches long. We like using wood cabinet screws instead of nails because they don't pull out and they already have a lip for the hanger to grab when we lower the frame onto it.
Since this frame isn't very heavy (only a few pounds), we didn't worry about finding the wall studs for extra support.
A little Inspiration.