Drink Coasters Made Easy

The Drink Coaster
Drink coasters protect table surfaces from water damage. In our house, coasters are a must! They are easy to make and make wonderful gifts. Below you will find step by step instructions for making your own coasters!
While browsing a gift shop in Flagstaff, Arizona, I purchased some handmade coasters for gifts. These coasters were made of colorful quilting squares and were a huge hit. This Christmas, I decided to make each family member a set of coasters.
What makes these coasters so popular is their size and ability to protect the table surface from drinking glass moisture. Choose your fabric color or print.

Coordinate Your Fabrics
Many fabric stores sell small fabric samples or quilt squares of bright cotton fabrics, great for projects like this. I purchased each of my fabric samples for one dollar. In choosing the fabric, I selected coordinating fabric for the reverse side of the drink coaster. Consider the colors and home décor of the person you are sewing for. What will look best in their home? What colors do they like?
Additionally I purchased enough interfacing to line each coaster. Two yards of sixty inch wide interfacing will provide lining for lots of coasters.
I planned for six coasters in each color. Each person received six coasters in their set.
Choosing Your Fabric
Click thumbnail to view full-size


Cutting the Squares
Make a square out of cardboard or fabric to use as a pattern when cutting out your coasters, to keep your squares uniform and the same size. Place the pattern on the fabric and cut around the edges for each square. Each coaster square was six by six inches.
I cut all of my squares in one sitting and placed the coaster colors together in a large stack. It was easy to cut the squares for one side of the coaster and then the squares of fabric for the other side and so on.
Cut The Interface
Click thumbnail to view full-size


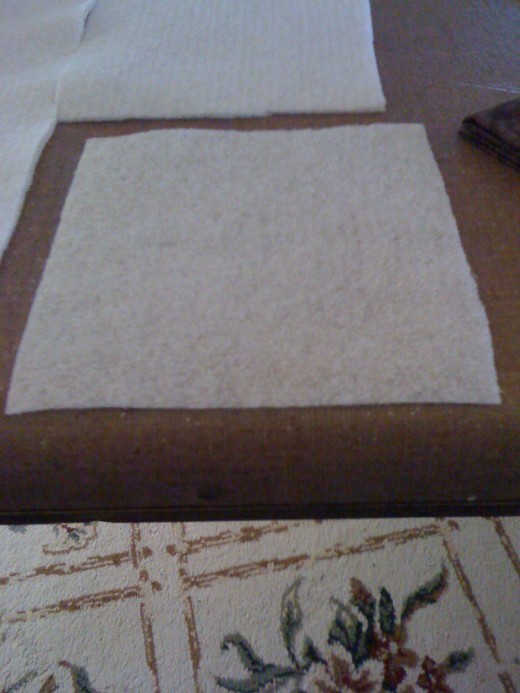


Cutting the Interfacing
Make a pattern to use when cutting squares of interfacing. Lay the pattern on the fabric and cut around it. Repeat. The pattern for interfacing should be one half of an inch smaller than the coaster square, on each side. Continue to cut your lining squares until you have enough for each coaster.
Placing the Interfacing
Click thumbnail to view full-size


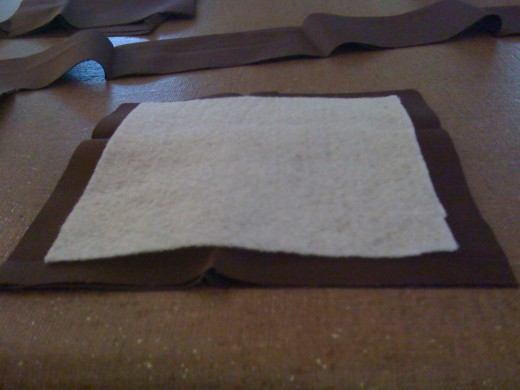


Pinning the Squares
It is now time to pin the interfacing to the squares. I found this to be a lengthy but worthwhile process. Place the outer fabric side face down on a table or flat surface. Lay a square of interfacing in the center of the square. When the interfacing is centered, place a pin in the center of the two squares to hold them in place. Fold the square side over the interfacing and pin around the edges. Square the corners. Make sure the pin is pointed toward the center of the square for easy removal. REMOVE THE CENTER PIN BEFORE PROCEEDING.
Take the second square, outer side up, underside toward the interfacing, and place it on the pinned square. Pin the center of the square to hold all three layers in place. The interfacing now sits between your two outer fabrics. The undersides should face your lining. The outer fabric is on the top and bottom of the square.
Fold the edges inward and pin the two outer sides together. Square the corners together for a smooth finish. With a little practice, this process will get easier.
Get Out The Sewing Machine
Click thumbnail to view full-size


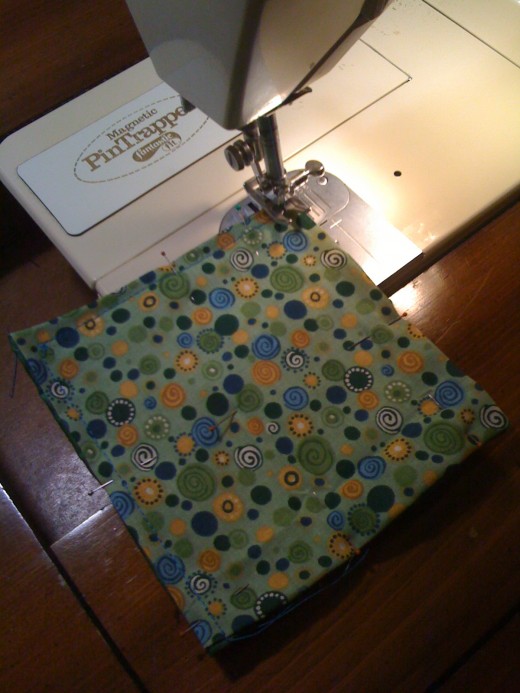
Time To Sew
Choose your thread to blend with the fabric or choose one with complimenting contrast. With a 3/8 inch margin, sew a straight line around the square. It may take some practice to produce a straight stitch. Practice will help. Sew around the square. Most sewing machines will pass over a straight pin. Square the stitch line as you turn a corner. When completed, remove the pins. Run a hot iron over each square for a smooth, professional look.
Packaging Your Gift
To prepare your coasters for wrapping, stack them neatly and tie with a nice ribbon or fancy string. Wrap them in tissue paper before placing them in a gift bag.
Enjoy the smiles on the recipients faces as they delight in your creativity. It is fun to create a gift for your friends and family members that is original and thoughtful.


