Make Your Own Seed Starter Pots

You can make your own seed starter pots out of the cardboard rolls at the center of toilet paper or paper towel rolls. They're quick and easy to make, you save money and gas going down to the nursery or Walmart to pick up plastic ones, and they're a fun craft you can do with kids to get them involved in your gardening hobby. I'll give you step-by-step instructions with pictures. This method does not involve any tape, staples, glue or anything else you probably don't want in your veggie garden. We'll also talk about the benefits of this kind of waste reduction and some troubleshooting tips.
Garden Uses for Empty Toilet Paper Rolls
There's almost no reason to throw out the cardboard centers of your toilet paper or paper towel rolls. If you have kids, paper roll crafts can be as simple as using a paper towel roll as a pirate's spyglass, or as the body for a wire-cleaner-legged bug. With no kids or older kids who aren't into crafts any more, the cardboard can be shredded into a great “brown” for your compost heap or worm bin.
Step-by-Step Make Your Own Seedling Pots
What you need to Make Your Own Seed Starter Pots:
-
Toilet Paper and / or Paper Towel Roll Centers
-
Scissors
-
Potting Soil or Seedling / Cutting Soil
-
Plastic or metal tray
-
Vegetable or flower seeds
-
Optional:
-
Saran wrap and tooth picks to make your own greenhouse cover
-
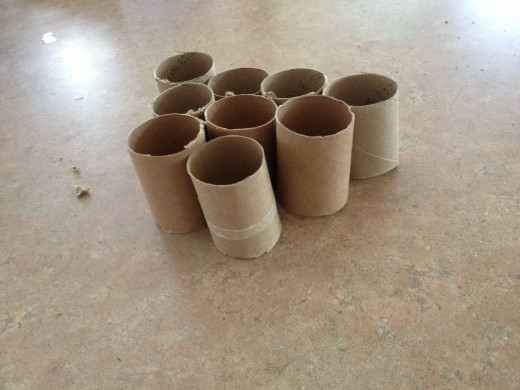
Step 1: Cut your toilet paper roll centers in half. Paper towel roll centers can be cut in fifths. It is not that important they all be the same height, but you do want enough room to be able to cut the base and still have enough dirt to give your seedlings a decent start.
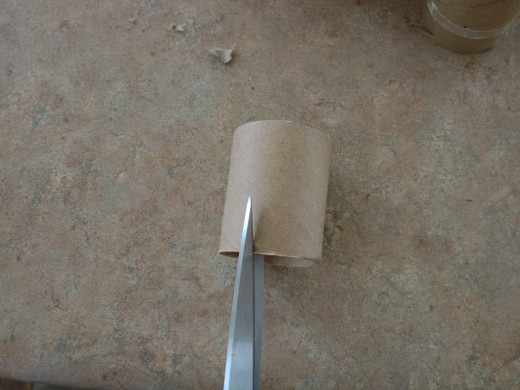
Step 2: Cut four slits about 1/3 of the way up the roll. Try to make them as even as possible in height and distance around the tube. Again, it doesn't need to be perfect but an even set of cuts will make it stand straighter.
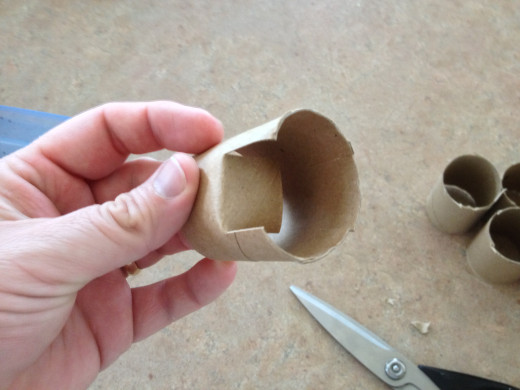
Step 3: Fold the four flaps you've created inward. This is where you can fudge any bad cuts by just folding the offending flap at the correct height instead of all the way to the end of the cut.
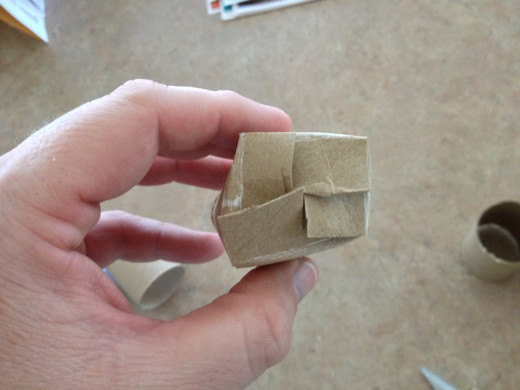
Step 4: Tuck the flaps into each other to create a cross fold as seen in the picture. This type of fold makes for a pretty robust bottom to your pot that won't flop open. And it doesn't need tape or staples! If your flaps are too long to make this kind of fold, just open them up and re-crease them lower. A gap in the middle is actually a good thing, it will allow excess water to drain out.
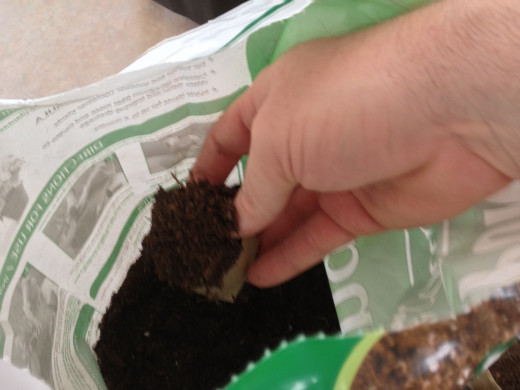
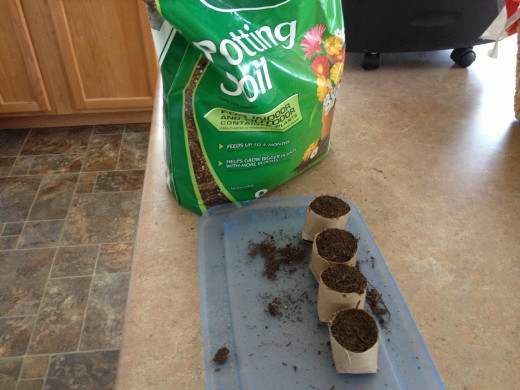
Step 5: Scoop some potting soil into your cardboard seedling pot. Fill it up about halfway at first, then spray it with water to moisten. Then scoop again to just under the rim, by about how much your seed packet wants for seed depth. Moisten again.
Step 6: Add the vegetable or flower seed you want, add more dirt to cover, and give it another solid spritz of water. This is easier than trying to make a hold in the center of the dirt and adding the seed after filling all the way. It also lets you make sure the dirt around the seed is well moistened.
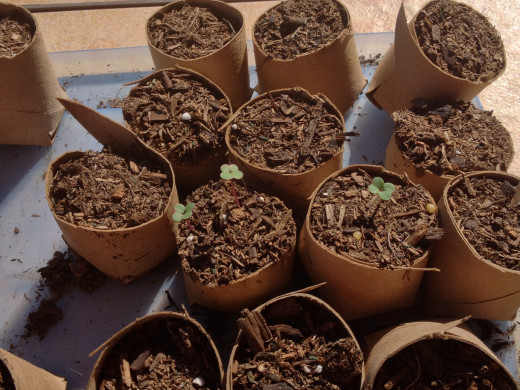
Step 7: Keep the soil well moistened. At this point, you can add a layer of saran wrap held up by toothpicks in some of the pots to create a mini-greenhouse. This keeps the soil warmer and moisture in. Once your seedlings are growing well and have a few 'real' leaves, open the bottom flaps and plop the seedling pot into a hole in your garden. The roots will go out the bottom of the pot, and earthworms will eventually take care of the cardboard!
Troubleshooting Your Homemade Seedling Pots
Dirt gets dry to quickly: You will need to give your seedlings a spray of water at least twice a day. Cardboard is good at wicking water away from the dirt. In dry climates, the saran wrap greenhouse idea will help keep moisture in.
Cardboard rolls unravel: Doing several of these homemade seedling pots at a time and packing them tightly into the tray will help keep the spiral cardboard from unraveling too much. In my experience, they don't unravel so quickly that you can't get a good set of seedlings out of the pot in the meantime. After all, you WANT them to unravel and fall apart eventually, because that makes it easier for the plants roots to expand outwards. These can not be reused, so don't worry about it.
The pots tip over: Make sure you sharply crease the folds and make sure they are as even as possible. Packing them together in the tray will help them support each other. All else fails, wrap the whole bundle of them together with a piece of twine.
Benefits of Making Seed Starter Pots
Cost Savings: The biggest benefit to using cardboard rolls to make your own seedling pots is the cost and time savings. No more driving down to the garden center to pick up plastic seed starters. Also, since the whole cardboard pot goes into the garden, you don't have to worry about trying to pull or push seedlings out of those plastic pots, risking tearing the root structure.
Kid-friendly Gardening Craft: My five year old son enjoyed helping fold the bottoms of the pot, and the two year old daughter enjoyed scooping dirt into them – and all over the counter, of course. Having the seedlings in the kitchen sprouting and growing over time got them excited about growing, caring for and eventually eating “their” vegetables.
© 2013 Jason R Gray


