- HubPages»
- Home and Garden»
- Gardening»
- Fertilizers & Compost
Top 5 Tips on managing a worm farm with Eisenia Foetida

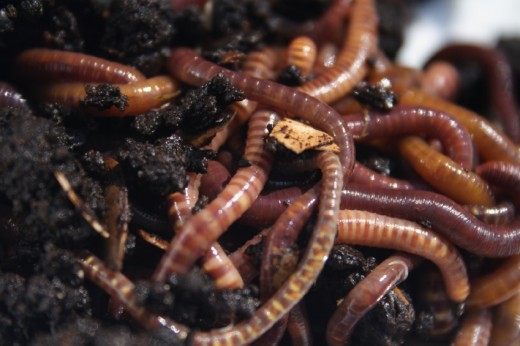
The Eisenia Foetida worm (also known as the red wiggler worm) is considered to be most favored when it comes to composting. Other than being the most effective when it comes to creating nutrient-packed compost, they’re also regarded to as prolific breeders. So if you’re worried about having to buy a new batch of crawlers every now and then (especially if you’re managing a worm farm), then you can stop worrying now. Red worms are in fact, able to reproduce at a fast rate, so you can be assured that your worm population will also be able to double in time.
Worm farm management tip #1
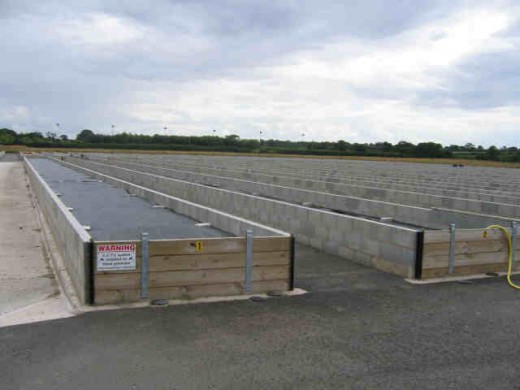
Now that you’ve got the red wigglers for your farm (you can also get a hold of your worm supply by acquiring a worm ranch kit for starters), the next step on managing a worm farm would be to know how to run one. This will be your first worm management tip. With this, you’re going to have to decide on what kind of container to put them in. You can choose to place your worms in a variety of bins that offer different materials (can be made out of wood or plastic), capacities, sizes, and shapes. You can also decide on the capacity and size of your bin when you’ve already determined how much wastes you intend to have composted regularly.
Worm farm management tip #2
Your worms should be able to thrive and develop well under ideal conditions. So see to it that they’re kept in areas where there is room temperature. You can consider arranging the worm bin/s (using your worm kits) inside your garage, basement, closet or under the kitchen sink. For worms to feel at their best, at all times, it will be best that they be placed where temperatures range from 60 to 80 degrees Fahrenheit.
Worm farm management tip #3
Checking the pH level of your earthworm nursery’s moist bedding is one of the most important thing to routinely check in managing a worm farm. You’ll know that the worm bedding is acidic if the pH level goes below 7.0, and know that it is alkaline if the pH level goes higher than 7.0. The pH level of your worm’s bedding should just be at a neutral level of 7.0, or else this will get in the way of your worms health. If things get too acidic in the bin, you can neutralize it by applying some crushed egg shells on the bedding.
Worm farm management tip #4
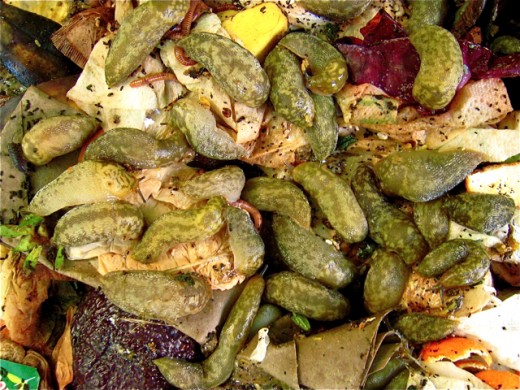
When managing a worm farm, always make it a habit to keep the compost materials inside the worm bin well-aerated, a good example of this is using shredded leaves (at least turn and mix the contents every week or seven to ten days). This will also help encourage the passage of air to go in and out of the bin freely. Remember that worms need oxygen to live, especially in their condition (worms are born without lungs so they only breathe through their moist skin).

Uncle Jim’s recommends the Outdoor Composters
To know more about the product, check the Outdoor Composters here.
Looking for environmental solutions that will encourage the use of organic-made fertilizers? Get into the act of recycling and composting, and create your own organic compost! Start your composting project by picking from an interesting selection of Outdoor Composters at Uncle Jim’s. Get your personal composting equipment from us today!

Worm farm management tip #5
Keeping your worm farm under dry or wet conditions can potentially harm your compost worms. A worm bin that’s been kept dry can irritate the skin of your worms, which can also lead to their eventual death if not controlled right away. Worms rely on their moist skin to be able to breathe. So for dry conditions, you can remedy the situation by sprinkling some water into the bin (making sure that the contents of the bin has the same consistency like that of a wrung-out sponge).
Worm farms should also be contained inside a compost bin that provides good drainage. A wet bin can potentially spoil the contents inside it (water that’s past its best can cause contamination) and can also cause for your worms to drown. You can remedy a wet bin by putting in some paper shreds to help absorb the excess water. But all in all, there should be drainage holes drilled underneath the bin to help the water to seep out freely.


