DIY Pallet Planter Platform

Here's an easy project for balcony gardeners - or anyone who needs to be able to move larger or heavier items on a regular basis.
We've transferred to a new unit in our co-op, which means I need to rethink my balcony garden. We have two balconies now, and my younger daughter will be taking care of planning and planting the smaller, third floor balcony herself. The larger, main floor balcony is going to be used for a number of things, including martial arts training. That means anything that's not on the rails needs to be kept to the side, so the balcony floor can be kept as open as possible.
We also need to keep in mind that our co-op is going to have the flooring replaced completely this summer. It was actually redone fairly recently, but a manufacturer's defect resulted in the waterproof layer buckling in the heat.
Some of the other factors I wanted to keep in mind was the weight of planters that will need to be rotated on a regular basis, and that I didn't want them directly on the balcony floor.
It was my older daughter that came up with a solution for me. She works at a hardware store. They regularly toss out wooden pallets. Most are broken, but some are still quite sound. Anyone who wants them can have them for free. She noticed a particularly nice sized one and we brought it home.
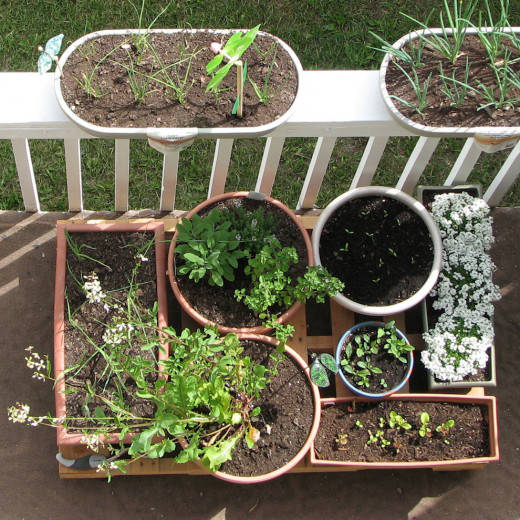
A few wheels and some screws, and I now have a planter platform that keeps all my pots together and easy to move!
Time required: About 10 minutes
Difficulty: easy
Cost: under $20
Materials:
- 1 cast off pallet
- 4 - 1 1/2 inch general duty swivel casters
- 16 - 1/2 inch wood screws
- Optional - outdoor wood paint in colour of your choice.
Tools:
- screwdriver or drill with screwdriver tips
- Optional - paint brush
Instructions:
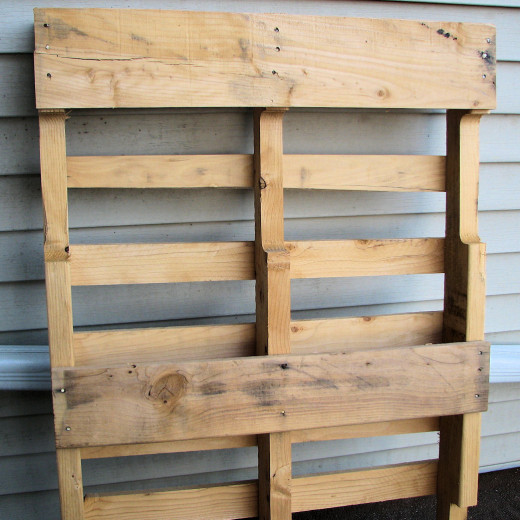
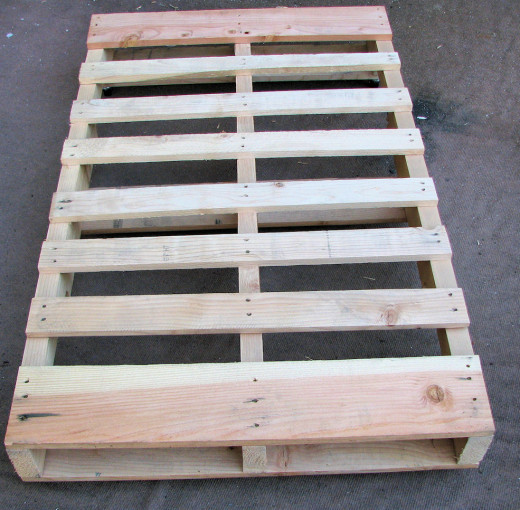
1. Aquire a pallet. Most are square, but we found a rectangular one that was a better fit for our balcony. Check out your local lumber or hardware stores for cast off pallets. Most are quite happy to give them out for free; otherwise, they have to pay to have them hauled away.
This photo shows the underside of the pallet.
Optional: If you wish, clean the pallet, then paint it to your desired colour. This will add years to your platform, as well as beautify it. You may wish to stain it, instead. Follow the directions for the product of your choice, then wait until your pallet is fully dry before attaching the wheels.
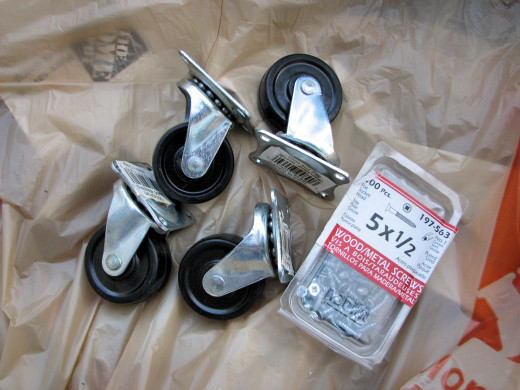
2. Although you can choose whatever size and type of caster wheels you wish, I recommend the smaller 1 1/2 inch swivel casters. The spinning wheels will make your platform a lot easier to move.
For the screws, I happened to already have some 1/2 inch wood screws on hand. Note that the type pictured here are Robinson's, which need a square tipped screwdriver. These are available only in Canada. Outside of Canada, I believe the Phillip's (star) is more common.
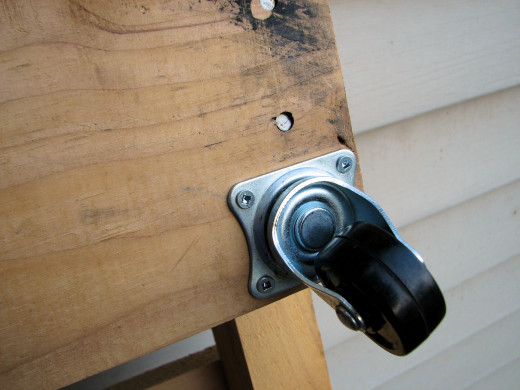
3. Position the caster's plate near a corner, taking care to see if there are any hidden nails to avoid, and screw securely in place. Repeat for each corner.
If you expect to have very heavy planters, you may wish to add two more casters between the corners, on opposite sides.
4. Lay your pallet platform on its wheels.
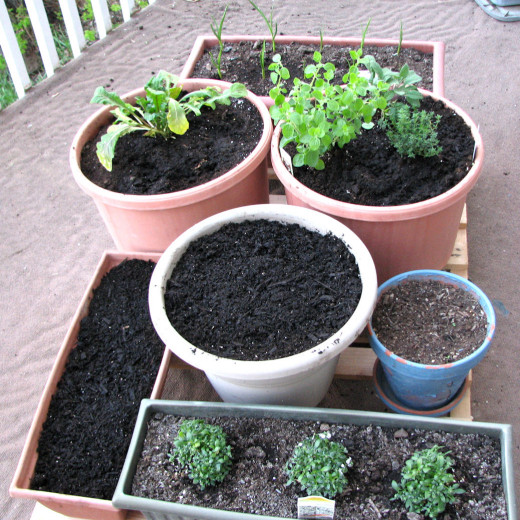
5. Arrange your planters as desired.
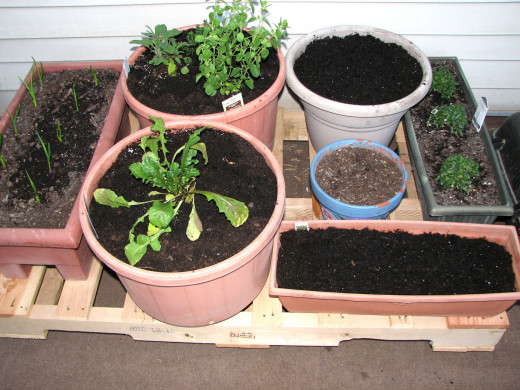
6. Move your platform to wherever you wish!


