Make Your Own Free Home Phone Line

Materials
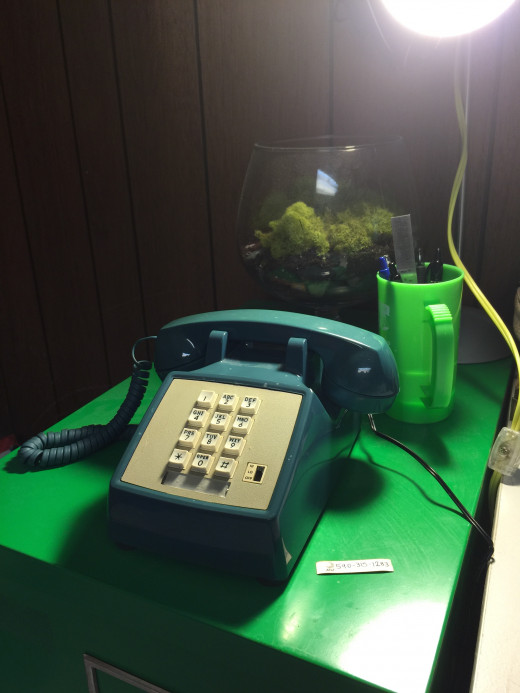
- Analog Phone Line
- 7 ft. Phone Cord
- OBi200 VoIP Phone Adapter
- OBi200 USB Phone Adapter
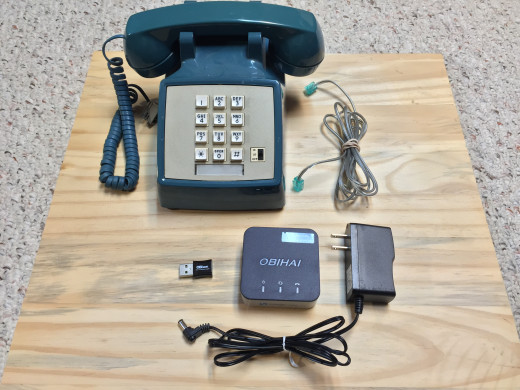
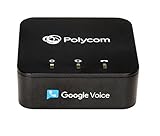
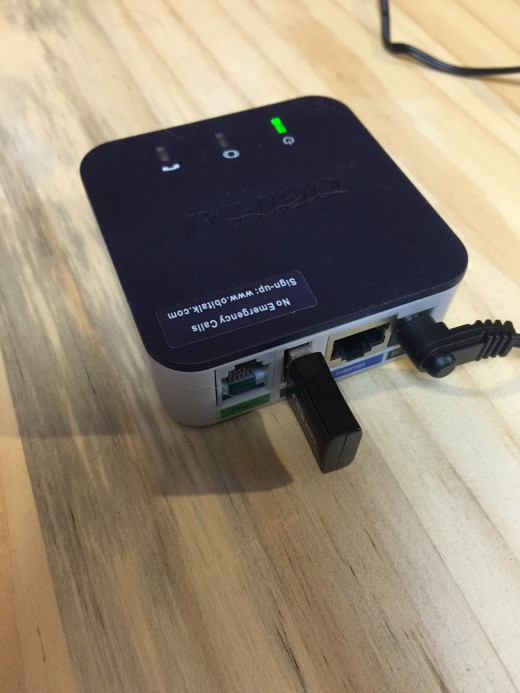
OBi200 VoIP Phone Adapter
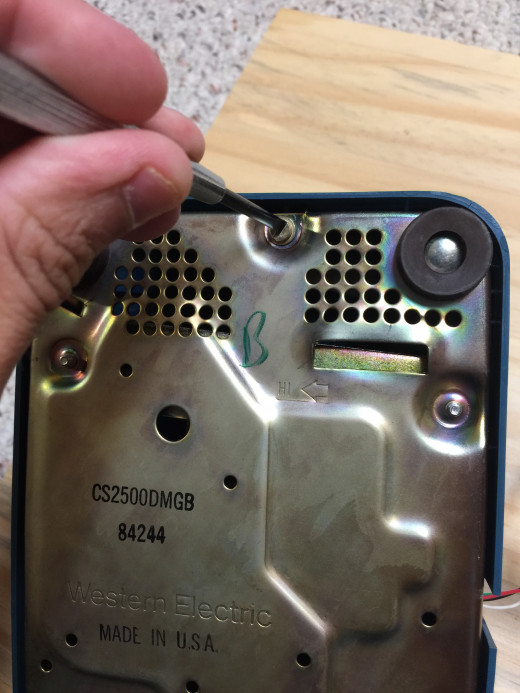
Step 1: Hardware Installation
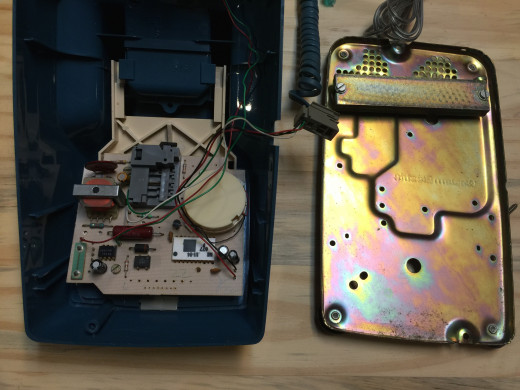
First, unscrew the bottom of your phone if you have an older model like mine. Otherwise skip this step.
Step 2: Establishing Phone Connections
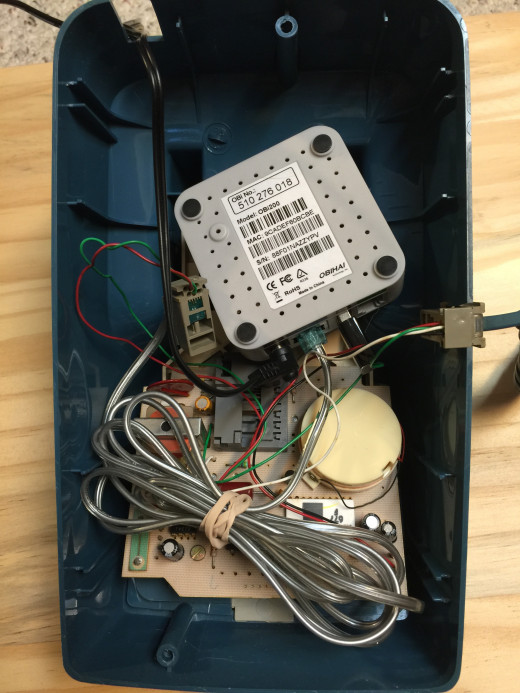
Once the bottom plate of the phone is disconnected properly the phone connections and the additional electronics can be placed inside the phone. This method allows all the components of the phone to be encompassed inside.
Step 3: Setting up USB Wireless Adapter
Using the USB Wireless Adapter is an add-on, but it makes it so your phone doesn't need to be connected with an ethernet cable to your router. The steps to connect the usb wireless adapter are found using the link below.
USB Wireless Adapter

Step 4: Establishing a Phone Connection
Once the USB wireless adapter has been installed the phone cord needs to be connected between the OBi200 and the phone.

Step 5: Closing up the Phone.
Once all the connections are correctly installed place the OBi200 and all other parts inside the telephone casing and screw the telephone bottom plate back on.
Step 6: Setting up the Account
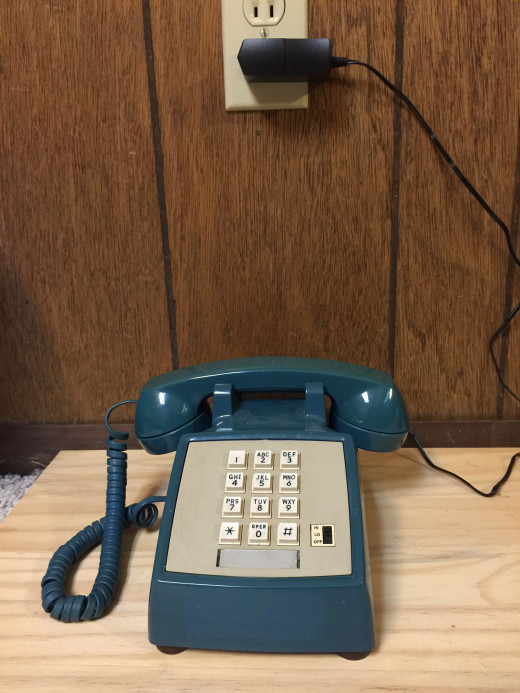
To finally setup your number with your OBI phone adapter and phone make sure that the OBI is on and that the phone line is connected between the OBI and the phone. After, all these connections are verified use the link below to finish synching your phone with your google voice phone number.
http://www.obihai.com/googlevoice


")