Snow Day? How to Build an Igloo, in Your Back Yard, by Sunset!
Schools closed for snow! But is it good snow?
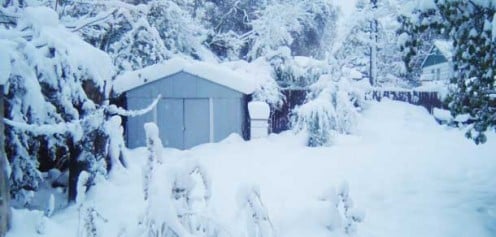
To make an igloo in your back yard, you need good snow - wet snow that makes good snowballs, makes roads slushy, and makes schools close for a snow day. The first fall or last spring snows may be better than what you get in January. You don't need a big snowfall if you have a big enough field to work from (but the deeper the snow, the more likely school is closed!) A couple inches could be enough, though six or more would be nice. For perfect conditions, you need a fresh fall of wet snow, but a warm afternoon after a cold snow may work too. Plan ahead, so when you notice good conditions, you can drop everything else and build as fast as possible. Snow quality changes fast when the sun sets. Like trolls turning to stone at sunrise, igloo bricks become dust at sunset!
Make an igloo with this snow
Build an igloo: get ready
You need a snow mold to make an igloo. Well, no, you don't need it, but it helps you work faster than hand-shaping bricks. Find something you can shove snow in fast, and dump out of easily. Plastic is great, especially a rectangular shiny plastic bucket. The bigger the better; the fewer bricks you have to make, the faster you can go. Some plastic trash cans work well. But don't use anything you want to keep, and have several molds on hand, because as plastic gets cold, it gets brittle. Sooner or later, one whack too many packing down a snow brick rips a crack down the side of the mold. Besides trash cans, we have used plastic stacking baskets and gallon ice-cream tubs.
Build an igloo: get set
The snow is perfect, school is closed, the kids want things to do outside. So get out there! With mittens on and mold in hand (in good snow conditions, you won't need much of a jacket), tramp out a circle (it can be far from perfect) in the snow. The diameter should be about what you'd like the height of the igloo to be. But sunset is coming - don't get too ambitious. When the snow gets cold, you'll have to quit building igloos. Your igloo walls will settle, melt, and generally not match anything you add after that even if you get more wet snow tomorrow. If it has a roof by sunset, you have an igloo. Anything else is just a snow fort.
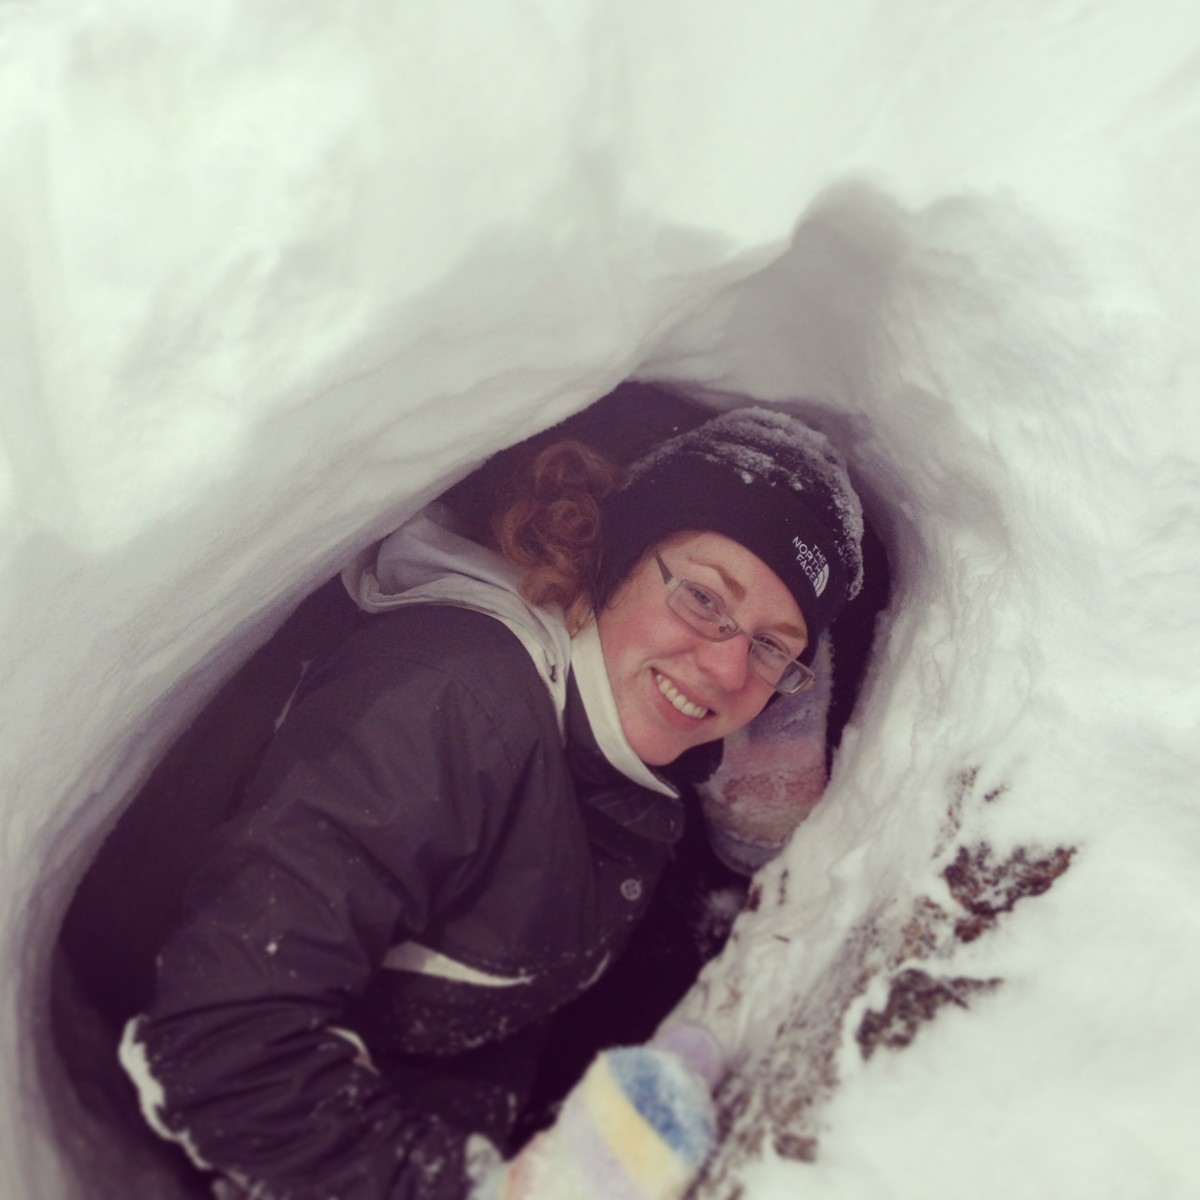
It might take as little as twenty minutes to make an igloo that holds a dog. To make an igloo big enough to sleep in overnight you'd better hope you have at least an hour. Or two. Yes, one can sleep in an igloo. No, I haven't. My brother did.
Build an igloo: go!
Now, make igloo bricks. Shove snow in your mold. Run over to your circle, and dump the first brick on it. Run back, load up, and smash the second brick next to the first. And the third next to that. If you get cracks, just shove things back into place. No, not too hard! Now the neigboring brick is crumbled! That's okay, just pat it back together. Didn't work? Then shove the crumbles out of the way and replace it with a new brick! A bit more carefully this time. Use the crumbles for another brick, or to pat in the spaces there always are between even the best-molded, best-laid bricks. You didn't have any spaces? Then you weren't working fast enough. Perfectionism will not get you an igloo by sunset.
Make the first row of bricks all the way around the circle. Never mind the door. We'll get to that. First you have to prove you are up to the serious, boring work of making a whole lot of bricks.
A snow fort, or something more? The second row
Before you start the second row, you must angle the top of the first row. This will make the layers above into an arch; that's how you build an igloo instead of a snow tower. It'll happen automatically if you used a small plastic trash can as a mold, and laid the bricks on their sides (in future rows you may have to lay some bricks the opposite way to keep the wall from curling over on itself.) If you used something else, that's fine, just shave it off with your hand or a shovel at about the angle of the side of a small plastic trashcan.
The bricks of the second row should, if possible, sit over the cracks of the first row, for stability. Don't worry if it's not perfect. The fit of snow bricks is not critical, but your time on a snow day is.
You want to keep an angle to the top of the wall as you go up; not too little, not too much. About the angle that would in cross-section make a good arch. That's what you are building; a three-dimensional arch. And you want the arch to be at least a vertical semi-circle. A shallower arch will probably fall in.
Make the igloo tall: keep building
However many rows it takes. The first couple rows go fast. The next several get depressing; for a long time it looks like you're almost done when you're not. The discipline to keep on is what separates igloo builders from mere snow fort builders.
Finally you're close to the top. Here the walls should be curving in toward each other, and the bigger you build the igloo the harder it is to reach in to lay bricks. When the igloo is done, you may be able to sit on the top of it, but until you get that keystone brick in, leaning on a wall will make it fall in. If that happens, all is not lost, but you've got to fill in the hole with new bricks; it may not bind as well as the original wall. Also, it delays you, and the sun is setting!
You'll probably end up with extra snow inside as you occasionally drop a brick or something falls off. That's fine; you can use that snow to make a bench inside above the level of the entrance; i.e. above the level of cold air. Just don't stop to dig it out now. You can do that anytime; you can only build igloos while the snow is good.
Now you get to make the entrance to your snow shelter
About time, too. You might be able to dig an arched entrance in one side with your hands, but if you need a shovel to carve, that's better - that means your igloo walls are thick and solid. Make the entrance as small as you can stand to squeeze through, to limit cold air as much as possible. Go ahead and make an arched tunnel for the igloo entrance now if you want. It's not vital, but it cuts down on wind and outside noise.
Your new entrance lets you bring the bricks for the last few rows inside and place them from there. It's not as quick or easy as working from outside, but it keeps you from leaning on the wall and breaking it. If your wall is taller than you can reach easily even from inside, build yourself a stool of snow to stand on.
What makes an igloo: the keystone
You're down to a small hole in the top. You probably won't be able to work from inside, or reach it from outside. If your aim is good, try tossing a brick - gently! - from outside onto the igloo's hole; the small impact helps cement the wall. Maybe you can put the brick on a shovel and drop it into place that way. It's okay if the top of the igloo doesn't look pretty. Solidity is what matters. If you built a good strong entrance tunnel, you may be able to stand on that and lean on the wall to reach up and smooth off the top. You can even try to climb up and sit on the top now. Just be careful. Don't kick holes in the sides getting up there.
You're basically done building an igloo. Is the sun still up? There are some finishing touches if you've got time. You probably have a lot of holes, or almost holes, in the sides. Pack snow in them. That helps the igloo last longer when it starts melting. And now you can make your bench inside the igloo. If you have something waterproof and insulated to sit on, you'll be quite warm in an igloo above the level of cold air. Snow is a good insulator and now it doesn't matter how cold it gets; you're warm in your pocket of air in the igloo.
Things to do in snow after the sun sets
The sun has set! But you are safe. You, and/or your kids, have a shelter, a mountain to climb on, a fortress, and a hiding place. You are prepared in case tomorrow is another snow day. There is lots of stuff to do outside in snow. Have a snowball fight. Build snowmen to guard the igloo. Pile up a whole lot of snow beside the igloo and make it a mini-ski hill! If you want to camp out in the igloo, just keep something waterproof under you (and maybe over you too, if the roof starts dripping.) If your walls are thick and solid, you may need to poke some ventilation holes in them, and don't close up the entrance. Bring a candle in the igloo, then go outside to see the glow. Enjoy the house you've built yourself.

