Penn Level Wind Reel Rebuilding and Refurbishment

Many people enjoy repairing and maintaining their fishing equipment. One of the most popular brands are Penn Reels.
Otto Heinz a German immigrant, wanted to build and design fishing reels and start his own company. In 1922, at the age of 25 he began working for Ocean City Fishing reel manufacturing .
In 1932 his dream became a reality when he rented a building and began Penn Fishing Reels. In one year released and sold his fist two to reels. Since that time avid fishermen have sought out their first Penn Reel.
Weather it was a new reel or a secondhand, perhaps even one handed down, sooner or later the reels will need cleaning or refurbishment. Penn reels can be complicated and many people try to rebuild their Penn Reel, but stated that after they got it apart, they couldn't get it back together. The exploded schematics can be difficult to understand, and if you are unfamiliar with the reels, can be quite confusing to follow. So in this hub, I will try to go step-by-step on cleaning and rebuilding a Penn star Drag level-wind reel. If you have any questions or comments, I would be happy to hear from you as well.
NOTE: If you do not have a Penn reel tool, do not start work. People have tried to use pliers on the handle screw, it damages the screw, chips away the chrome and makes a mess out of the screw. Most replacement screws are available but they can be expensive depending on the reel you are working on
First to begin disassembling the reel, find a clean flat area (I use a dining room table) and lay out a work mat, so you have something to press against. I place white paper towels down to make parts more visible; they also absorb any grease or oil that may come from the reel. I also use a medium glass bowl to place the parts in; this can be used for cleaning and soaking the reel parts after you disassemble it.
Now using your Penn Tools, a medium, and a small flat head screwdriver, you are ready to begin. Paying attention to how the reel comes apart, completely disassemble your reel. Start with the Handle lock screw, located on the handle and prevents the handle screw from coming out. Remove it and set it aside for the moment.
The handle screw can be loosened with the PENN REEL TOOL (see Figure 24) using the handle screw opening. Once loose it should come out easily with just your fingers. Now remove the star drag and washer located behind the handle. Use either some polishing compound, chrome polish or 1000 grit polishing steel wool to clean the handle and star drag (See figure) when they are cleaned and polished, replace the handle lock screw into the handle so as to prevent loss, and set it aside. Place the star drag and handle screw to the side for now.
Continue dismantling the reel by removing the outside post screws carefully with the small flat head screw driver. Make sure your driver fits the screw head to prevent damaging the head or chipping the chrome. If they are hard to turn, place a cloth over the chrome post and GENTLY squeeze down with your pliers to hold the post while you unscrew it. After the post screws are removed, remove the foot (mounting plate) and place all the screws into the bowl. The spool should be free, so you can set it aside for now.
To clean the chrome pieces and side plate rings, I use 4-ought steel wool and hand clean the bright work, then set it aside and go back to the side plates. (Over use of the steel wool may cause brassing (exposure of the brass beneath the chrome) but if there is excess pitting you may not have an option, If you think the chrome rings need replacing, you should be able to obtain them on eBay or an authorized Penn dealer. If the reel is a vintage reel, eBay or a collector’s website may be you only choice. I have found many parts for both my newer reels as well as some of the oldies from eBay (www.eBay.com) and The Fisher-man www.thefisher-man.com.
Now move to the four mounting screws that hold the gear and drive assembly while holding the assembly in with your fingers, so it will not fall out while you are unscrewing it. Once the screws are our gently let the assembly drop into your hands, and watch for the “Dog Spring” That sucker can spring off and become impossible to find. It’s located in the handle side under the main drive gear assembly, and part of the anti-reverse mechanism. Place the parts in a glass bowl with mineral spirits to soak.
If you are working with a metal spool and you find the spool will not separate from the side plate, it may be because the pinion gear is stuck to the spindle shaft. Disassemble the Drive gear assembly as mentioned above, and afterwards you can remove the surrounding parts by hand to expose the spindle and pinion gear. Place the parts into the bowl and go back to the spool. The gear may be only lightly stuck and can be dislodged by using a cloth and the pliers. Gently squeeze the jaws against the cloth around the pinion gear. Now give the gear a slight twist and see if it will dislodge. If this doesn't work, do not try to force it, you may damage the gear or break off the spindle shaft. In a separate bowl place the spool with the pinion gear on the bottom and let it soak in mineral spirits overnight, and try again with the cloth and pliers, if that fails, you might also try WD-40 spraying the gear and shaft liberally, and let it set overnight.
If the gear remains stuck and won’t release, take the pliers and grasp the gear with the jaws and while holding the spool, turn the gear. It will begin to crumble and fall apart but it should release from the shaft. You will need to get a new gear but it should save the spool. Bakelite spools should not get lodged into the pinion gear and never under any circumstances use pliers or force a Bakelite spool. The outcome will not be good and the old Bakelite spools are hard to find.
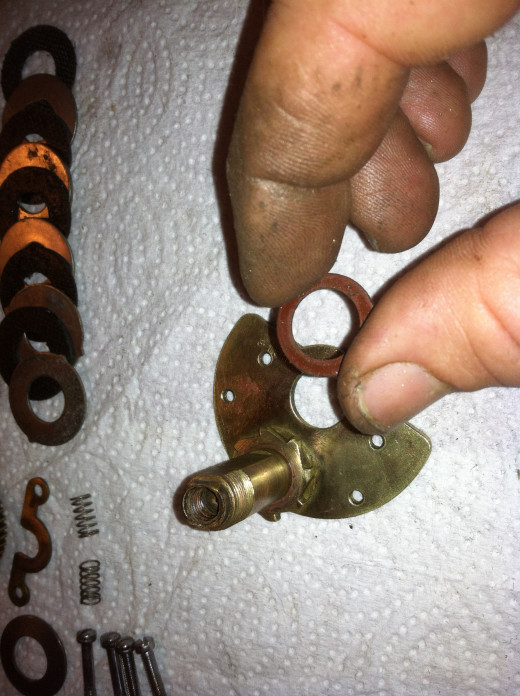
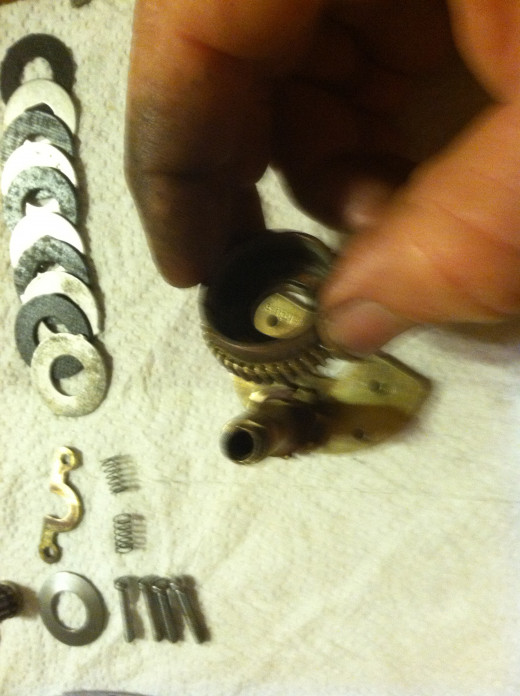

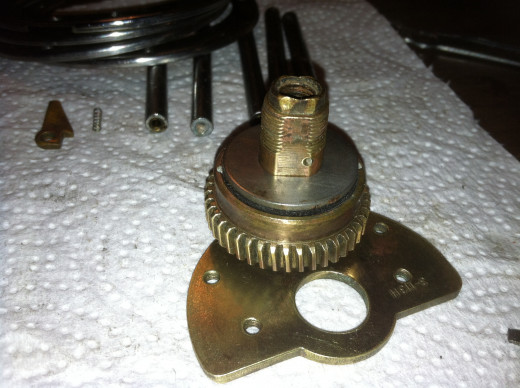
Although these instructions with a few minor differences will work for any star drag Penn reel, I am using a Penn 4.0 113H Senator for demonstration and illustration purposes. These instructions are applicable with a few exceptions. Some earlier Penn reels used a spring copper dog spring in place of the coil spring used in the later models. Additionally the eccentric and jack plate may be inverted from figures shown in these instructions.
Once you have the reel disassembled, and all the parts cleaned and ready to reassemble, start with the drag assembly. First pick up the Bridge with the main shaft attached. Place the small thin fiber insulator washer on the shaft, and slide it down to the anti-reverse gear. Next take the large drive gear and slide it down against the fiber insulator washer. Now you are ready to assemble the drag.
There are 5 Metal drag washers and 5 fiber drag washers that make up the drag assembly Place one fiber drag washer on the shaft and slide it down inside the drive gear. Next slide one of the metal drag washers on the shaft against the first drag washer. Two of the remaining metal drag washers have wings (small points sticking out of the sides). Place another Fiber drag washer on the shaft followed by a “Winged” washer and repeat with another washer and the second “Winged” washer. Now alternate the Fiber drag washers with the remaining metal drag washers (2 each) leaving a metal drag washer on top. Set the assembled drag and saddle assembly aside.
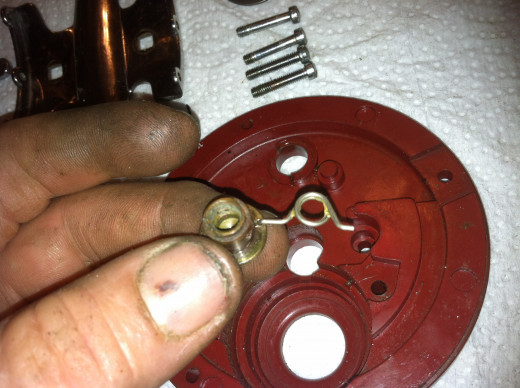
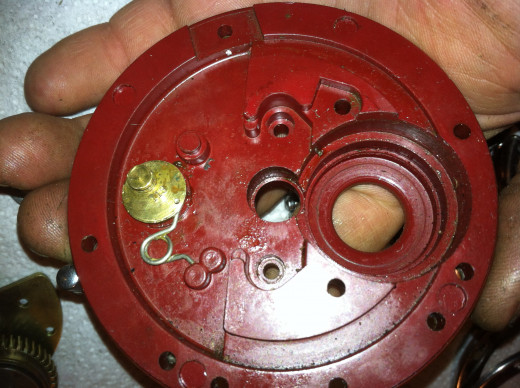
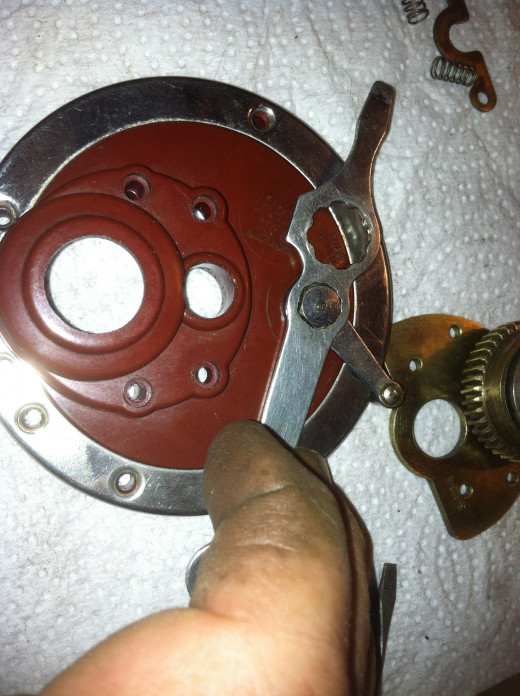
Installing the “Free-spool” eccentric, spring and lever assembly, and be a little tricky. If you are working on a Senator or Mariner reel place the outside Chrome trim ring on the side plate before installing the eccentric and lever. Now to the eccentric: first insert the 90 degree end of the eccentric spring into the underside of the eccentric. Then, being careful to hold the spring in place, push the eccentric through the lever hole on inside of the R/H side plate. The spring should fit into a notch located inside the side plate either on the left or right of the eccentric depending on the reel you are working with.
The outside lever may not fit over the notch on the end of the eccentric because of eccentric position. You can turn the lever upside down and use it to re-position the eccentric, then holding the eccentric and spring inside with your fingers, place the lever on the square notch protruding through the side plate. Take the eccentric lever screw and thread it into the eccentric to secure the lever in place. Tighten with your Penn Reel Wrench.
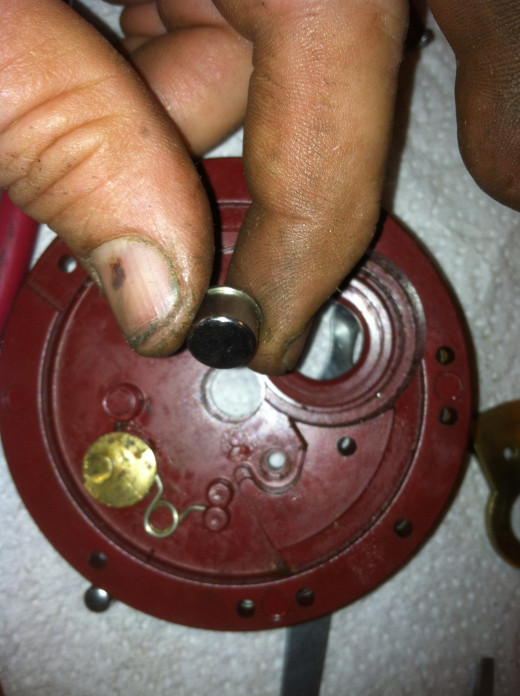
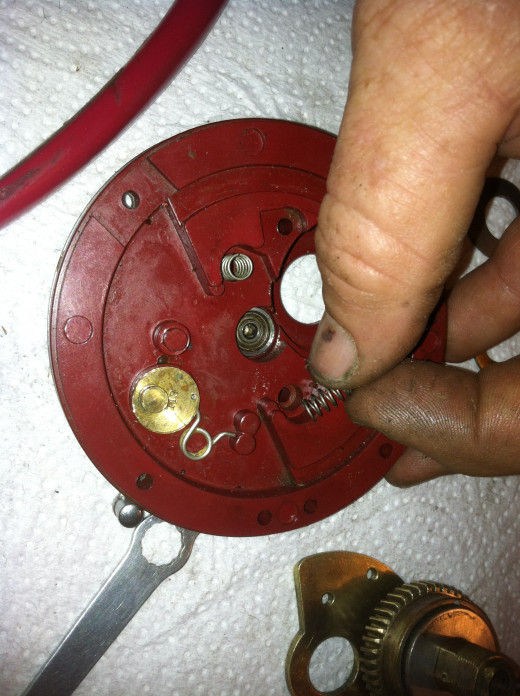
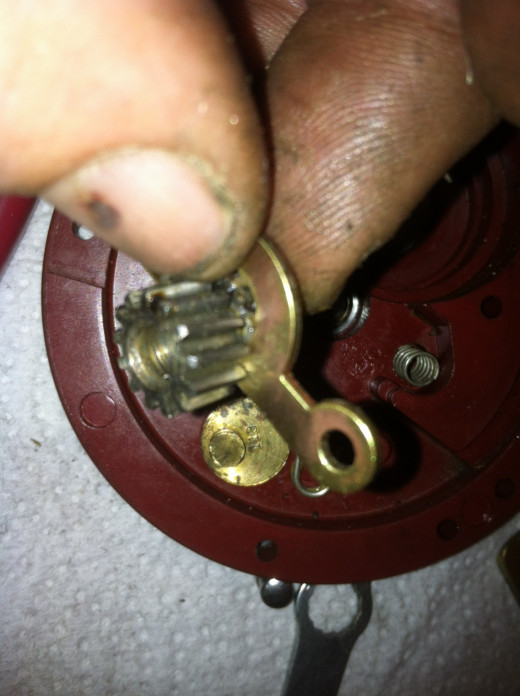
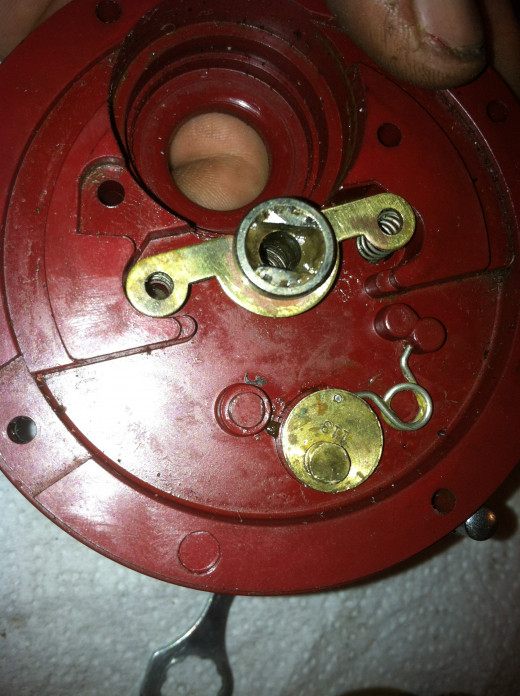
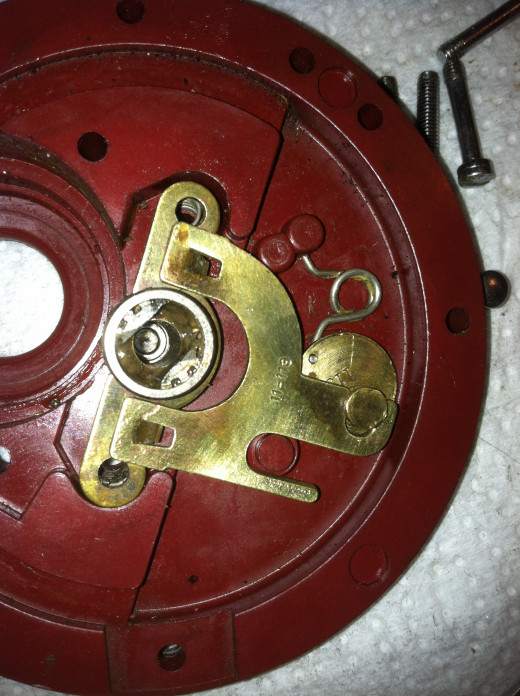
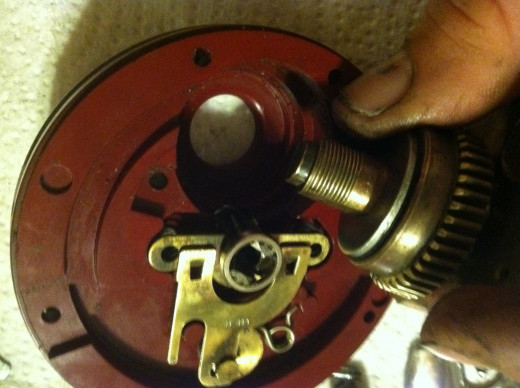
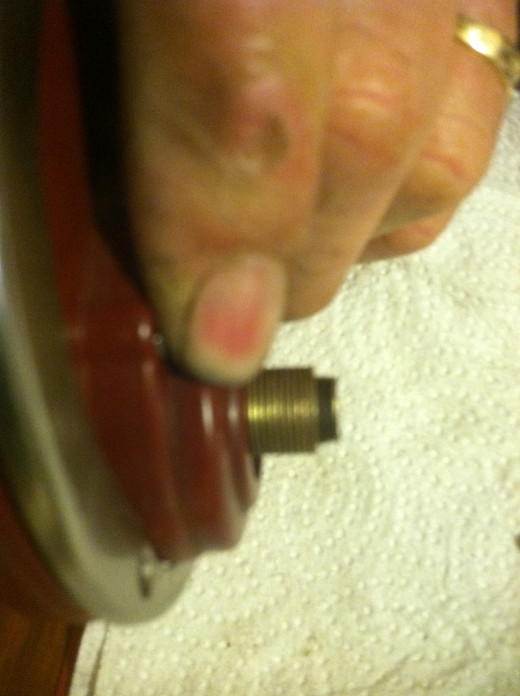
At this stage, it’s time to assemble the right side plate drag and wind gears. Start by inserting the right hand pinion shaft bushing. This simply presses into the side plate and is pressed all the way in. when the spool is installed later, it rides inside the bushing. (see figure 8)
The next step is installing the pinion yoke and clutch spring. Placed the two clutch springs into the retaining holes in the side plate. (figure 9) The pinion gear has a space for the yoke to slip around. (figure 10) Place the yoke with the pinion gear in such a way that it rest on the clutch springs, with the arch of the yoke is facing the eccentric. (see figure11 ) Install the clutch jack plate so that the compression points are against the yoke, and slide the opening at the top around the eccentric cam. (see figure12) the yoke and spring assembly should be held in place by the jack plate
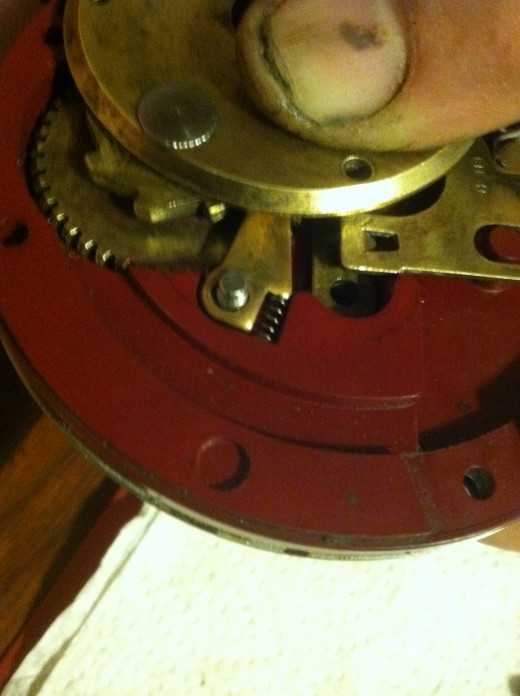
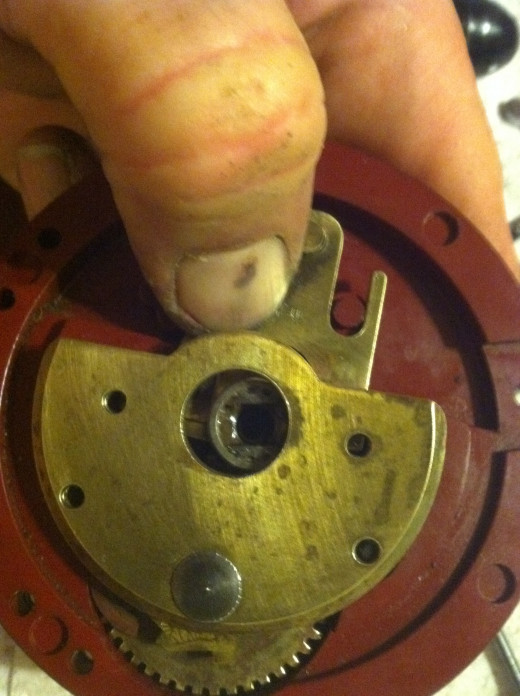
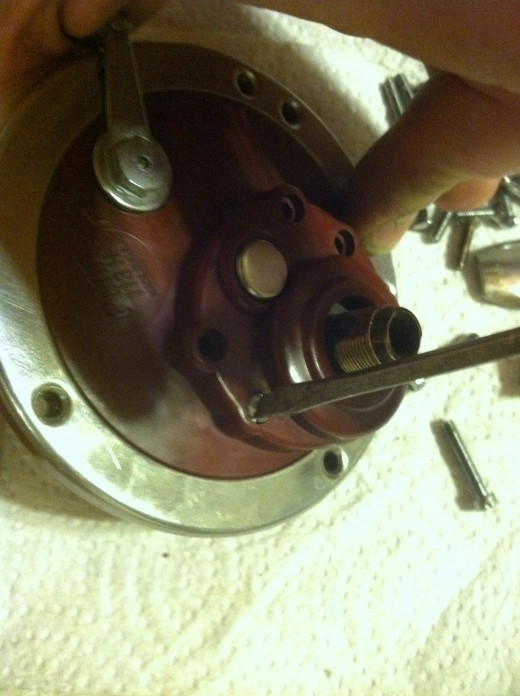
Now insert the bridge and drag assembly inside the side plate (see figures 13 &14) with the bridge turned out exposing half of the yoke and revealing the “Dog” screw hole (figure). Push the fully threaded drag screw through the outside of the R/H side plate so that it comes through the inside anti-reverse dog opening. (See figure15) Now keep your finger against the screw head on the outside until the dog spring is in and the bridge has been turned to cover the dog and spring and the pinion gear is in the center of the bridge opening. (see figure 16)
This is the tricky part. Read this portion fully and have a clear understanding before beginnin. Take the small Dog Spring and insert it onto the opening between the dog and side plate (see Figure) but do this carefully so the spring is fully in position. DO NOT LET GO until you are satisfied the spring is in place, or the spring will “disappear” and might never be found again. Many people get to this point and spend the next two hours searching for the spring. They are not easily found.If you are satisfied the spring is in position, place your thumb on the pinion clutch and press down against the clutch springs. You can now slowly turn the bridge assembly clockwise over the pinion gear and dog housing. Release the clutch and while holding the side plate with your other hand, place your thumb over the bridge plate and press it down.
While holding the brige assembly down turn over the sideplate and with the small screw driver, slightly tighten the dog screw into the screw hole in the bridge. (see figure) then insert the second fully threaded screw in to the corresponding hole through the front of the side plate and into the hole on the opposite side of the bridge. The remaining drag screws have only a partial threaded portion, and are inserted from the front, through the clutch springs and into the bridge.
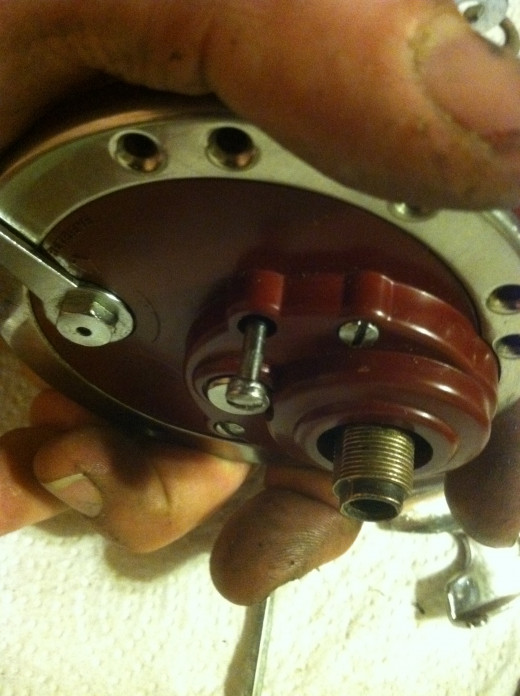
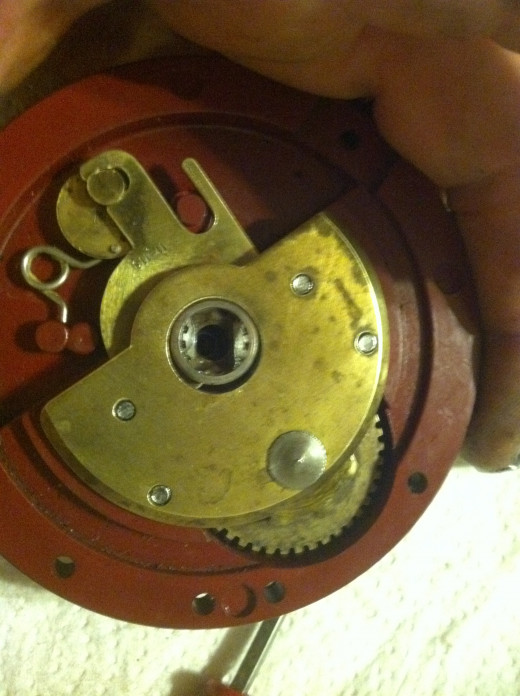
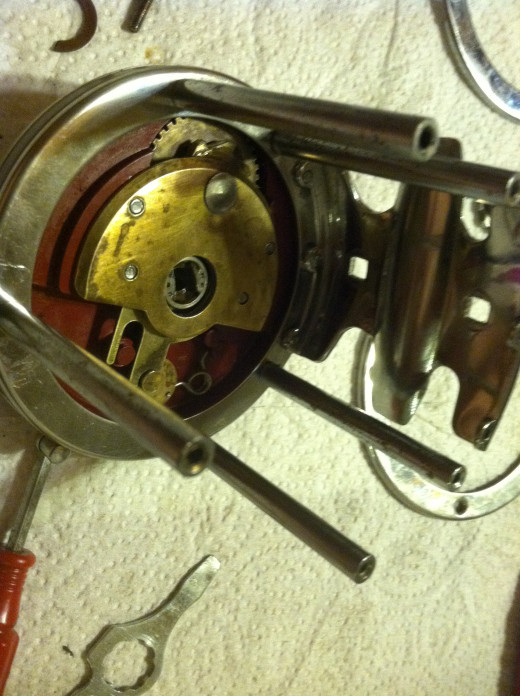
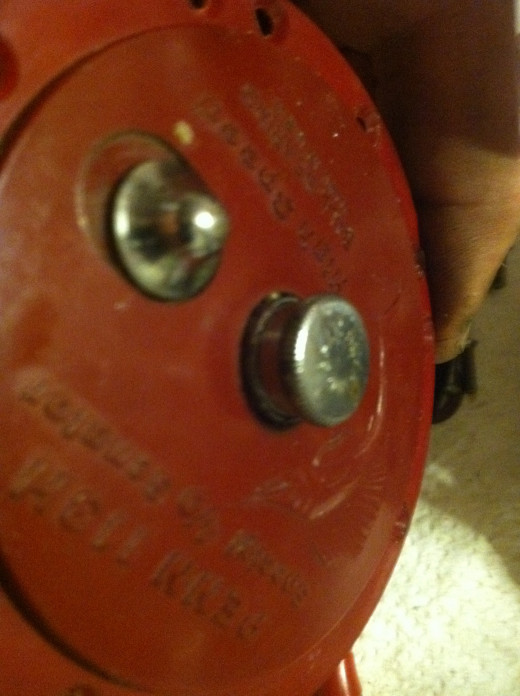
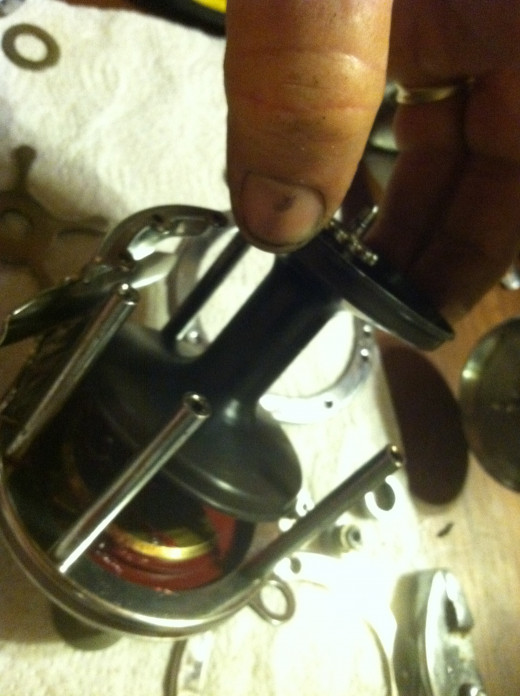
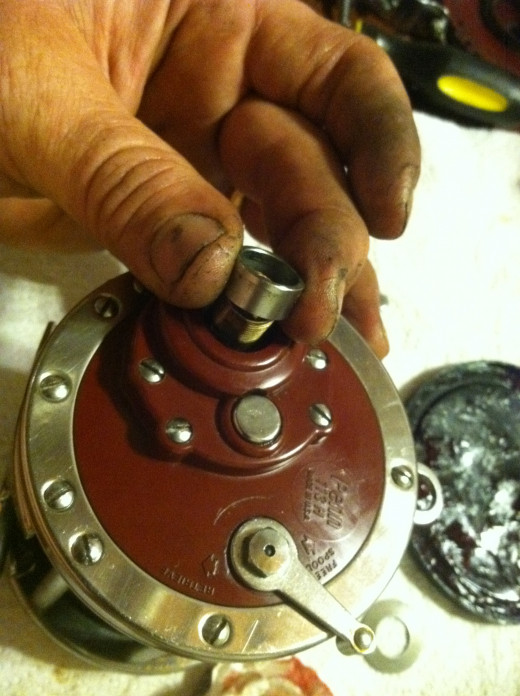
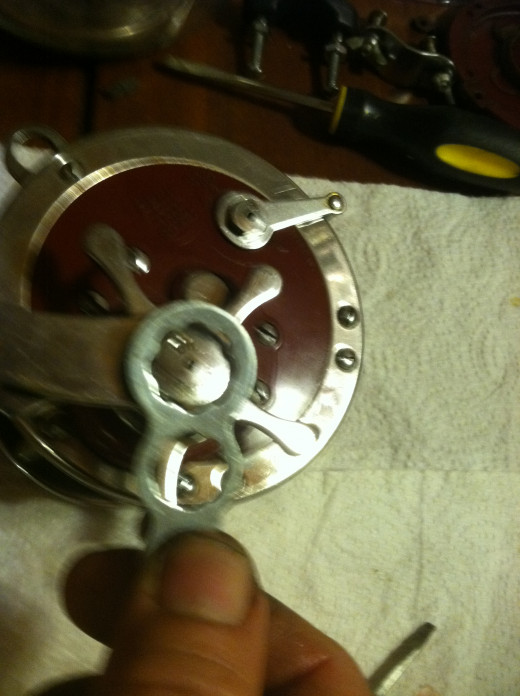
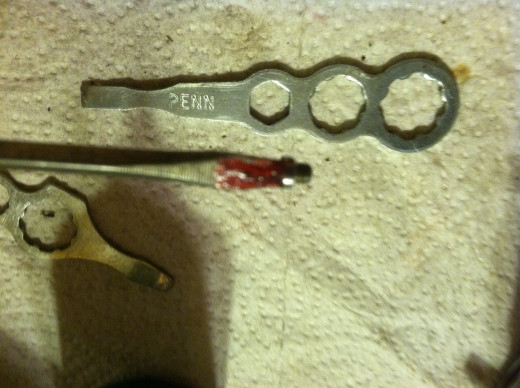
Now insert the bridge and drag assembly inside the side plate (see figures 13 &14) with the bridge turned out exposing half of the yoke and revealing the “Dog” screw hole (figure). Push the fully threaded drag screw through the outside of the R/H side plate so that it comes through the inside anti-reverse dog opening. (See figure15) Now keep your finger against the screw head on the outside until the dog spring is in and the bridge has been turned to cover the dog and spring and the pinion gear is in the center of the bridge opening. (see figure 16)
This is the tricky part. Read this portion fully and have a clear understanding before beginning. Take the small Dog Spring and insert it onto the opening between the dog and side plate (see Figure) but do this carefully so the spring is fully in position. DO NOT LET GO until you are satisfied the spring is in place, or the spring will “disappear” and might never be found again. Many people get to this point and spend the next two hours searching for the spring. They are not easily found. If you are satisfied the spring is in position, place your thumb on the pinion clutch and press down against the clutch springs. You can now slowly turn the bridge assembly clockwise over the pinion gear and dog housing. Release the clutch and while holding the side plate with your other hand, place your thumb over the bridge plate and press it down.
While holding the bridge assembly down turn over the side plate and with the small screw driver, slightly tighten the dog screw into the screw hole in the bridge. (see figure) then insert the second fully threaded screw in to the corresponding hole through the front of the side plate and into the hole on the opposite side of the bridge. The remaining drag screws have only a partial threaded portion, and are inserted from the front, through the clutch springs and into the bridge.
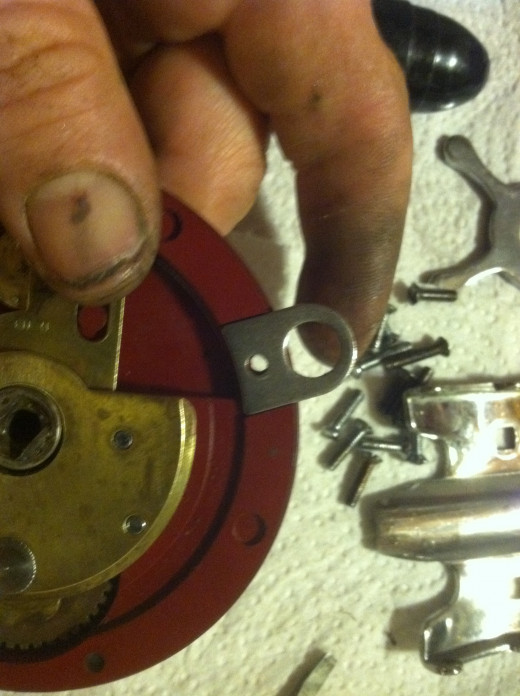
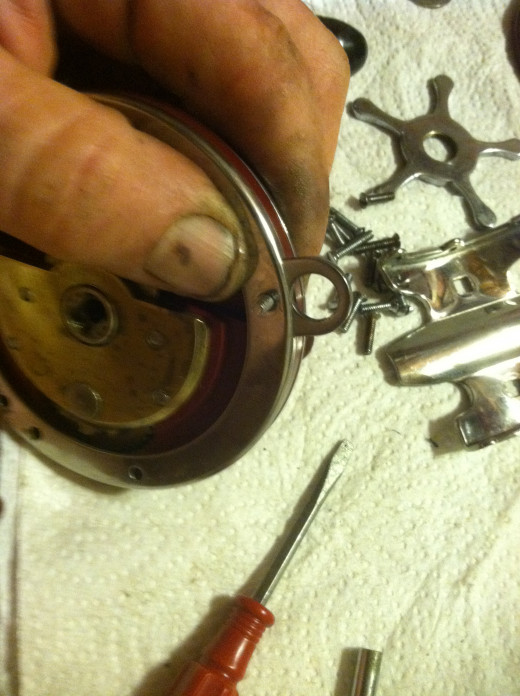
Once the Bridge assembly is installed you can begin re-assembling the rest of the reel. Insert the Harness lug into its place on the inside of the right hand side plate. Place the inside trim ring over the plate covering the harness lug. To keep it in place, install one of the chrome reel post. Then install the remaining reel post and the mounting plate. Do not tighten the screws until the reel is completely assembled. Look at the screws before installing them. There are shorter screws used for the mounting plate (bracket) and the longer ones are for the Reel Post. Some reels have three different size screws, the longer ones are for the reel post, the mid-sized ones are the R/H (Crank side) mounting plate screws and the remaining shortest ones are the L/H mounting plate screws,
After the reel post and mounting bracket are in place, slide the spool into the reel and place the L/H side plate with trim rings over the spool. Insert the reel post screws and snug but not tighten. When all the screws are in place and snug, start tightening them like tightening the lug nuts on a car, doing opposites and alternating to keep the reel evenly torqued Finally tighten the mounting plate bracket screws.
The reel should operate smoothly now and the spool should spin nicely in free spool mode. If not simply loosen the L/H spindle bushing a little at a time until the spool spins satisfactorily. If you loosen the bushing and are unable to obtain satisfying operation, you might need to replace the L/H bushing, Good luck and good fishing.

