How To Edit Music: Using Adobe Audition To Amplify or Deamplify the Volume of MP3's For Your iPod
Differences In Volume Level
Audio tracks come in a number of formats, the most popular of which is mp3. You may have noticed that mp3's don't all have the same volume when played on your iPod. This is especially noticeable when you group together tracks from different sources. Even when you enable volume leveling or normalizing, there are still some songs that are just too loud or too soft. Quite annoying when the next track suddenly shatters your eardrums or when you can hardly hear it when the previous one was just fine. You have two choices when you encounter these differences in volume level:
- You can adjust the volume level on your mp3 player per song every time you play it.
- You can amplify or deamplify the tracks in question to match the volume of the "normal" tracks which is a procedure that you'll only need to do once.
Personally, I prefer the second option. Here's how you can do it.
Amplifying & Deamplifying
Amplifying (increasing the volume) and deamplifying (decreasing the volume) of an audio track can be done using any audio editing software. I use Adobe Audition, formerly Cool Edit Pro, for such tasks.
Open the track(s) you want to adjust in Adobe Audition by selecting File > Open or File > Open as. The first opens the file in its own format - for example, mp3's are opened as mp3's. The second option lets you choose to open the file in another format - for example, mp3's can be opened and edited as a wave file. Normally, it's always better to edit wave files instead of mp3 files because they don't lose quality with each alteration, but we're just going to make one small adjustment so it shouldn't matter too much.


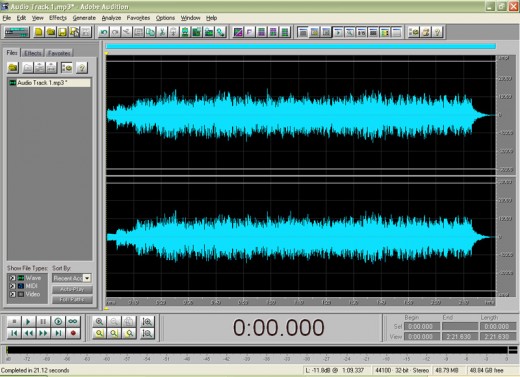
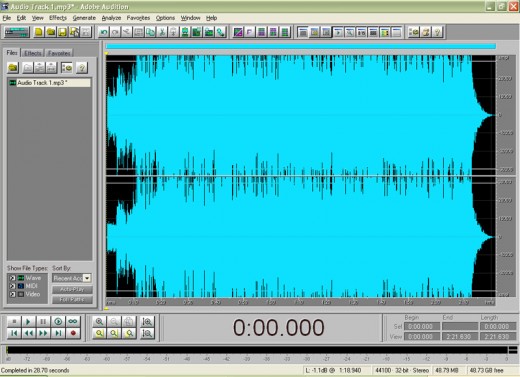
On the right is what an under-amplified and over-amplified audio track looks like when opened with Audition. Basically what we want to do is adjust the volume of the track to somewhere between these two so it plays just right.
Double click anywhere within the waveform (it's the blue part, but if you haven't changed Audition's default color scheme, it will be green) to select the entire track. Select Effects > Amplitude > Hard Limiting. You can also use Effects > Amplitude > Amplify for this task but I prefer to use hard limiting since it prevents clipping. Clipping occurs when the amplitude of a signal exceeds a certain level and causes the audio to distort. Now for our under-amplified track, we might need to boost input by around 6dB; for our over-amplified track, a boost of -6dB should be all right. Note that a negative value deamplifies the selection. Just increase or decrease the value to get the volume that you want. Keep all the other values at their default setting except for Boost Input by. Click OK, wait for Audition to finish performing the task and save your file.
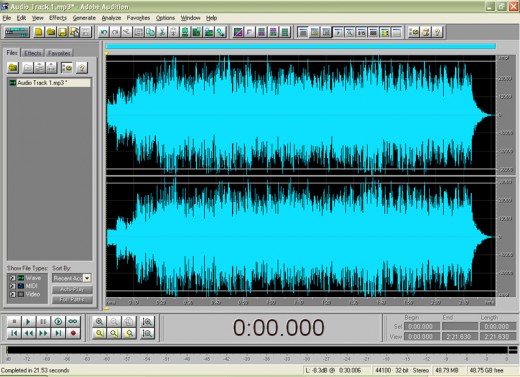
Be sure to get it right with just one edit and before saving your file, because mp3's lose quality the more you edit and re-save them. A trick I use to preserve as much sound quality as possible is using the Undo button whenever I'm not satisfied with the output and re-editing the original waveform instead of applying another edit to the edited waveform. In this case, we'd choose another value to boost input by until we get the desired amplitude which should look like this:

So when you play your mp3's, they should now have a much more uniform volume level and you won't need to have a quick thumb to turn the volume knob for those too-soft or too-loud tracks.
Other Audio Formats
You can also use Adobe Audition to amplify and deamplify other audio formats aside from mp3. For a full list of file formats supported by Adobe Audition, open the program and click on Help > Quick Reference > Supported File Formats.


