Minnesota Crafting: Bead Lizards - Fun Bead Making Project

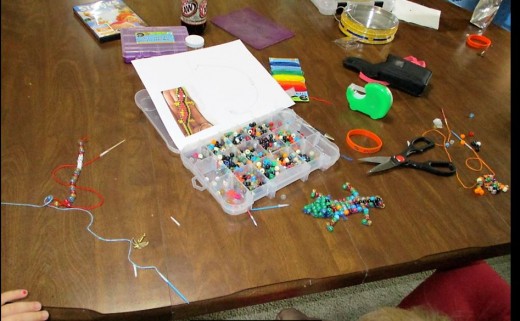
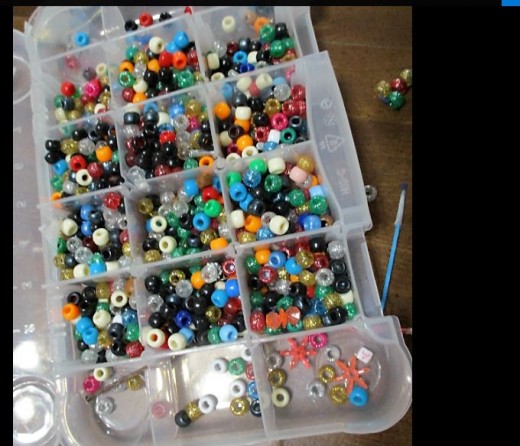
Beads
The beads that inspired me to this, were the beads that I purchased some 14 years ago for my kids when they were into making bead lizards. My granddaughters are six and almost four, so I decided to teach them about making necklaces.
Necklaces are fine, but these lizards that my son used to make are more interesting.
My son brought his children over. They were to stay overnight. This was a carnival weekend for the town and the kids had spent the afternoon riding rides and playing games. Before he left for the night, he discussed how he had made the bead lizards long ago.
Then, I googled a photo of one and got some inspiration. Plus, the photo was a good way to show my older granddaughter what I was trying to accomplish.
I Had Gone to the Dollar Store
The dollar store had alphabet beads, and since my older grandchild just graduated from Kindergarten and the alphabet was something that they were learning, I thought that making necklaces would be fun, and those A B C beads fit right into that picture.
I thought it would be fun to locate their letters of their name and get them used to putting letters on so you could read them. Yes. We had to correct upside down letters, but, eventually, the necklace was complete.
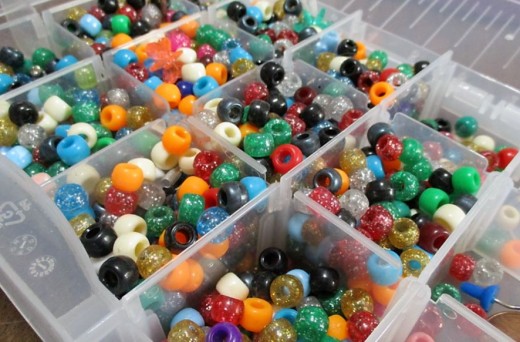
I remembered when they used to have summer fun at some park and they'd have a bunch of beads and you were able to go there and make a necklace, or a bracelet. The beads that they had, were different, in that they had four sides and they fit together. Kinda like a log cabin has slots. These beads had slots, too.
Starting the Lizard
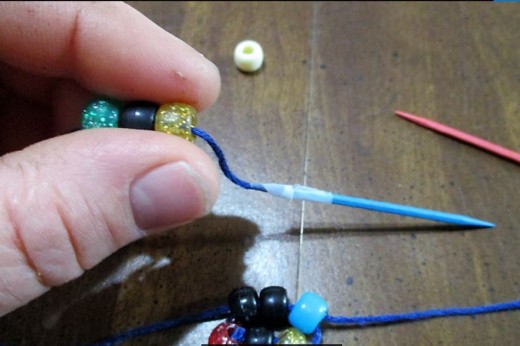
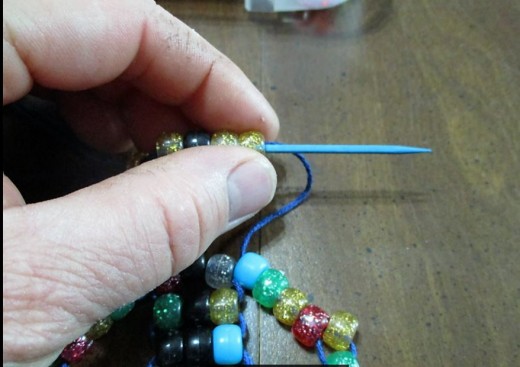
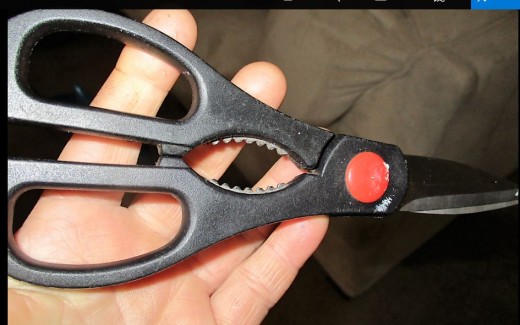
Since beading requires a string and going into the beads, sometimes both directions, I needed some sort of needle to add to the end of my string.
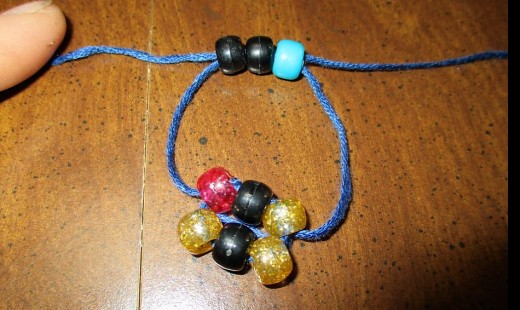
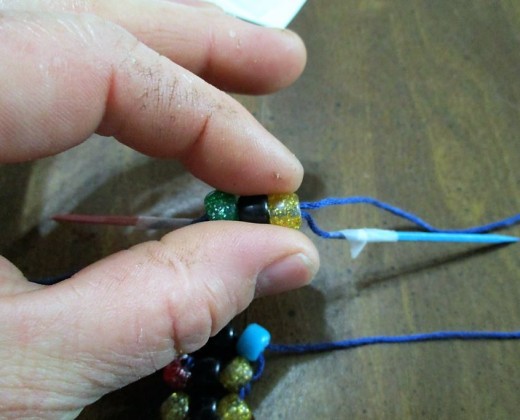
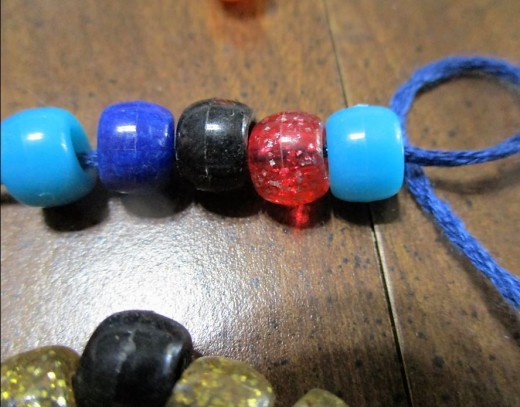
I needed a needle on both ends of the string, since, once you get your beads on, you sometimes need to go through the same beads to lock them on. With a lizard, you start with however many beads you feel you need. I started with three beads. Two colored beads with a black bead in the middle.
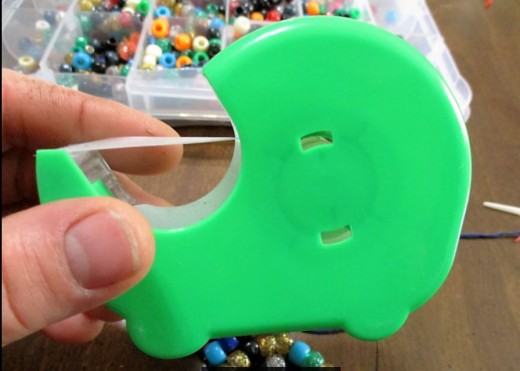
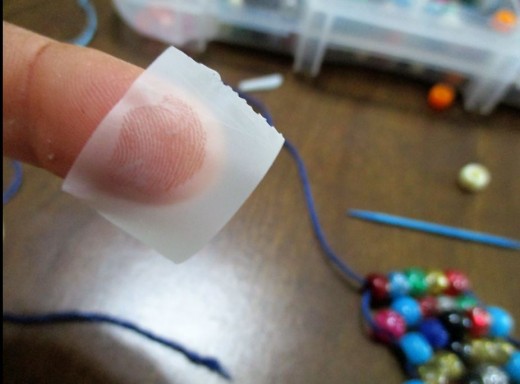
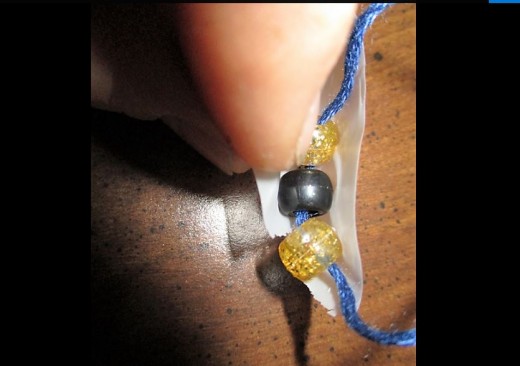
Scotch Tape
Since the three of us were each making a lizard, and it needed to be super simple for me, I decided to use tape to hold my first three beads in place until I was able to get my strings pulled through to where they were they would be secure.
I removed the tape after after the second set of beads was in place.
I think it would be easier if I had a board with nails on it to use as a form. My old weaving loom for small beads was a whole different concept.
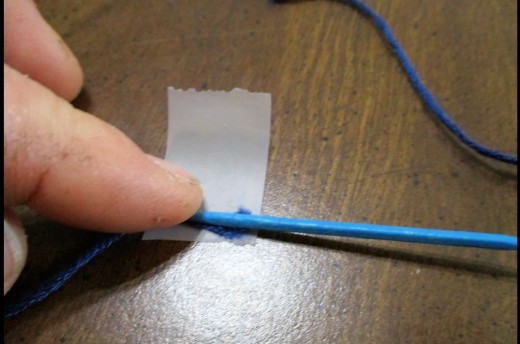
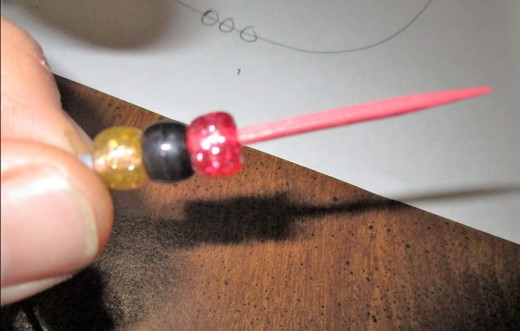
String and Toothpicks and Tape
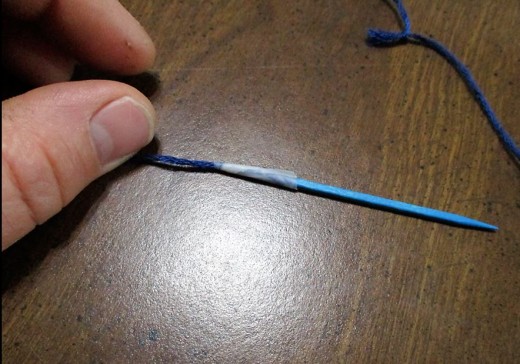
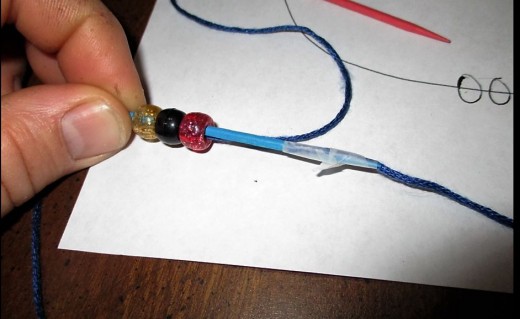
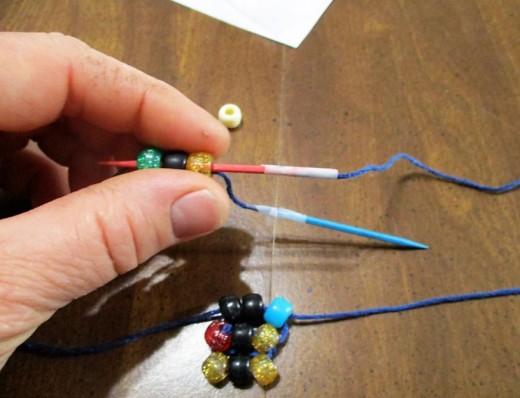
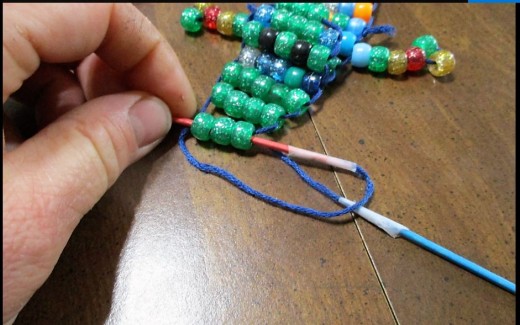
For the needles, I decided to use flat, wooden toothpicks and some tape. I added two different colored toothpicks to the ends of my string.
My son saw them later and wished he had thought of that. Would have made his life easier when he was beading.
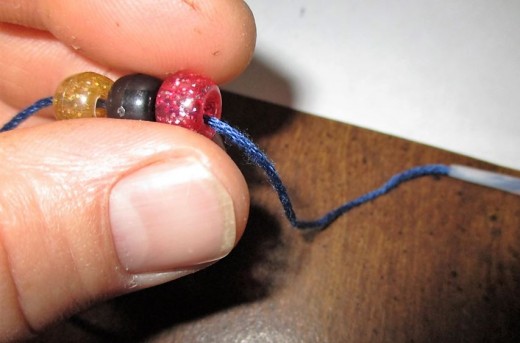
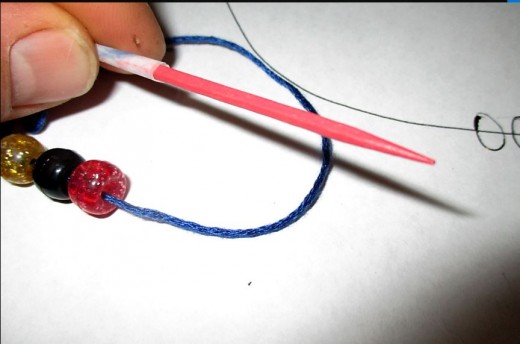
Attaching String to Toothpick with Tape

Adding More String to Ends
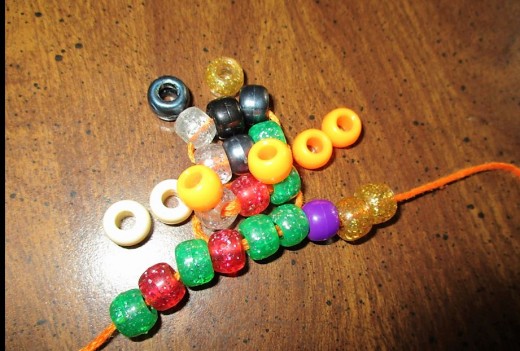
Starting the Lizard
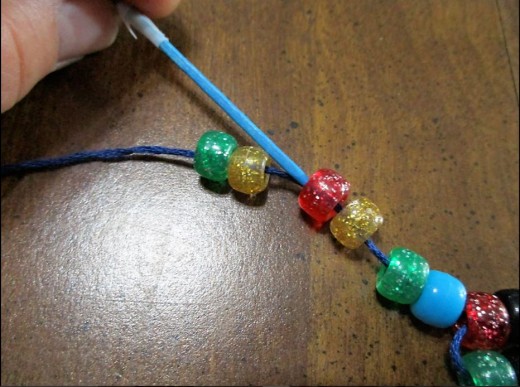
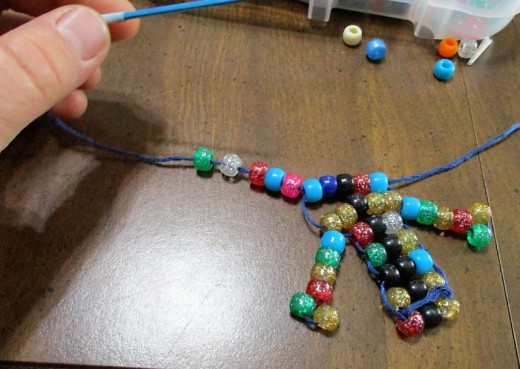
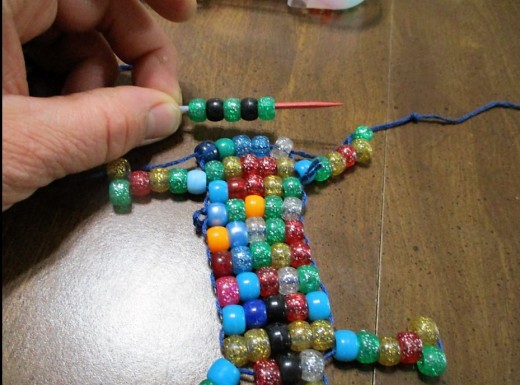
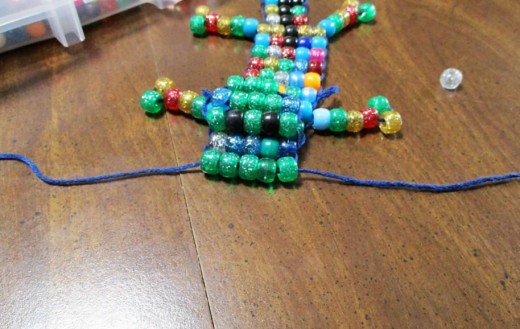
Once you have your toothpicks taped on, it's time to start the lizard.
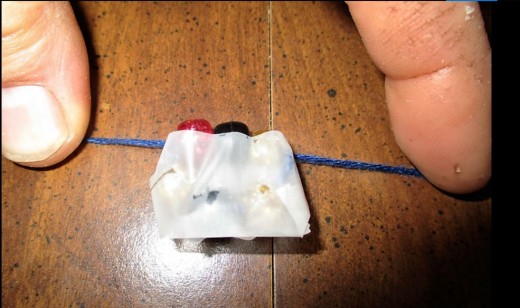
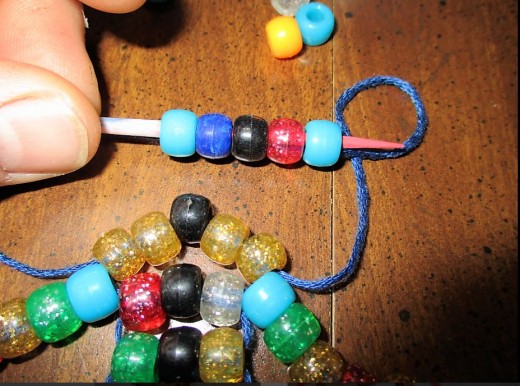
I decided to make my lizard tail three beads wide to start. I was having trouble keeping the beads in the center of the string, so I used tape to hold them until I got my second row of beads started.

Warning
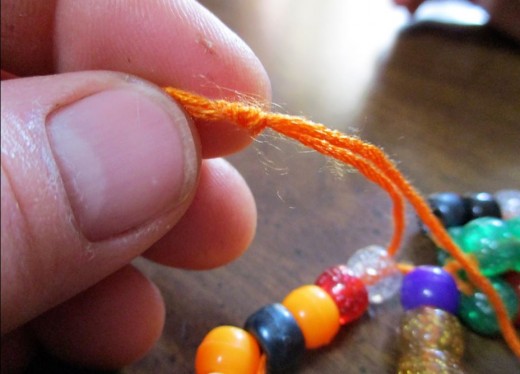
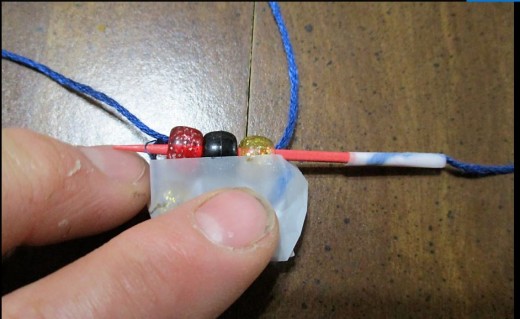
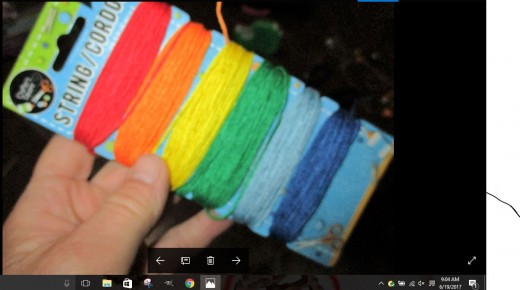
Be careful pushing toothpick through beads when using a multi strand string such as what I'm using.
I wasn't careful, and I caught the toothpick on a strand. I had to back up and remove the string from that spot. Otherwise, my string would have been stuck. I don't want my string stuck.
So, be careful when you poke through. I'll have to get some string that doesn't have strands if we intend to continue making these.
See End of Toothpick Poking Through Strand?
Remove Tape
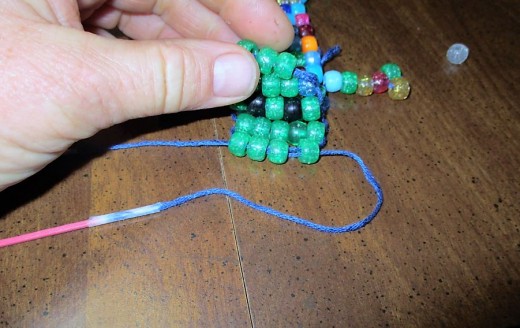
Once you have your second row on, you should remove the tape from the first row. The tape was to keep the beads from moving from the center of the string. Center makes it easier to keep the two lengths of string even.
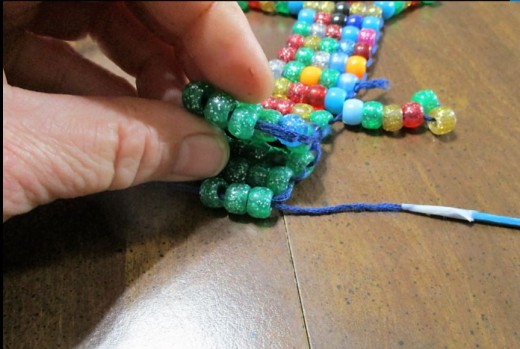
Continuing on With the Project
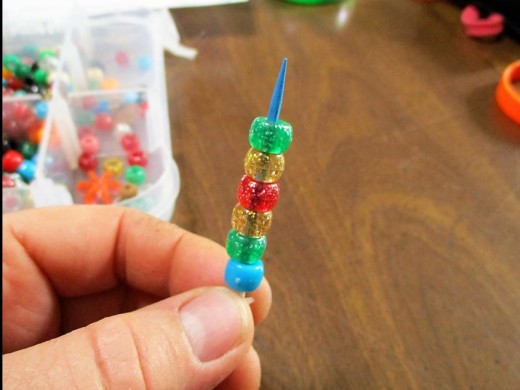
Now that the tape is removed, the next thing is to continue on, adding beads to create the tail. I used a black bead in the middle, just because the picture I was following had a striped lizard.
Then, part of the way through my project, I forgot that I was adding a stripe and, well, there's no stripe. Next time I'll have some sort of order. My next project may be to drill a bunch of holes in a board so I can plan my bead pattern.
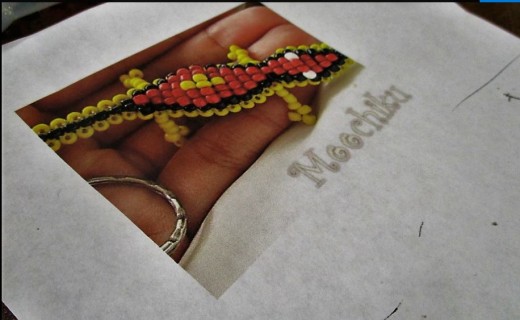
My Inspiration - Moochiku from Online Store
I don't recall where I found this photo of the lizard. I googled it and out of millions of pictures, my granddaughter picked this lizard as being her favorite.
Kudo's to you, Moochiku maker!

Continuing On
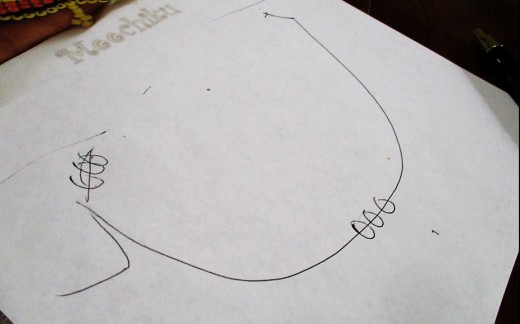
I did have somewhat of an idea, and I drew a picture of what I was trying to accomplish for my granddaughter, which, amazingly enough, she understood the drawing.
Yay, me!
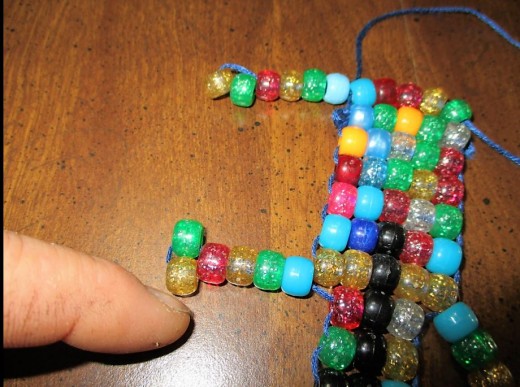
Adding Back Legs
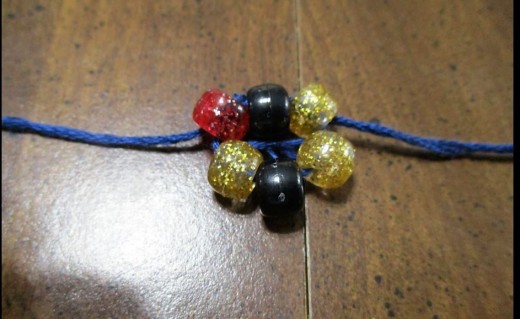
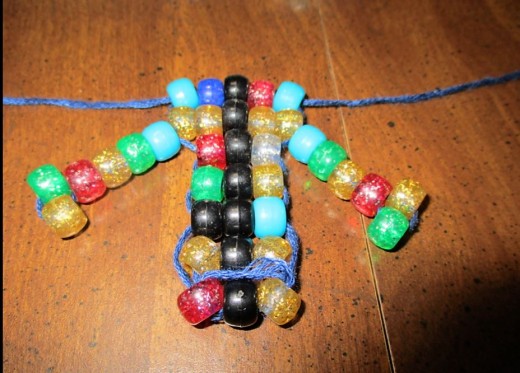
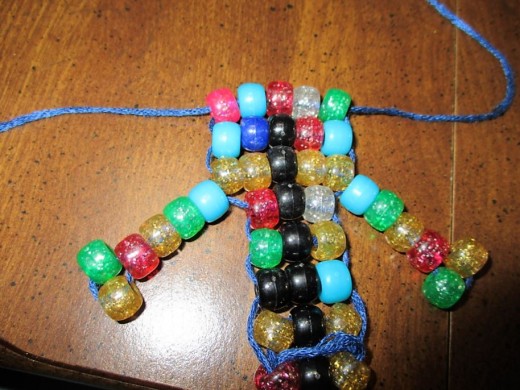
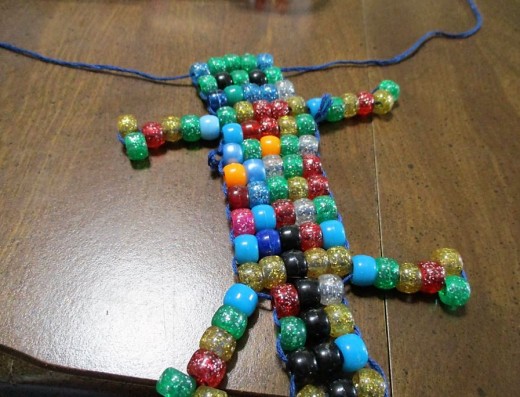
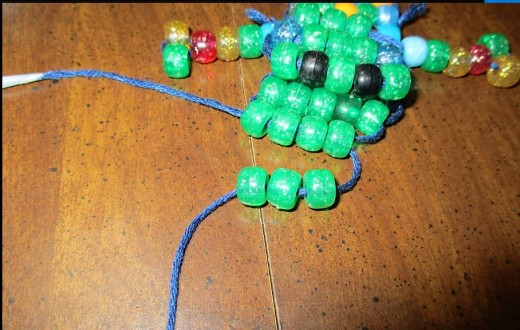
Since I started with the tail, I'm to a point where I can add the back legs to my lizard. It's an interesting process. You put the beads on, then, you skip the end two beads and go back towards the body.
This makes a leg. Repeat with other string on other side of lizard to make second leg. I used the same beads in the same sequence for all four legs so that the legs matched.
Leg Construction

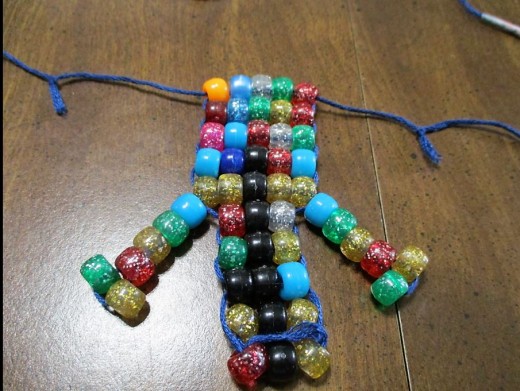
Building the Body
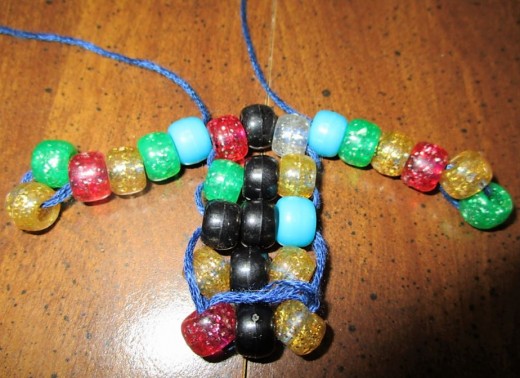
Now that the legs are on, it's time to start building the body.
It's the same process. Load up with beads, pull through. Take opposite string end and feed through. Add another row, continue until the body is ready for two more legs.
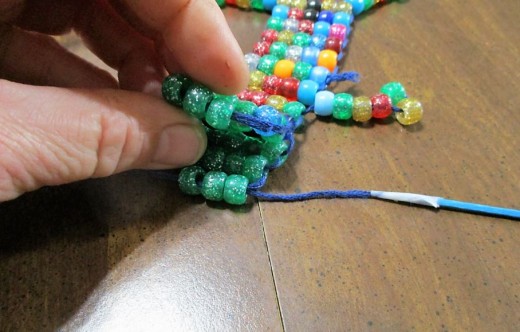
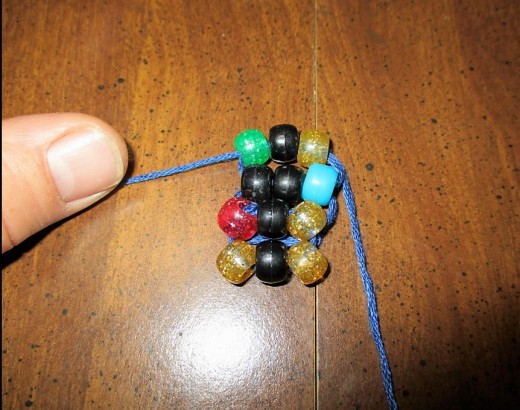
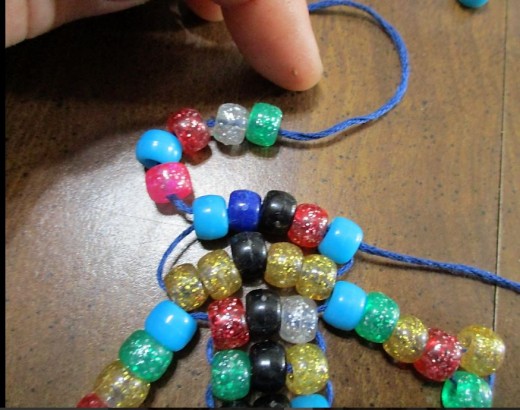
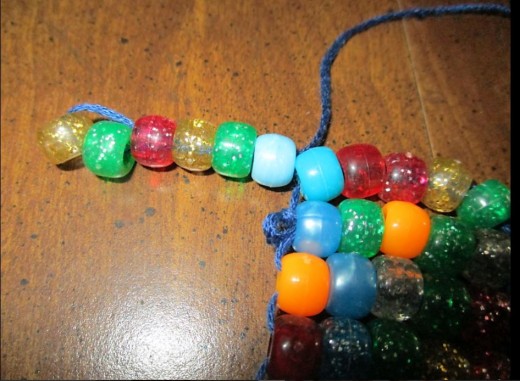
Beads Lining Up
Thought I should point out how the beads are lining up.
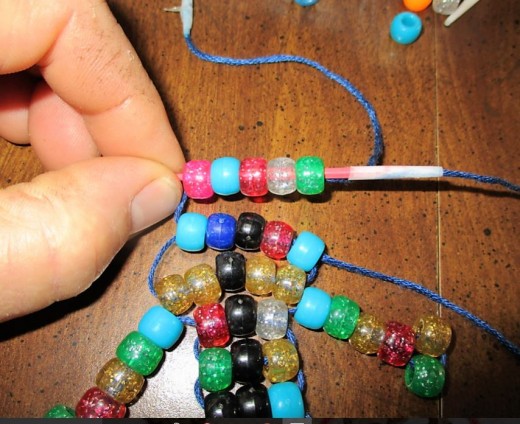
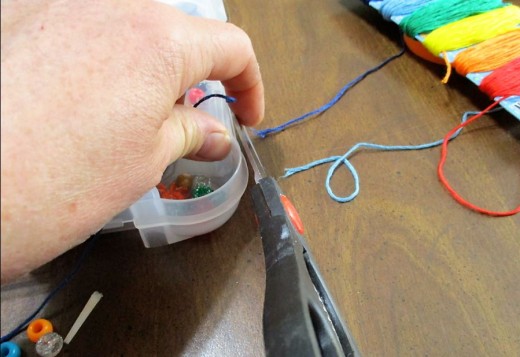
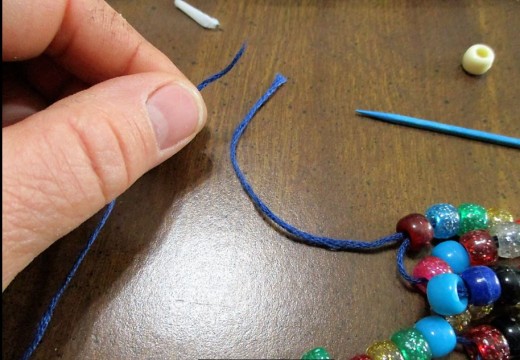
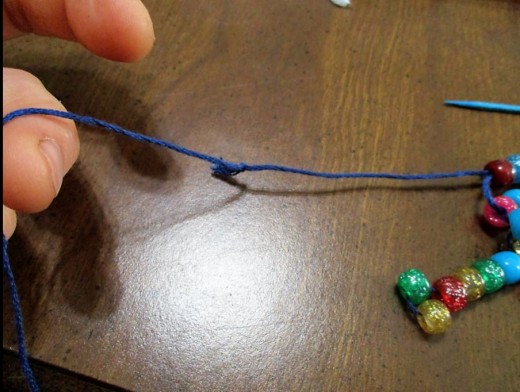
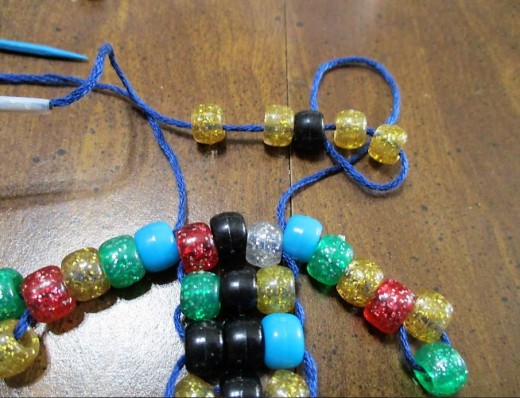
Adding String
At this point, I had to add string to both sides.
I tied a knot in both strings and redid my taped toothpick ends. The knots just get absorbed into the beads, so you don't really notice them.
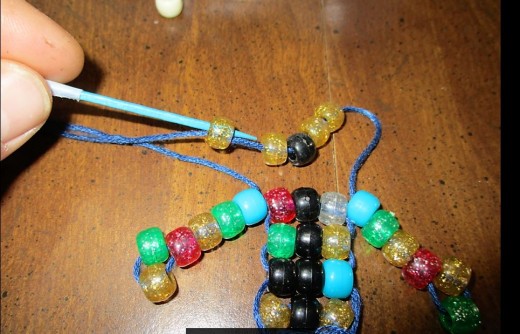
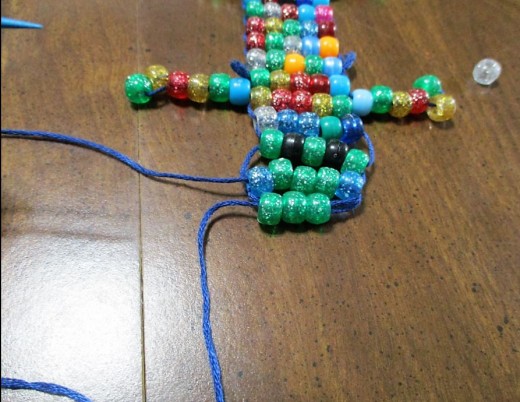
Adding Second Set of Legs
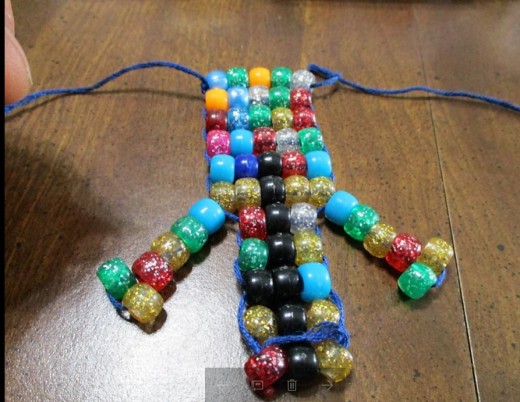
Adding Head and Eye Balls and Lower Jaw
Once the body and final legs are on, its time to complete the head.
I put eye balls in the second row of my lizard's head. Then, I decreased the number of beads so that the snout was tapered.
I had to back track through the beads with both strings to add a jaw below.
I did it just because I decided that a jaw would be fun. How many do you see with a functioning jaw?


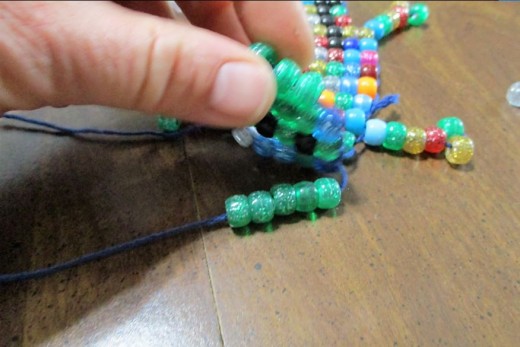
The Jaw
Now that you've backtracked to the underside of the beginning, you need to put four beads on the string and make the bottom jaw.
add a few rows and end with fewer beads, so that the bottom of the mouth is as wide as the top of the mouth.
Go through the beads a few times, and tie a knot to secure.
I thought about adding a tongue and teeth, but, that may just have to be a project for next time.
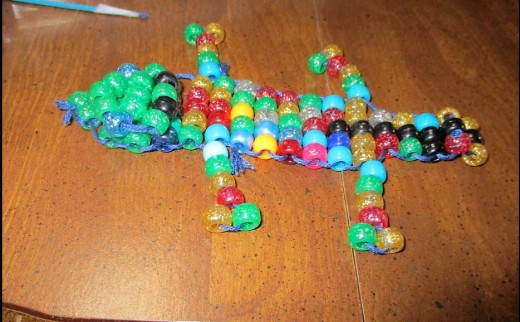
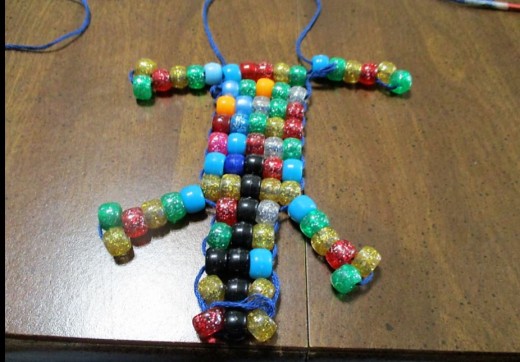
Having Fun With My Lizard
So, now, it has my finger in it's mouth.
The question remains:
Is it hungry or is it hostile?

Hadley's Monster
My three year old was complaining that learning to make this lizard was exhausting. She was busy piling beads onto the project she was making. Piling, not adding, mind you.
Then, she announces that she's has made a monster.
Check it out. It's adorable!
Hadley's Monster