How to take Simple and Fun Portraits with your DSLR!
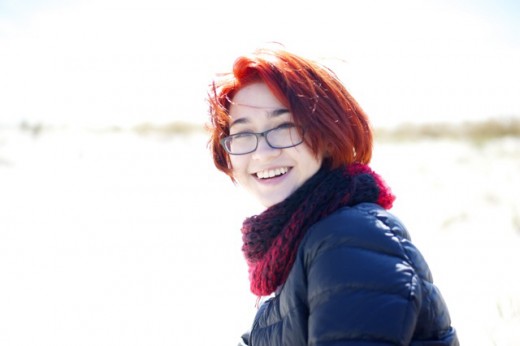
Setting the scene.
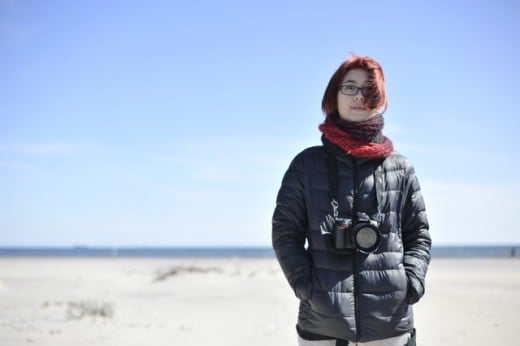
We've all been there - trying to take nice looking shots of family and friends and ending up with photos that remind us of the dead serious school photo sessions or worse the driver's license picture. Getting a great portrait is one of the most rewarding experience you can have. Try these simple steps next time you plan on capturing that moment!
Step 1 - Equipment and Location Check
Actually, these "Steps" are not in any particular order but fairly key to taking the nice portraits you're after is having your equipment ready - so plan ahead!
Check the location & weather as this will tell you which filter to have ready and ISO settings etc. will it be shorts and a t-shirt or the Artic jacket. Charge up the camera batteries and flash batteries and/or spare batteries - remember Murphy's Law - always have spares and nothing will go wrong - or at least you'll be prepared!! This is even more important if your "shoot" is somewhere off the beaten tracks! If you plan to bring along tripods, flash stands, reflectors etc. check everything with a dry-run to ensure all is present and accounted for and working as you have planned.
On the topic of reflectors and umbrellas again think about what you will need given the location and weather conditions. If it's going to be direct harsh sunlight you will need reflectors to bounce light into the shadows and/or use it as a partial shade over your subject. Lastly, if you start to have to bring some more equipment you may have to think about a 3rd person to handle these for you while you focus on the shot. Alternatively, you will need a sturdy tripod and a remote shutter release while you juggle the reflector(s) and trigger and running back and forth to the camera.
Almost forgot - think thru the logistics of people, equipment, location, and weather and a "Plan B" if you do this properly you will never need "Plan B" but on the off-chance things don't go as planned you will have a "Plan B" in the back pocket and it will save you and your subject a lot of unnecessary pain and grief.
Step 2 - Planning Ahead
Next step is to have your subject prepped and discuss the type of pictures s/he is after and what you are creating. If it'll be a setup shoot, discuss and work together on creating a set of shots together. Talk about the purpose of the shoot, what are the desired images, perhaps what will the images be used for, set up the ideal scene in your minds and also bring along several changes of clothing to mix things up depending on the background, location, weather, etc. If you are going "ninja" style at an event or just out with friends - plan ahead in your mind what kind of pictures you want to create and take note on what's the story you're telling with the pictures.
As always though, prepare for the unexpected and keep an open mind. For those interesting shots that you are using the depth of field to focus the viewer on a certain part of the subject try to vary the focus point and try to create "the shot" with different lighting and angles. It's easy to change you angle, lighting, focal length, aperture etc. when you are still at the location with the subject - it'll be impossible to go back later to re-create something you just missed out on.
Step 3 - Ready - Set - Shoot!
You're ready and all set! With subject ready and finger on shutter button start taking your pictures.
First start with the planned - either agreed or those you had in mind and review the pictures as you take them and once you have a couple of good shots you could review with your subject and take a short break. Bring along some snacks, water, juice etc. Photography is hard work and if you're outside for long hours you will need to have some liquid refreshments and something to eat to keep you and the subject going. Once you and the subject are more comfortable with the surroundings and the lighting repeat those planned shots with slight variations e.g. with a different angle, or lenses, change camera angles, backgrounds, expressions, poses, or work with shadows and different lighting.
I have found, especially when photographing non-models, people are much more relaxed when they are engaged in an activity and to this also adds better portraits as you can create better stories, so keep that in mind by bringing with you "props" that can compliment the subject and the location.
Remember to always communicate, show the pictures you've taken to the subject and get input and feedback where appropriate and a little rule to remember is to keep shooting after you have taken your "shot" - people "pose" for the shot and often stiffen up and they instinctively relax right after they hear the click of the shutter release - so try to capture that moment!
One more thing to improving your shots - read up on and perhaps study some of the current contemporary portrait photographers. Avoid the "deer in the cross-hair/subject in the center of the frame" shots. Follow the rule of 3rds to start off with and once you feel comfortable experiment with different compositions and have FUN!
Even though I mentioned in the title taking portraits with a DSLR, all the "Steps" here can be applied to any type of camera ;-) Just use a bit of imagination and adapt to what you have to shoot the pictures with. Most likely you will do most of your picture taking with a smartphone so KEY to taking pictures with "small" cameras is not to get too close to your subject. As the lens is very small with a usually short focal length being too close 3-4ft/1m approximately will have some "not-too-nice" distortions. With small cameras, watch you distance, watch out for distortions - especially when you camera is not held straight ad level, and use the "tap to focus" feature on the screen to help you focus on the correct area(s) and compose your picture.
