5 Easy Tips to Organize Your Photos
Managing Your Digital Photos
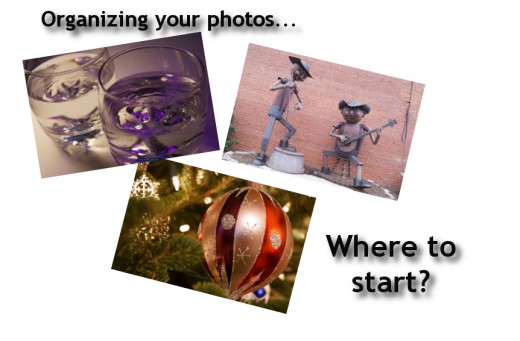
Let's face it: we're all busy and who among us has perfectly organized photo albums on our computers? I know I don't - but I've found some great ways to work on that.
I take hundreds of photos a month and I have to be able to find them quickly and efficiently for articles, blogs, etc.
With hundreds and hundreds of photos to rummage through, I've developed a system to quickly find the photos I'm looking for without too much fuss.
With a little bit of time and patience, you can organize your photos in simple ways.
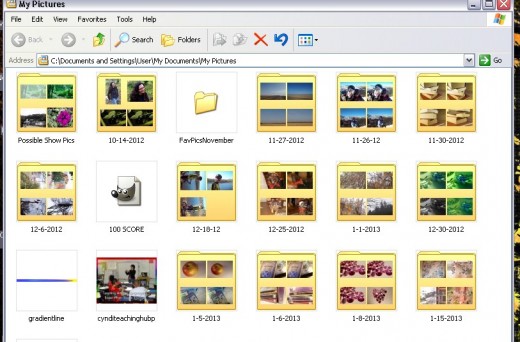
Tip One: Add a Date to Every Photo Folder
- If you only have time to do this and nothing else, this step will help you more than anything else because it's much easier to remember dates around the time you had an event.
For example, I went on a beach trip last spring. I can't remember if I went at the end of March or in early April. But, it will only take a second to look at my folders labeled for March and April to find those photos.
- If you're lucky, when you upload photos to your computer, your camera automatically and conveniently organizes your photos by date, thereby saving you from having to do this important step.
- If not, as soon as you get the photos uploaded, go into your pictures folder and date each folder when you took the picture.
- Here's a handy tip: your camera should also have a date and time stamp (if you set that up!) for each photo, so if you have 2,000 pictures stored on your camera because you never seem to get around to uploading them, you can easily refer back to your camera for accurate dates.
- Be sure to put the year on the date, too. That way, you'll know that 12-25-12 was more recent than 12-25-11. All those Chrismas photos sometimes blend together, don't they?

Tip Two: Delete Unwanted Photos
- If you delete unwanted photos immediately, you won't have to weed them out months or years later and they won't take up space on your computer's hard drive.
- Yes, delete the dark, blurry images that are not useable. Also delete the terrible snapshots you never want anyone else to see.
- Delete duplicate or very similar images.
- If you resize an image for the internet and create a second copy of that image to do so, only save it as long as you need the image. For example, if you want to upload it to Facebook, delete the smaller, resized image after doing so. This will save hard-drive space and really, how often are you going to upload the same photo?
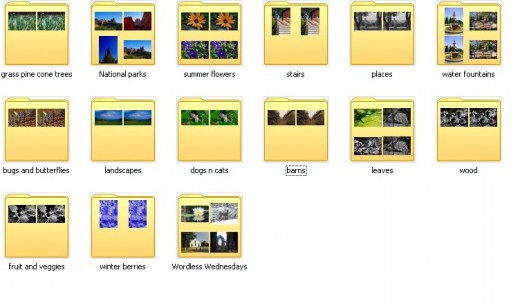
Do you have your photos organized by subject?
Tip Three: Creatively Name Your Photos
Let's say you get a little more time and you want to organize your photos even better. You have them separated by date, you've eliminated all the bad photos. Great job! A lot of people don't do this.
Now, begin to creatively name your photos. Why?
Consider this: "Christmas 2012" is a lot more vague than "red christmas ornament 2012" and it only takes a second or two longer to type the longer name.
Later on, when you want to locate that perfect photo you took of Aunt Margaret's unique Christmas ornament, you can do a search within your pictures folder and easily find that photo.
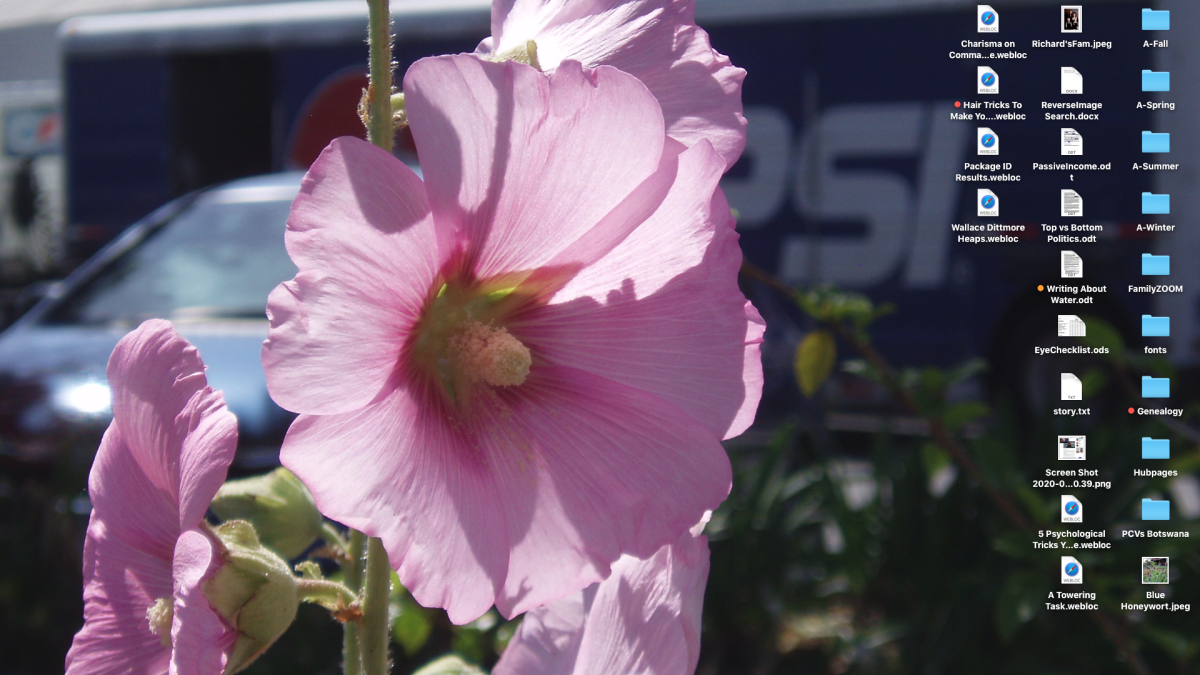
I personally organize my own folders by date and then by subject - I have tons of pictures of flowers and I needed a way to distinguish them from winter flowers and other types of floral subject matter.
Step Four: Only Do One Folder At a Time
- It can be daunting to tackle tens if not hundreds of folders all at once. If you're just starting to tackle a project like this, just take it a little bit at a time.
- Start with the easiest ones first - the most recent. You'll make great progress and it'll go much more quickly because your memory will be more fresh.
- Do just one folder at a time. That way, if you need to step away, you'll be able to pick up with the next folder.

Step Five: Back Up Your Photos
All that effort and uh-oh, your computer crashes....
- It's a really good idea to back-up your photos and it's even better if you "automate" the process so that you don't even have to think about doing the backing-up yourself.
- I have an external hard drive on my computer and it stays attached to the USB port at all times except when I'm travelling with my laptop.
- Every time I upload pictures onto my hard drive, my external hard drive automatically makes copies of all of my data - I don't even think about it.
- This has saved me for more than just the obvious. Sometimes, I'll edit a photo and change it up. But, I'll forget to save it as a new copy and there have been times I've needed the original photo back. My external hard drive will have the original saved photo because it backed it up in the first place.
- Not only that, as you make new folders and save your images by date, your external hard drive will automatically back up all your new copies.
- To be sure, there are other ways you can back up your photos: you can upload them to image-storing websites, to other computers and more. However, nothing beats automating the process and external hard drives that can store terabytes of data, depending on how much memory you purchase.
- One thing to note: always check to be sure your external hard drive has indeed backed up your photos. Automation makes the process easy, but double-checking keeps you safe.
© 2013 Cyn Lee

