Advanced Techniques For Exceptional Flower Photographs
Nine tips that go beyond the technical aspects of photo taking into the world of artistic expression. Learn how to fashion flower images that sing.
Are Your Wildflower Photos Predictable?
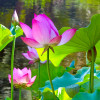
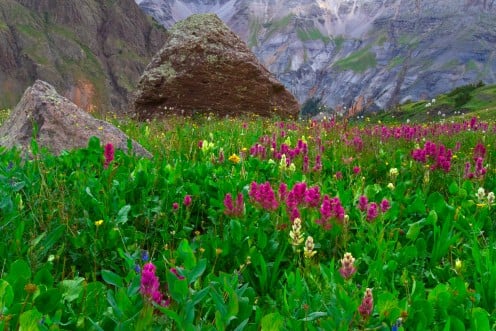
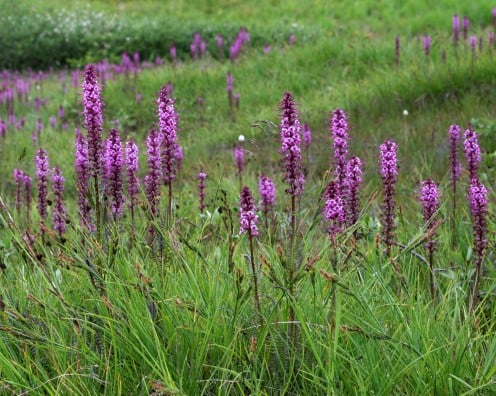
Because of the stunning beauty flowers possess, photographers find these jewels of the earth irresistible. Unfortunately an overabundance of flower images are created, most of them predictable and let’s admit, yawn, just plain boring. The first thing photo agencies will tell is that they have enough images of flowers and do not need anymore. But, if you are like me, and have a thing, a fetish, an uncontrollable urge, and you find your lens automatically in the vicinity of these treasures, you will want to create images that stand out from the rest.
1. Tell The Story
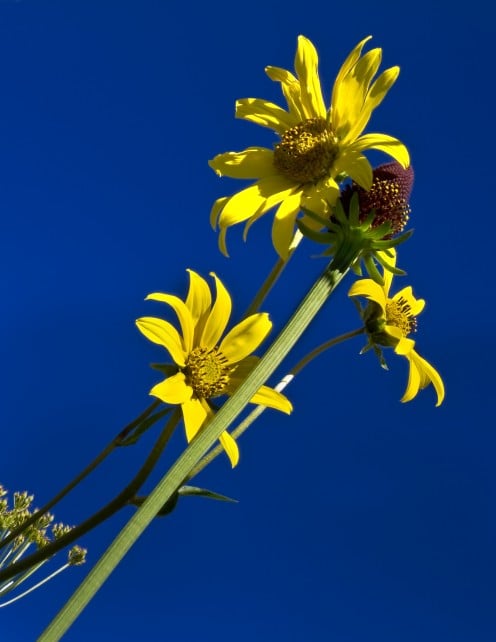
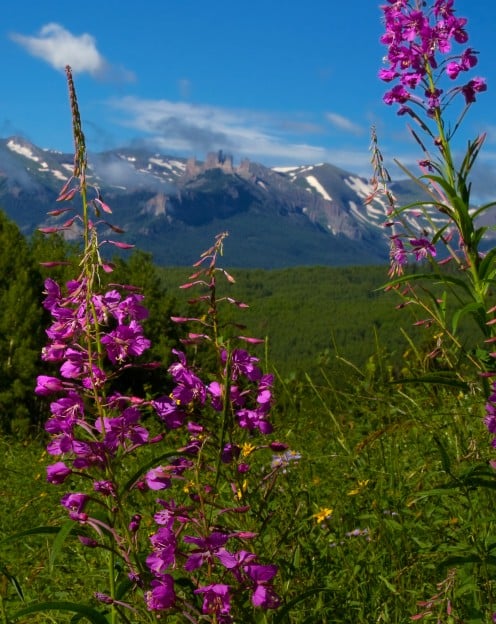
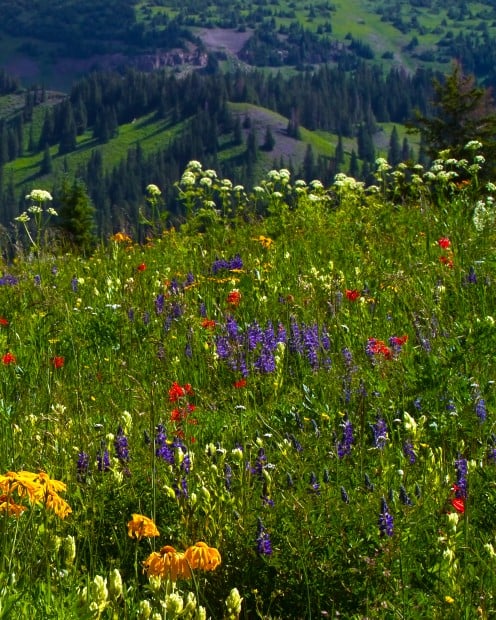
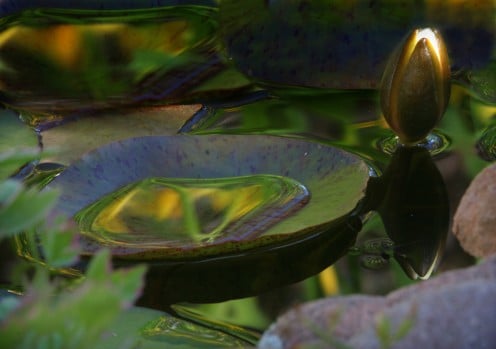
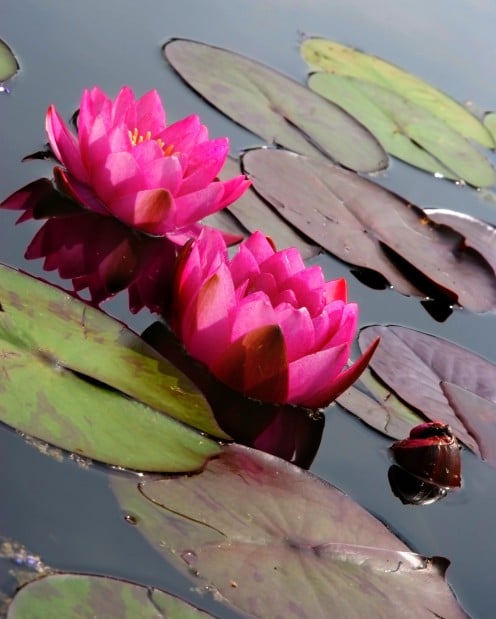
An eye for artistic composition is crucial for creating images with more drama and impact. This is usually an innate quality we find deep inside ourselves. It may be the reason we were drawn to photography in the first place, but it can also be learned and fine tuned to a certain degree. When photographing flowers, go beyond the usual record-taking style of a portrait and uncover the poetry and rhythm of the moment. Tell the story of the flower, the meadow, the garden and the beings that live there. Create the unexpected by using all your lenses from different angles to get varying points of view. For example, get down on the ground and photograph the blossom against the sky. Open your eyes. There is a whole secret world living among the flowers that is rarely seen. It is our job to bring this world to the viewer and make it so real that it feels like they are actually there.
2. Create Movement and Motion
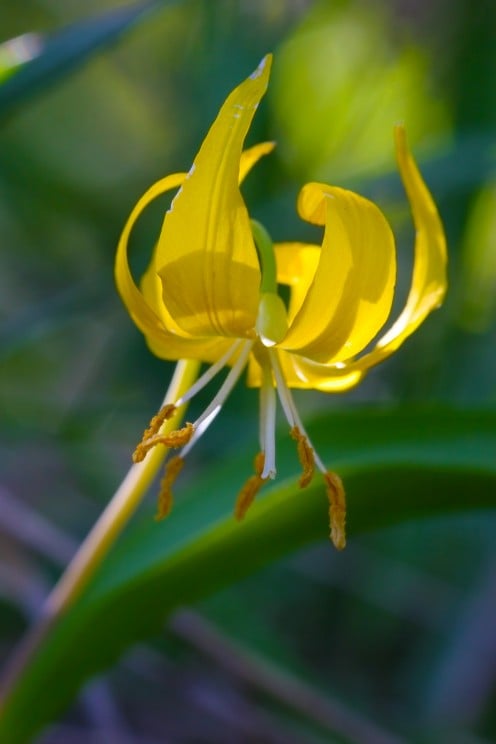
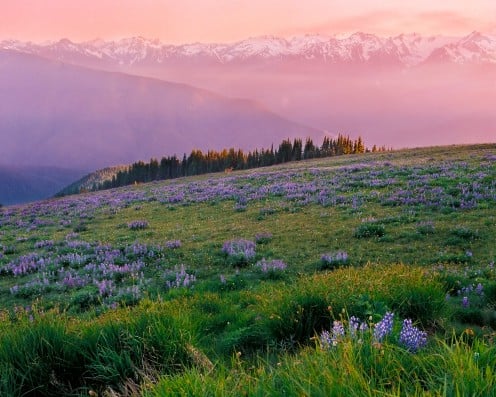
Creating a sense of motion and movement to an otherwise static image generates a tremendous interest and impact. For instance, tip the camera at angle so that the flower stem is 45 degrees and appears to come from the lower left had corner. This creates an angle that leads the viewer into the image. In addition, carefully placing elements in the image in such a way that the viewer’s eye is drawn into the image and then moves from one element to another until it circles back around to where it started. For example, in the image of "Sunset On Hurricane Ridge", the viewers eye starts at the lupine in the lower left hand corner and follows the path of the lupine into the image to the line of evergreen trees. The eye is then directed across the line of trees to the mountain range where the eye is directed back across them and then back down again to the lupine again in the lower left hand corner. This is very subtle and one may not even be aware of it, but this technique not only holds the viewers interest, but engages the viewer to experience the entire image. We are the masters of our own images. It is our job as image-makers to guide the viewer around the image so that they see what we want them to see and feel what we want them to feel. This is one of the key differences between a photograph and a work of art.
3. Quality of Light
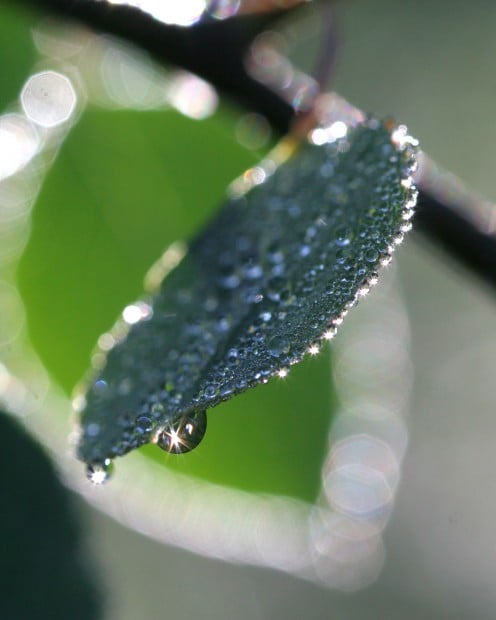
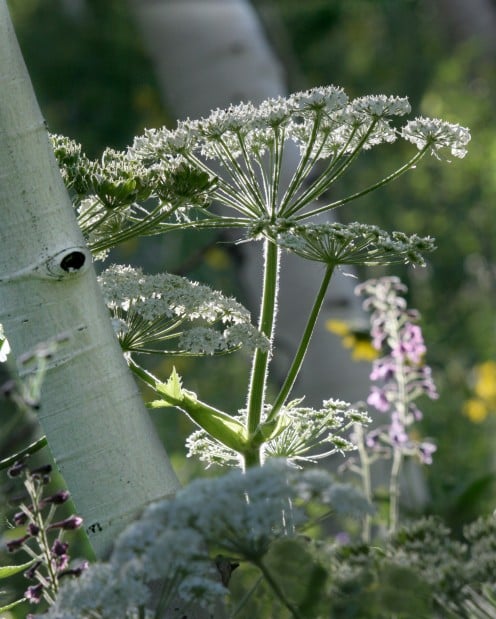
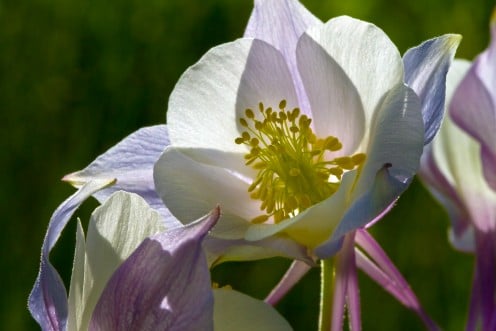
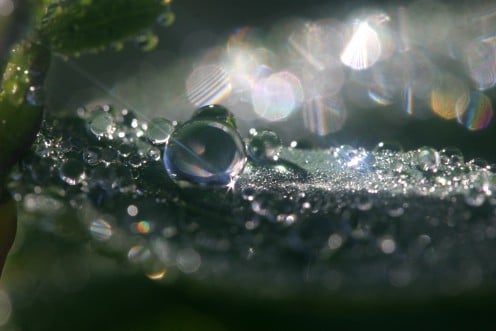
Light is such a wonderful thing, but it can be a two edged sword. As artists, we must create the light in each image. The goal is soft, even light without distracting harsh shadows and contrast. When you are working in the studio, this becomes an easy thing to do. But in the field, where you must use what nature has provided to your best advantage, that is what separates the pros from the amateurs. First consideration is the time of day, of course. In the business, there is what we refer to as the “sweet hour.” The sweet hour is when the sunlight is at its longest angle and therefore the weakest in intensity, occurring either an hour after sunrise or before sunset. This is the light we live for because it is soft and caressing, often appearing to be golden in color. That being said, once the sun is higher, you can still use the light to your advantage. My favorite lighting style is backlighting. I especially like using it on flowers because it creates an interesting transparency to the petals. Backlighting occurs when the light comes from behind the subject; but is also called rim lighting because a halo forms around the edges of the subject. Interesting effects can be produced because when the lens is turned into the light; little starbursts appear, especially on objects like raindrops.
4. Light Modifiers
When the sun is high in the sky, it is referred to as flat light and is not desirable in photography because being high in the sky; it is strong, and harsh which diminishes the dimension of the subject. What do you do when you come across the perfect subject at the wrong time of day? One option is to return when the light is better, but that is not always possible. Another option is to take the photo anyway, but I guarantee the image will be stagnant and unappealing and you will be disappointed. The best option is to use what is called light modifiers, thus controlling the light. Light modifiers come in the form of a reflector or a diffuser. These are usually round discs with either a reflective cloth or a white semi-transparent attached to a frame which folds up. There are also tents that completely cover a small area from all sides. If flowers are growing in open shade, use the reflector to softly highlight specific areas and provide a little “kick” without over doing it. The diffuser is best used out in the open to control the harsh lighting. The light passes through the opaque fabric, diffusing it and thus softening it. Both of these are important tools if lighting conditions are not ideal. We do not always have the luxury of photographing only during the “sweet light” hour. In my experience, I have learned to photograph subjects when inspired; otherwise it could become another opportunity missed.
5. Selective Focus
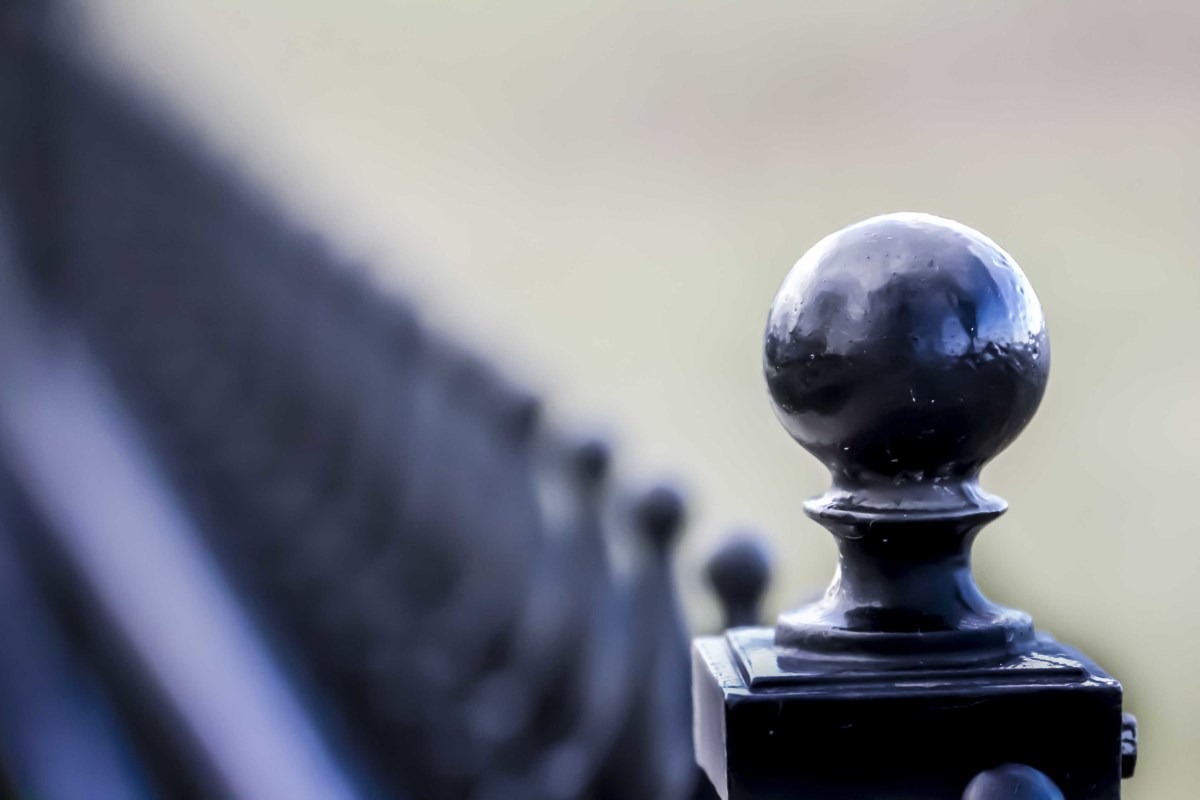
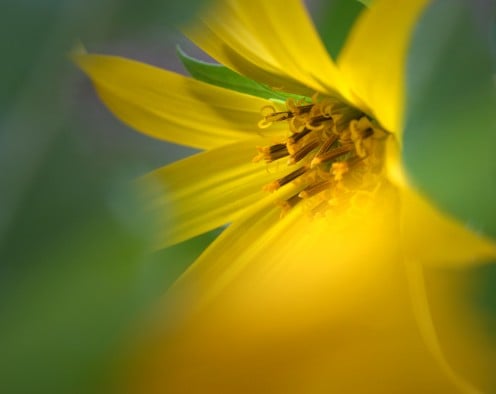
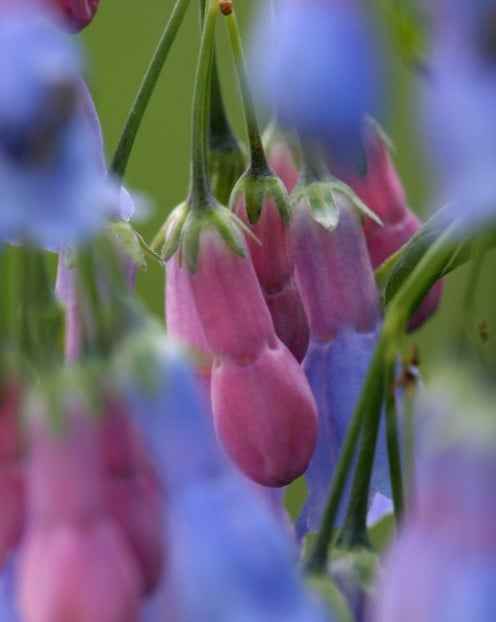
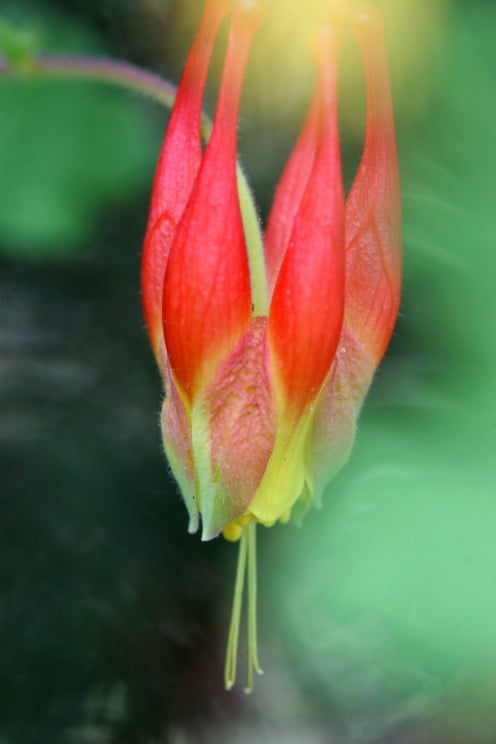
In an exceptional image, all the elements are thought out, planned and controlled. We have already discussed lighting, now we will talk about utilizing your camera settings to their fullest. Yes, you will have to take your camera setting off automatic or program for this technique. Remember, you are the creator, not your camera. Your camera is merely a tool or instrument with which to accomplish your vision. So, basically, the larger the aperture opening, the more shallow the depth of field. For example, at F2.8 - F5.6, the aperture is open all the way, depending on your lens. This means there is more light coming in to create the image and the depth of field, or the parts of the image that will be in focus, is very shallow. Using the selective focus technique, you select what you want in focus, and everything else becomes blurry. This technique directs the viewer’s attention by eliminating distracting backgrounds and highlighting the subject. Another way to use selective focus is go deeper into the scene and focus on a subject in the middle or back of the setting instead of the object closest to the camera. The objects in front will blur into pleasing blobs of color, creating a frame around the subject. Manual focus will be necessary with this strategy because the camera will be confused about what it should focus on. Experiment with different aperture openings so that you become experienced with how much depth of field each setting provides. Also, some cameras have a depth of field preview button that allows you to see what is in focused before the picture is taken.
6. Go Macro
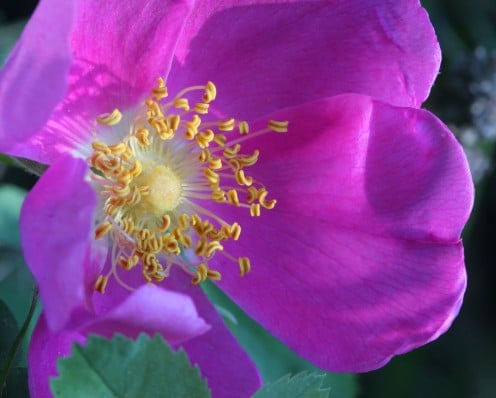
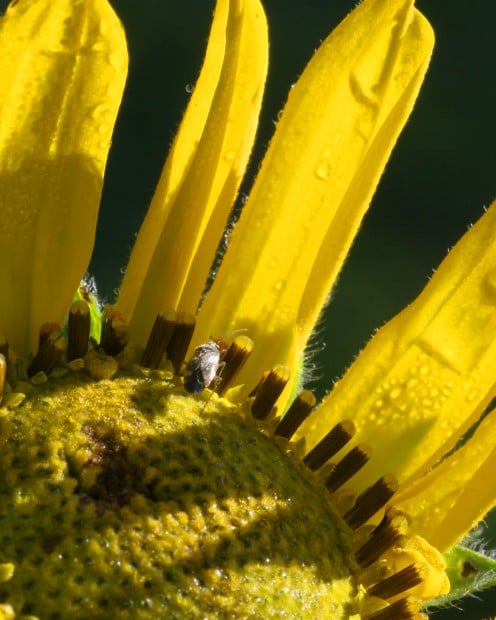
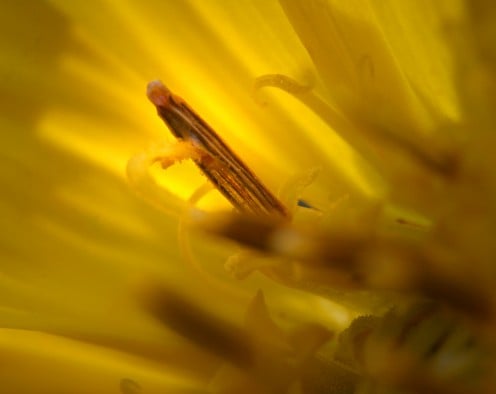
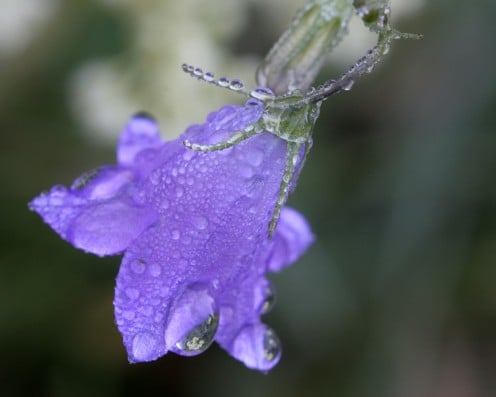
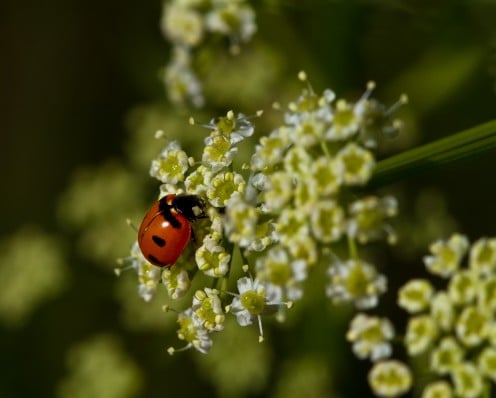
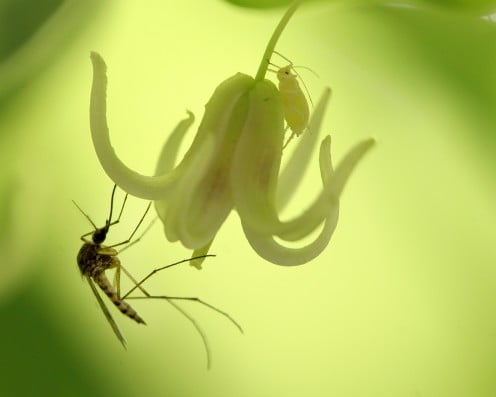
As I mentioned previously, there is a secret world in miniature that normally goes unseen. I find great joy in discovering this hidden realm and revealing it using Macro lenses, extension tubes or close up filters. These tools are all designed to deliver an image about the same size as the subject, or a 1:1 magnification ratio. What does this mean to the photographer? It means you focus closer to the subject, thereby filling the frame with intricate details of the flower’s pistil, stamen and petals. Macro techniques also allow you to expose the tiny creatures that find refuge among the flowers. I must mention here that focusing is critical in macro photography so once again you will use the manual setting to focus. Also, don’t even attempt to do macro work without the use of a tripod. Once you begin using this technique, you will be hooked as you discover more and more of this secret world and realize the potential and possibilities for spectacular photos.
7. Hire The Extras
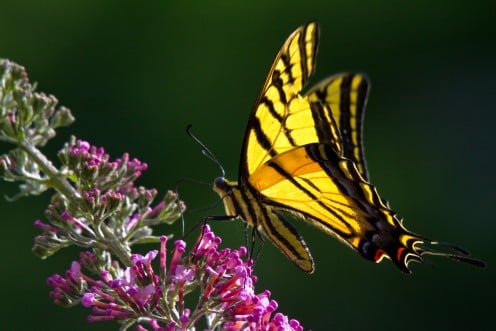
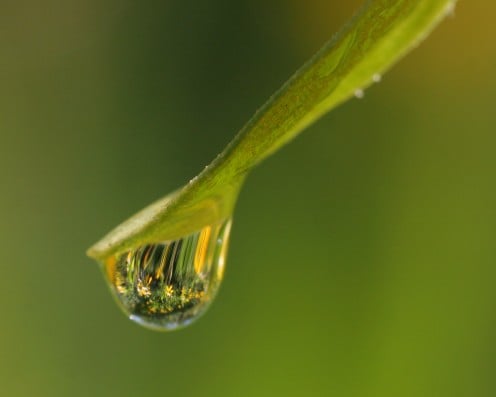
The secret world of flowers contain many willing and not so willing subjects all waiting to become the stars or the extras in your images. Pollinators like bees, butterflies; even flies and moths will appear. Spiders and aphids along with other tiny insects call this world home. Then there are the rain or dewdrops. I love those raindrops! Look inside the drops to find wonderful reflected images of the surroundings. Also, rainbows, starbursts, sparkles and glistening dew, create all sorts of interesting effects that will take your images beyond the typical, predictable photographs of flowers. All it takes is an awareness that something more exists beyond the flower blossom. You just have to look deeper and you will be rewarded.
8. Time And The Right Equipment
Usage of a tripod is always recommended, especially when photographing with macro. At times, you might feel your tripod is time consuming and cumbersome but in my opinion; it is essential and well worth the time spent. Of course, the right tripod is essential. Mine is lightweight titanium and allows me to go all the way to the ground. Also, I use a ball head that will allow any angle I need. Yes, these are a bit more expensive but become essential to creating the type of images I prefer. You just have to make the choice. Do you want a quick run-of-the-mill photograph, something everyone can and will create, or do you want your images to be compelling, contain an element of surprise and rise above the ordinary.
9. Be Brutal During The Editing Process
Even though you use all of these techniques, you can expect to keep about 25% or less of the images you create. We, the image-makers, are the first step in the editing process and we must be brutal and objective when it comes to our own work. First, throw away or delete any image that is not tack sharp, even if you love the image and has all the qualities to be exceptional, if it is not sharp, it must be eliminated. No exceptions. Second to go are any experiments that went awry, followed by compositions that lack impact. Your portfolio should be a collection of compelling, interesting and dynamic images.
In the end, the only way we learn is through experience, so now that you are inspired, the next step is to get out there and go crazy. Look for ways to tell the story of the flower, create some kind of movement, use the beauty of the light that nature provides but above all, have fun and be in joy. In the end, the only way we learn is through experience.
As always, your comments are welcome and I am happy to give you feed back on your experiments.
To view my complete portfolio, follow the link below and have your love affair with Nature
Crowning Glory Imagery
- Crowning Glory Imagery
Fine art images of nature, wildlife and the beauty of life reflecting the energy for the new earth; conveniently available as downloads, stock photography, photo gifts and greeting cards or art prints for the wall of your home of office.
