Baby Toys - Making a Taggy/Taggie Cube

Finished Product

Taggy Cube!
Need a gift for a baby shower? Need something you can whip up in an afternoon? A Taggy cube is all in one cute, easy to make, and educational for babies. It can also make a great use of those left over scraps from other projects!
Using more than one type of fabric provides different tactile surfaces for baby to touch, stroke and play with. The taggys of ribbon are also
Pieces You Need

How Do I Make Me One!?
You need :
- 6 squares of fabric - allow 2cm for seams (this one is a 10cm cube so the squares were 12cms)
- 12 pieces of ribbon approx 6cms in length
- Hobby fill, or an old pillow!
- Thread
- Sewing machine
- Pins
For a bit of difference you may want to add:
- Teething rings attached to a strap on one or two edges
- Crinkly surfaces - the bag from a cereal box is perfect to sew in under one of the squares - it is food grade plastic so safe for baby. Produces a crinkly sound when squeezed.
- Bells
- Different textured fabrics - great for tactile learning
NOTE:
- If using fleecy or stretchy material, it helps to cut several times - cut out the initial square, then stretch one way (say, up and down) then cut that edge off. Then stretch the other way (side to side) then cut - stretchy material will stretch when the filling in added and makes your cube distorted.
- Sheer type ribbon can fray and then become a choking hazard - please avoid.
- DO NOT leave child unattended with taggy cube
Taggy Bits

Lets Get Started
Once you have your six squares and twelve pieces of ribbon cut out - it's time to pin the ribbon where you'd like it to go on the edge of the square.
The top and bottom squares should have four pieces edge, and the remaining four squares one ribbon a piece.
Fold the ribbon in half, and pin to the edge of the square. Repeat until all are done.

Sewing on the Ribbon
Next you need to sew the ribbon to the squares, to save the hassle of a lot of pins all over the cube, and to strengthen the attachment of the ribbons (safety, safety, safety)
You should sew over each piece of ribbon approx 5mm from the edge - this way it's inside the seam when cube complete.
Going over the ribbon forward and backward strengthens the attachments.
Repeat until all 12 are attached.

Joining the Sides
Line the sides up in the order you want to have them on the cube, ribbons all on the same side - eg ribbon on the L edge of each side.
Pick up the first two, putting their right (the coloured side/the side you want to see) sides together.
Pin
Sew together approx 10mm/1cm from the edge - a small area of reversing on each edge will help with strength.
Repeat these steps until all four are attached in a line as per the photo to the right.

A box with no bottom/top
Take the very end pieces of the line and bring them right sides together.
Pin, and sew 10mm from the edge.
When opened out you should get a box shape, similar to the photo to the right.
The box should have the "right sides" on the inside, as though it is inside out (cause it is!)

Putting on the bottom
Here is gets a little fiddly.
Take the piece you want as the bottom/top of the cube, and pin all four edges to the edges on the box you made in the last step. It needs have the "right side" inside - so the box is "inside out"
It will look a little 'depressed' in the middle - this is how it is supposed to look.
Sew carefully around each edge, taking care not to catch the main part of the sides of the box as you sew (they collect underneath it if you aren't concentrating).
The final side
Repeat the pinning process for the final side.
However, sew only 3 and a half of the sides on to the box - taking care again to not catch the main part of the squares underneath.
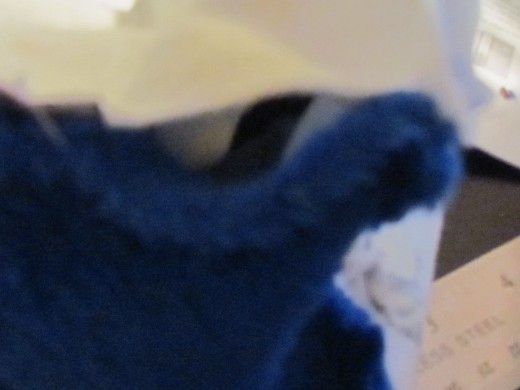
You need to leave a half side open as in the blurry (sorry) photo to the Right.
This is to turn the box/cube back in the right way, so the right sides are facing out
Finishing Up!
Trim the corners of the box slightly, to assist with 'sharp' corners once stuffed.
Turn the box in the right way, by pushing a corner out through the gap you left - pull and push the box through the hole gently until it is completely turned the right way out.
Use the head (or tip) of a pen, or knitting needle to push the corners out sharp.
Stuff slowly with hobbyfill until you have reached your desired filling amount. A tight fill is usually best.
Blind Stitch
Closing
Now that your cube is filled to your liking, you need to close the gap you pushed the hobbyfill through.
This is best done with a blind stitch, as this cannot be seen, and gives your finished product a more professional look.
Please view the video to the right and read the following link to learn a blind stitch:
Instructables: Hands Sewing Basic Slip Stitch (Blind Stitch)
That's it!
Well done on completing your first taggy cube.
NOTE: please check all seams/attachments before giving to a child - tugging on them helps. Do not leave child unattended with taggy cub
Tah Dah! Finished!


