Black and White With a Touch of Color
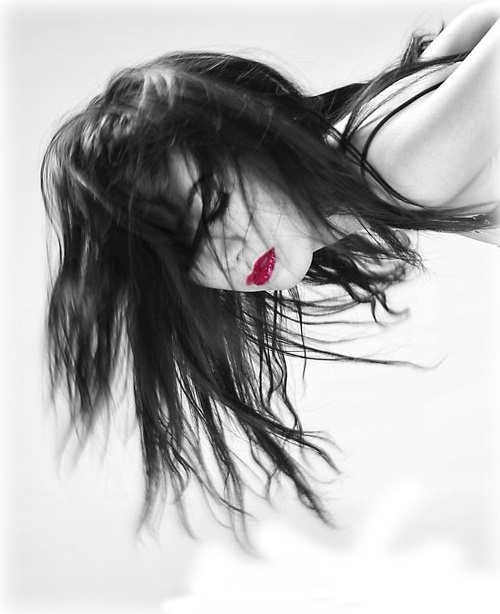
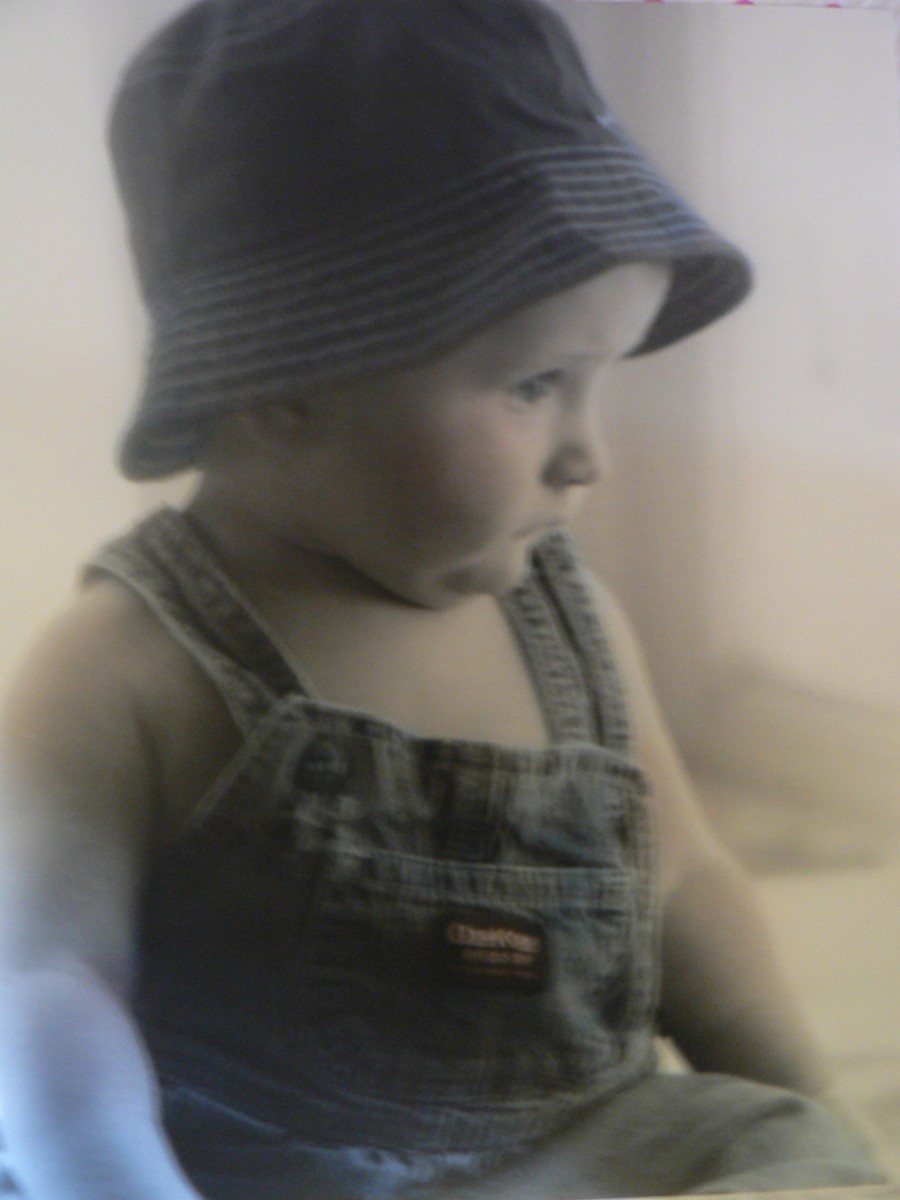
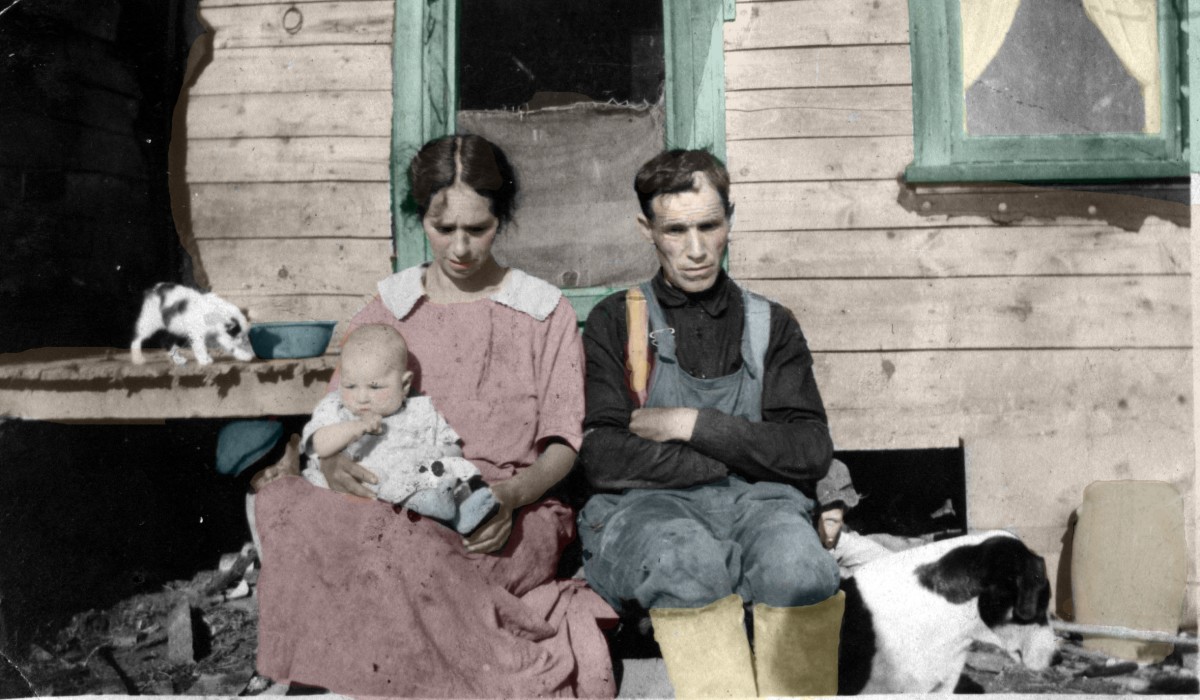
"One of Adobe Photoshop’s best features is the ability it gives you to colorize black and white photographs. With Photoshop you can add color to the entire photo, or just “paint” one part of the image to create a focal point—it’s up to you". .http://emptyeasel.com/
Shooting portraits is a good way to learn photography since your models do not run away and if doing them in a studio, you can always play with the light until you learn how to set them just right.
Portraits work well in color and they also work really nicely if done in black and white.
However, once you have taken your fill of color and black and white portraits you can start to play with a digital program and add some splashes of color to certain parts in order to high-light them and give them some "ump"
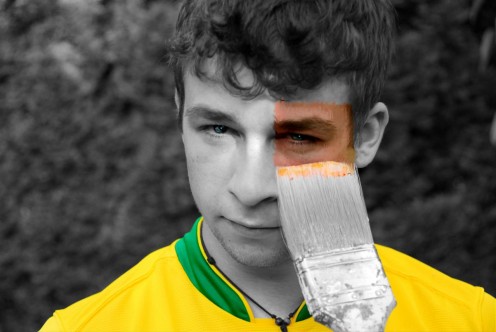
Are you willing to try this technique & why?

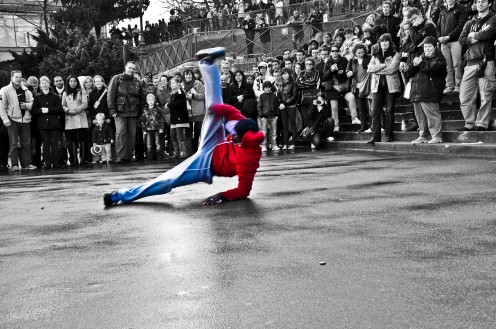
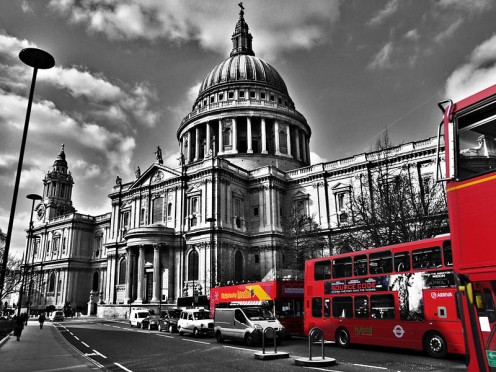
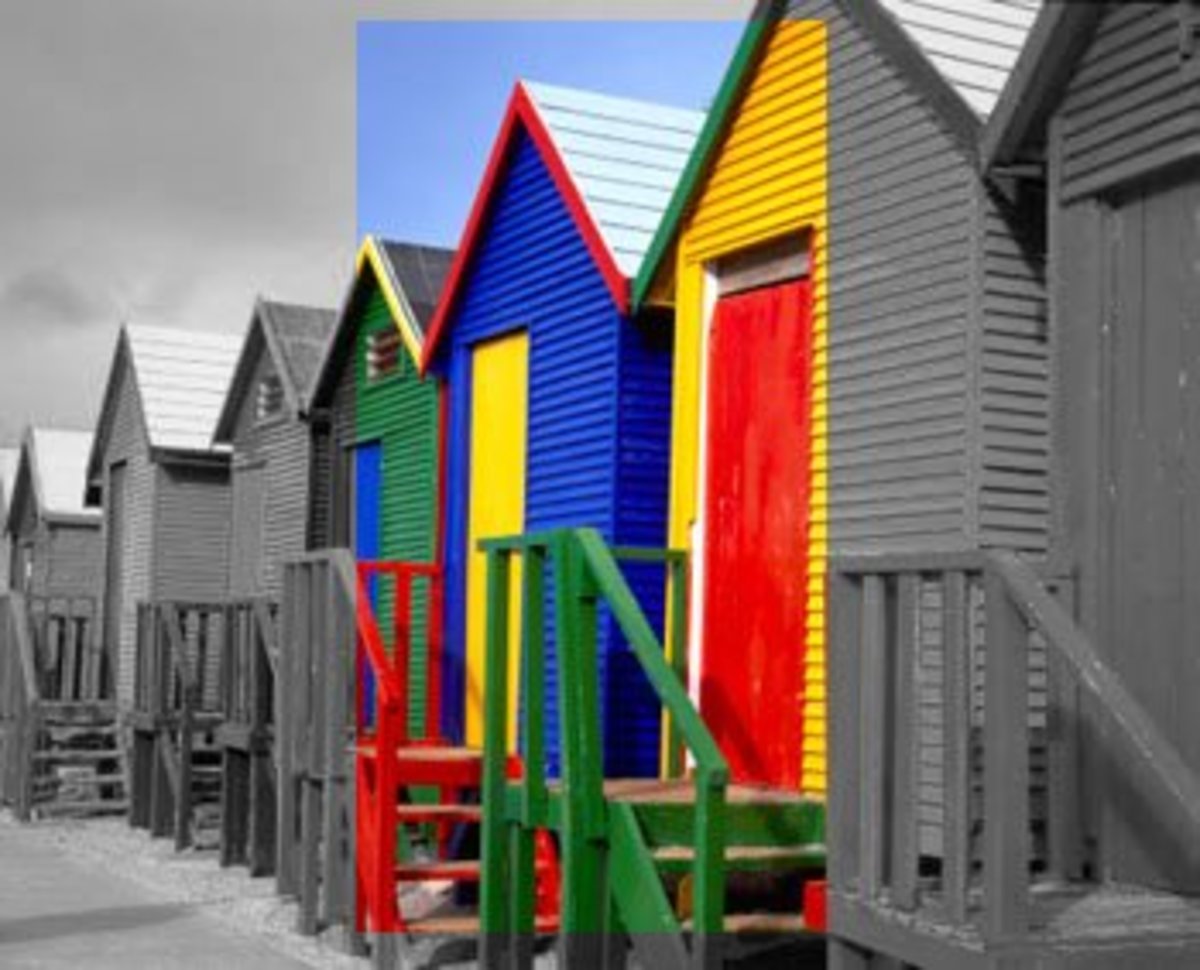
The key is to use the contrast of color against the monochrome of the black and white.
The contrast is what attracts the eye of the viewer and makes these images captivating. This is especially true if the color is a vibrant one like reds or blue, even green.
But basically any color will sharply contrast with the monochrome tones and this is what makes these image un-usual looking and almost appear to be surreal.
When doing this besides capturing the images in black and white, you also need to creatively look and analyze the image to judge where the best parts to add color will be.
Ask yourself this; does the color addition help the image or does it distract from it?
You cannot add color everywhere or indiscriminately. This is just as important as the subjects in front of the lens.
Be selective about where to colorize. Look for main interest points or central parts of the scene and start by adding some color.
You can add more to adjust it to your taste but it is better to start with small parts first.
You need to carefully choose spots that when color is added, will it enhance the effect?
It is good if these colorized parts are central to the scene and are easily visible.
They need to be surrounded by a total void of color so the contrasting effect becomes that much more emphasized.
To save yourself time in case the final image is not what you thought it would be, or the colors are not to your liking, keep saving your work at every step.
This will allow you to begin working where you left of and it makes it easier to complete the work since you will not have to continually have to start from the beginning each time.
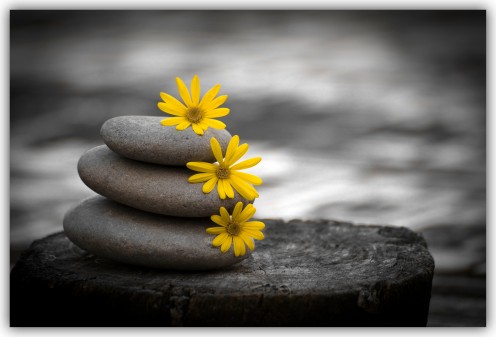
You can also do this to enhance existing colors like in this flower shot
To begin the process of adding a color to a specific are of the B&W image open the image you want to work on.
Then go to Image on the digital program (Photoshop),click on Mode and select RGB ( this allows you to use the most vibrant colors).
Double click on the Quick Mask button which is near the base of your toolbar to bring up the Quick Mask options. Under Color Indicates choose Selected Areas and press OK.
Click on the Paintbrush from your toolbar and begin to paint (adding the color) over the area that you want to colorize.
Once you start you will not really be adding any color, it will look red simply to indicate what areas you are working on.
After "coloring" the area click on the Quick Mask button again. This will bring you to Normal mode. You will now be looking at the entire area that you have filled (selected) with the "red" color on it.
Click on Save by clicking on Select - Save Selection (in case you make a mistake). This will save the work you have done up to now.
Now to add the actual color that you want to the image, click on Layer - New Adjustment Layer - Color Balance.
A dialogue box will open up and showing you color sliders. Place a check-mark in the preview box and adjust the color sliders until you get the color that you like and this will be the color that will be digitally added to the selected area. Click OK.
If you want to add more colors to other areas simply repeat the steps for each area. Keep in mind that you need to practice since this will likely be a trial and error method but the more you do it the more proficient you become at it.
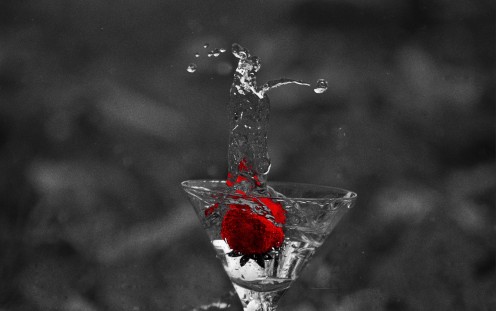
This technique is a staple in commercial food shots

I have include two videos with a slightly different way of doing this.
Each is different but they accomplish the same thing; adding color or a color splash as it is better known, to a black and white photo.
Remember that you do not need to shoot images in black and white to begin with.
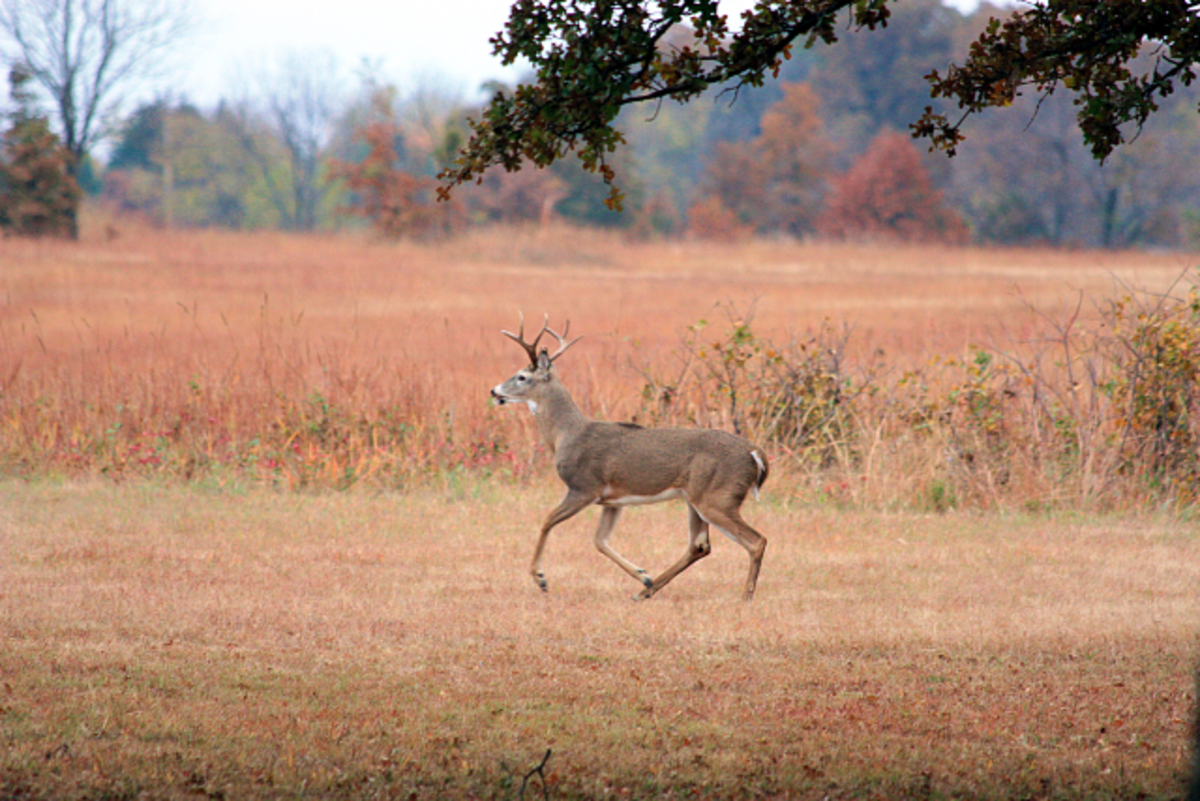
Color images can be turned into monochromes very easily with most any digital editing program.
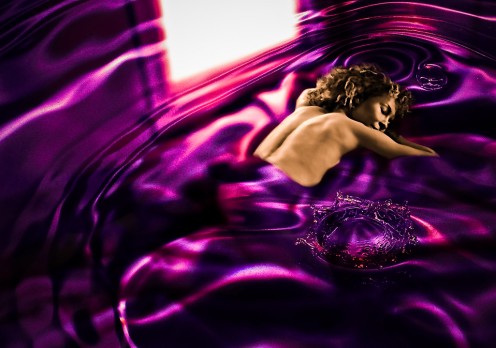
A montage, with areas that have been colorized.
© 2015 Luis E Gonzalez


