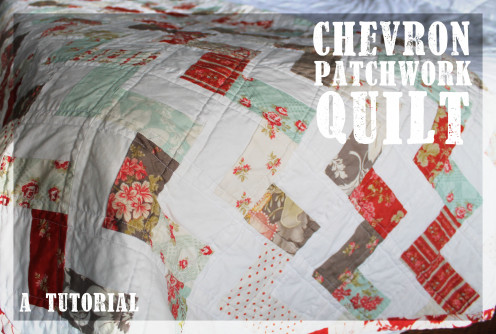
Chevron Patchwork Quilt

How to sew a Chevron Quilt Top
Definition: Create
to cause to come into being, as something unique that would not naturally evolve or that is not made by ordinary processes.
Pattern
First things first. I did not create this pattern myself. I used the pattern from Moda Bakeshop called Zig & Zag With Bella Solids. As you will see, I changed up the recommendations from the pattern quite a bit. I did not use solids and I did not do a full size quilt, but I could not have completed this quilt without the help of a well written pattern.

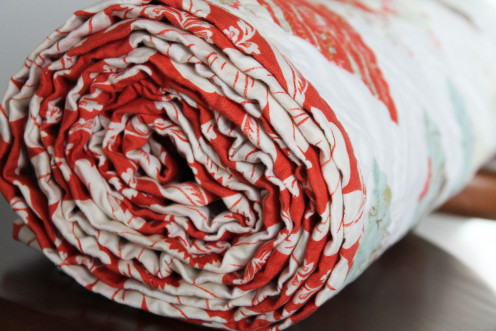
Jelly Roll
Yep. For those of you not too familiar with quilting pre-cuts, this quilt is made from what is termed...a jelly roll. Basically, the fabric is already cut into 2 1/2 inch long strips to make my job a bit easier.
Advantages of buying pre-cut fabric:
- I do not spend hours cutting the fabric at home.
- All the colorways and patterns of a complete fabric line are included in the jelly roll.
Disadvantages of buying pre-cut fabric:
- The fabric is more expensive if you compare the price yard for yard.
I do not buy pre-cuts often because I am naturally one who will do a little extra work to save a little money, but I can appreciate the conveniences of having a jelly roll on hand.
Know you do not need a jelly roll to create this quilt. As long as your are willing to cut 2 1/2 inch strips of fabric, you can make this quilt out of any fabric.
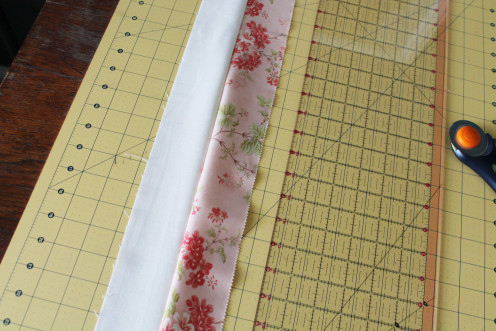
#1. Sew together strips of fabric.
First step: sew together 2 1/2 inch strips of fabric. I recommend at least one of the strips being a solid color. If not, the chevron or zig zag affect may get lost among all the patterned fabric.
As with almost all other quilting projects, use a quarter of an inch seam allowance. On most sewing machines, this is the edge of the presser foot.
Iron the seams as you go. The pattern recommends ironing the seams toward the solid (or in my case, patterned) fabric.
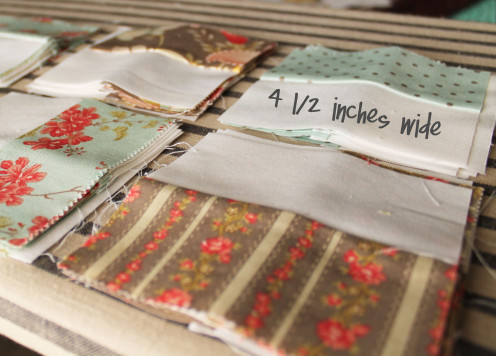
#2. Cut the fabric strips.
Next up: cut the fabric strips down into 4 1/2 inch units. This entire quilt is made up of these little rectangular units.
What kind of sewing machine do you own?
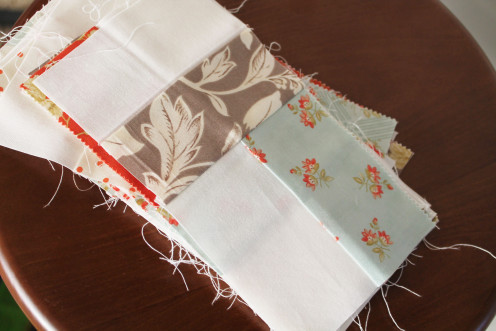
#3. Sew the units into rows.
Onto my favorite part of quilting. It's time to begin piecing the quilt! Sew each of your 4 1/2 inch units into pairs. After sewing them into pairs, feel free to sew MOST of them into sets of four. BUT, you will soon find out you need a few left as only pairs.
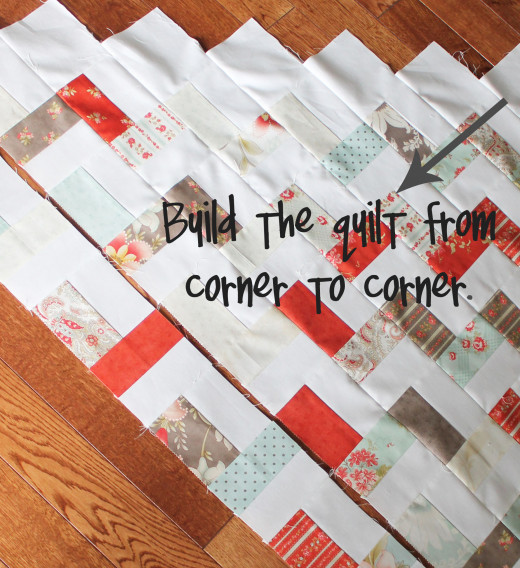
As you piece this quilt, you will notice that it builds from corner to corner. Most quilts are sewn together with pieced blocks that you sew in horizontal rows. This one is a bit unique.
Instead of building my quilt row by row, I decided to make two big triangles and sew them together. Take a look at the picture below. I have drawn out a little of how I assembled my quilt, and I think it worked pretty well.
As you are assembling rows, don't forget to keep ironing each of your seams as you go.
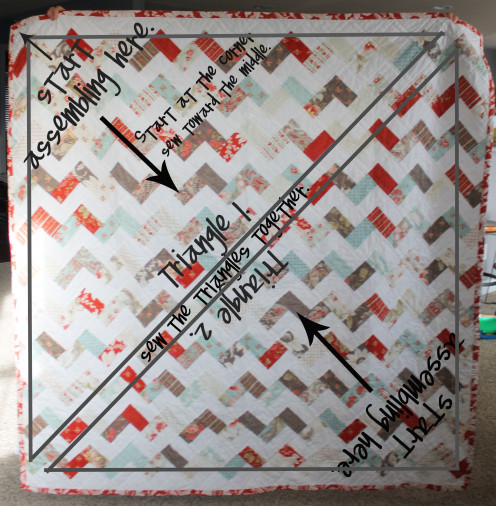


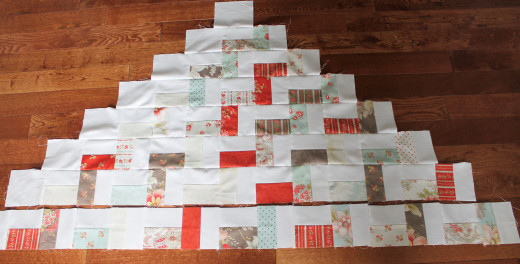

#4. Continue sewing rows until you have two giant triangles.
Begin sewing your rows. Start with your set of two units and then sew a row of four units onto it. After these are sewn together, you add the next row of six units, making the base of your triangle bigger. Next you sew a set of eight units and attach it to the row of six.
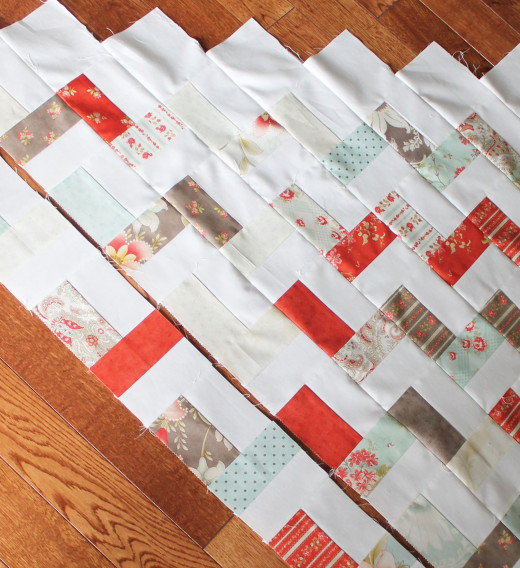
Keep going and you will begin to see the chevron pattern forming.
When I started this quilt, I will admit I was not completely sure how large it would turn out. I kept sewing rows (adding two units at a time) until I ran out of fabric. I kept going back and forth and as worked from one corner of the quilt to the other. In other words, I sewed a little on 'triangle 1' and then I would sew a little on 'triangle 2.' This way I knew my triangles would end up the same size.
Once Triangle 1 and Triangle 2 are the size you want (or you've used all your fabric!), go ahead and sew them together using the same principles. At this point, your quilt top is ready for assembly.
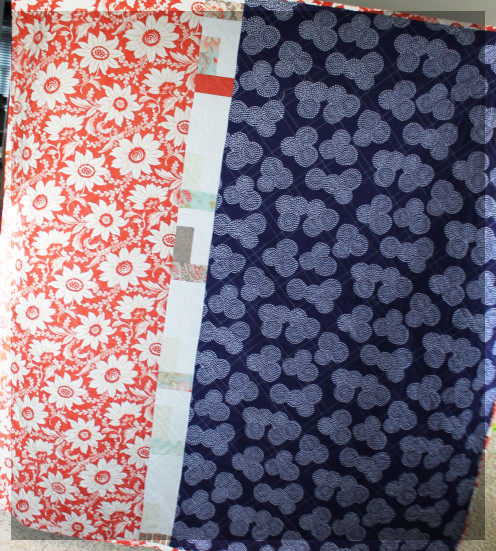
#5. Make your quilt backing.
Now is the time to choose fabric for the backing. I veered off course a little with this quilt and chose an uncoordinated backing.
If you don't have enough fabric of one kind to cover the entire back of the quilt, use some creativity (or large fabric scraps) and make a colorful backing.
The blue fabric I chose was Michael Miller's Stitch Circle in navy.
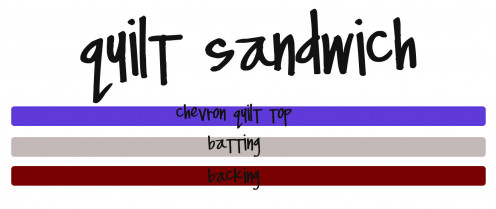
#6. Build your quilt sandwich.
Your chevron quilt top is finished. Your backing is finished. Next up: choose your batting and assemble your quilt sandwich. I almost always use 100% cotton batting.
Find a good open spot in your home. Use some masking tape and tape down your quilt backing to the floor. Be sure there are no kinks or wrinkles. Lay your batting on top of your backing. Be sure to get all the wrinkles out in your batting too. Lay your chevron quilt top on top of the batting. Once again, smooth out all the wrinkles.
YAY FOR CREATING YOUR QUILT SANDWICH!
Find your basting pins and begin pinning every six to eight inches.
Straight Line Quilting
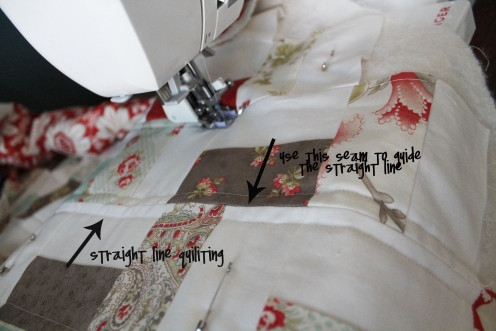
#7. Quilt your quilt.
Time to quilt your layers together. There are many many different patterns and options you can choose from to quilt your quilt together. Some send their quilts away to a professional quilter. I sometimes freehand my quilts using a meandering or stippling pattern. If you are new to quilting, I recommend using a straight line quilting pattern. Straight line quilting is a very safe place to start, and it will give your quilt a clean look. Line up your presser foot with the edge of a seam, and quilt a line a quarter of an inch away. You can see this process in the picture above.
If you have a walking foot for your sewing machine, I recommend using it during the quilting process. All sewing machines have feed dogs under your presser foot. These feed dogs 'feed' the fabric through your machine. A walking foot feeds the fabric from the top as well.
If you do not have a walking foot, use your normal presser foot. I have sewed a number of quilts without a walking foot, and they turned out just fine. I had a little more trouble with the fabric creasing, but after washing my quilt, most of those inadequacies were not noticeable.
Now is also a good time to put in a fresh needle if you have not replaced your sewing machine needle recently.
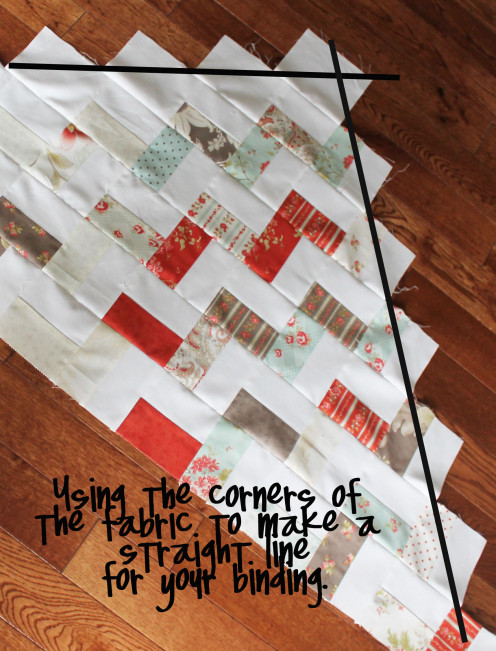
#8. Bind your quilt.
Binding your quilt means sewing the border around the edge of your quilt. This is the final step. Almost done!
Square up your quilt. On this particular quilt top, you can use the corners of the fabric to find the straight edge of your quilt.
Use this tutorial to bind your quilt. These are thorough instructions on how to add a binding to a quilt (even though all the pictures are with a burp cloth instead).
Finished binding.
Enjoy the process!
Enjoy the process of making a quilt. Sometimes I compare quilt making to exercising. The start is great. The finish is awesome. The middle gets a little menial and tedious. Take some breaks and know that this quilt took me six months to finish. I had to take a few months off for gardening, but I was glad to get it back out and finish it for my mom to give as a Christmas gift.
In other words, do not expect to just 'whip out a quilt in a few days'...unless you are a crazy awesome professional quilter. :) Quilts take time, practice, and patience, but if you ask me, I always have a huge feeling of satisfaction when I am finished.


