Christmas Craft Ideas For All Ages
Christmas is the most wonderful time of the year. There is always homemade goodies all over from cookies and candy to Christmas gifts. Kids bring home lots of homemade ornaments from school and it is normally just a happy time of year.
I am a craft person so when the Christmas season rolls around it's time for me to break out all the "fun" stuff. This year I have done snow globes, bottle cap snowman, jewelry Christmas tree and lots of other crafts with the kids. Below you will find instructions on how to make some of my favorite crafts along with photos. Tis' the season!



Snow Globe Craft
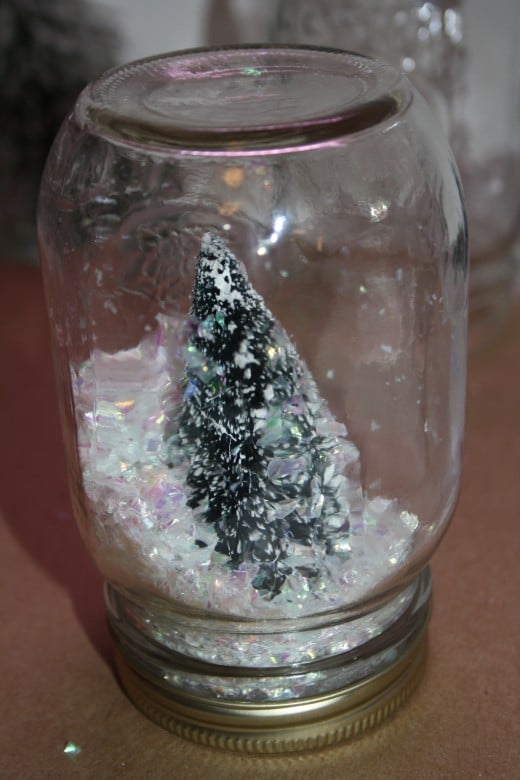
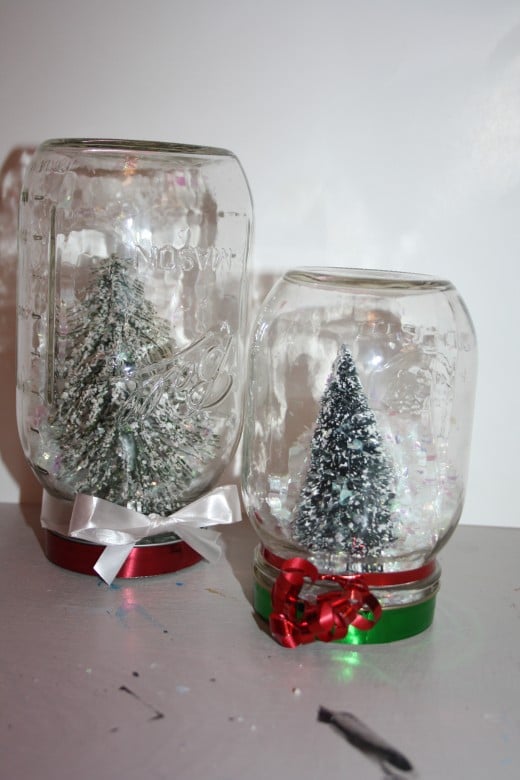
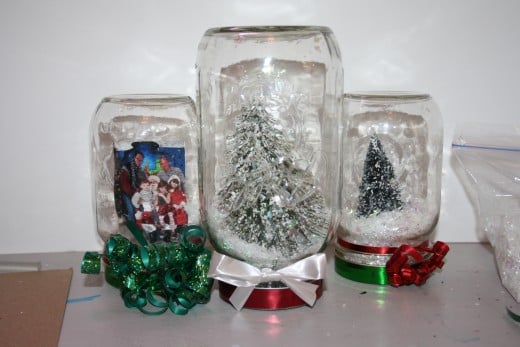
Snow globes can be made out of just about anything as long as you don't mind if they have water or not. I prefer the ones without water because I have three small children that like to pick them up and shake them. This way if they do drop and break, it's not a huge mess to clean up. These should be made by an adult but children can sure help.
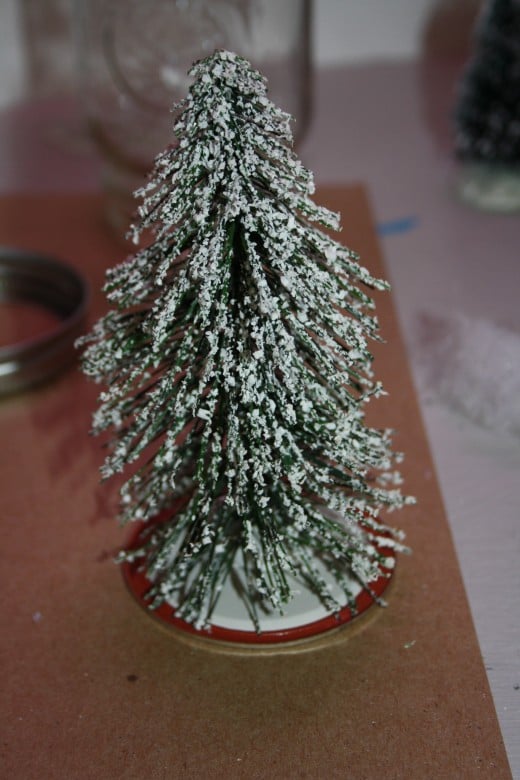
- To start you want to make sure that the tree (or your items) will fit inside the jar the way you want them to by placing them on the lid and putting the jar over top of them. Be careful if you are using small mouth jars not to get the tree stuck in it (like I did LOL).
- Once you know it will fit and have decided on how you want it to look it is time to assemble the snow globe.
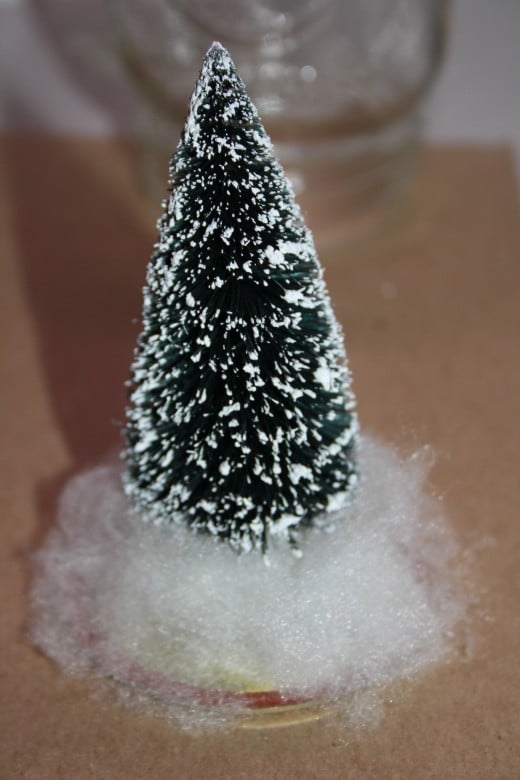
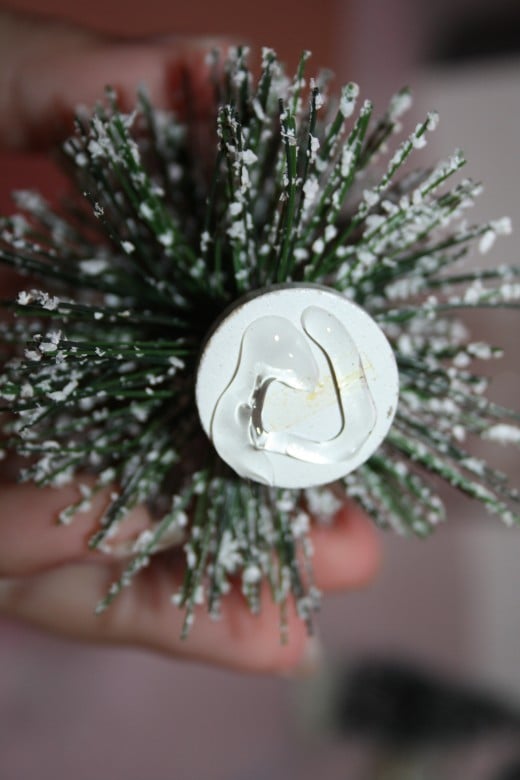
- Use hot glue to attach the tree to the flat lid of the jar.
- For the smaller jar I added some spread apart cotton balls to make more of a snow effect on the bottom of the jar.
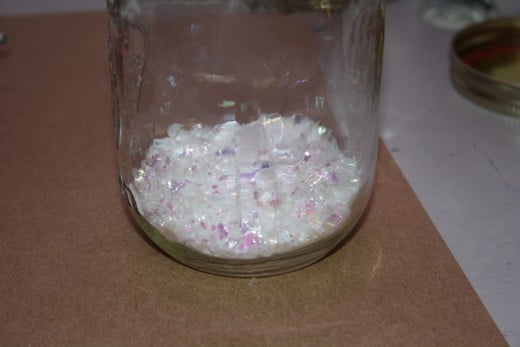
- While all the glue is drying add your fake snow to the bottom of the jar.
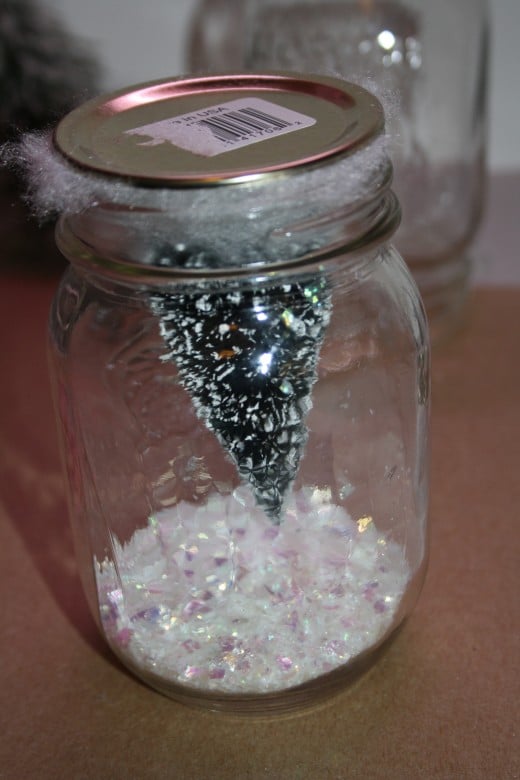
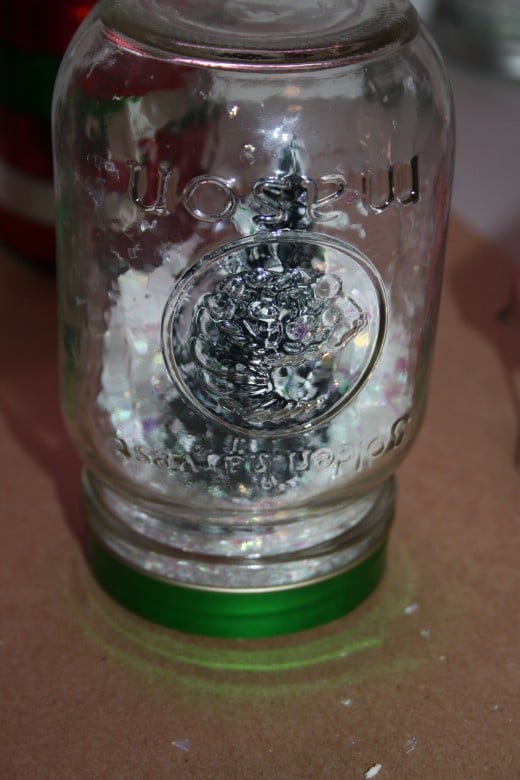
- After all the glue is dried and everything is attached to the flat lid, insert the flat lid part upside down in the jar.
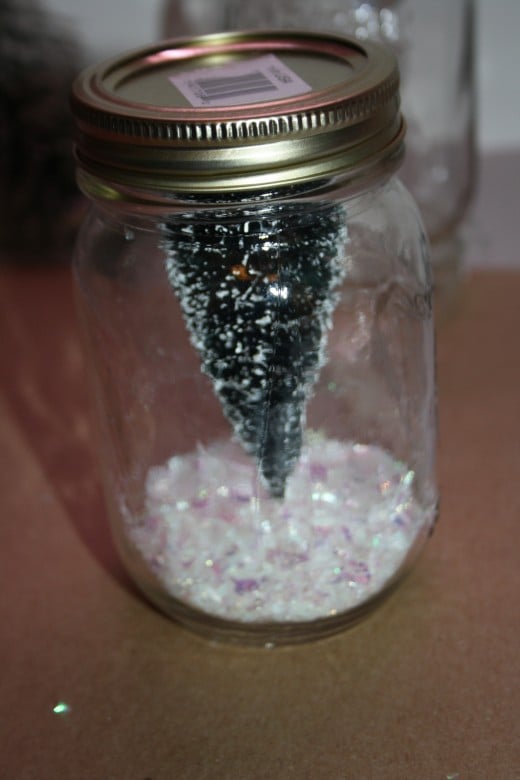
- Attach the outer ring of the jar and make sure it is really tight. (You can glue your lid in place if you would like but I did not do this. I wanted to leave mine so it is changeable year to year).
- Once lid is attached, you turn the jar upside down (so the tree is right side up) and shake it a little to get the snow to fall just right. This is something that can always change.
- Add some ribbon to the lid (now the bottom) of your snow globe to make it look pretty. You can also paint them and cut out a fabric circle to put on the bottom so you don't have to worry about it scratching the table.
For the large jar and large tree I did the same steps only I didn't add the cotton balls to the bottom part of the tree. Just glued the tree directly onto the flat lid and inserted it into the large jar that had fake snow in the bottom.
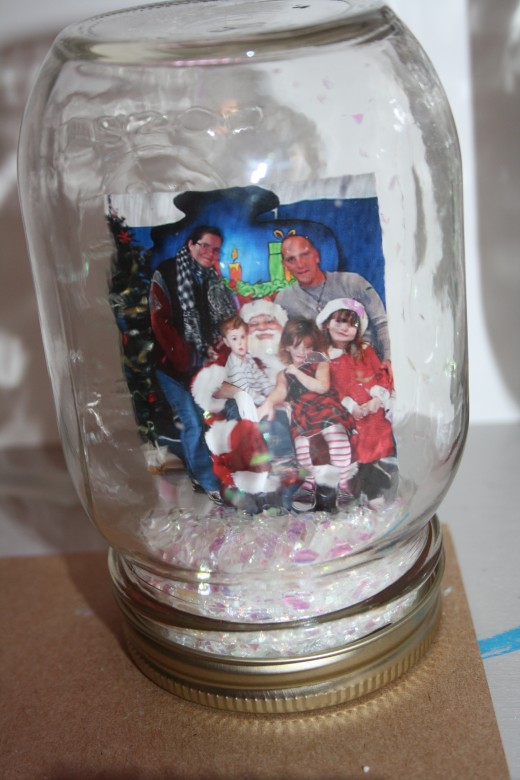
After I had done the two tree globes I thought it would be super cute to make a snow globe for my mother-in-law with a family picture of us. To do this follow these steps:
- Put some fake snow in the bottom of a jar.
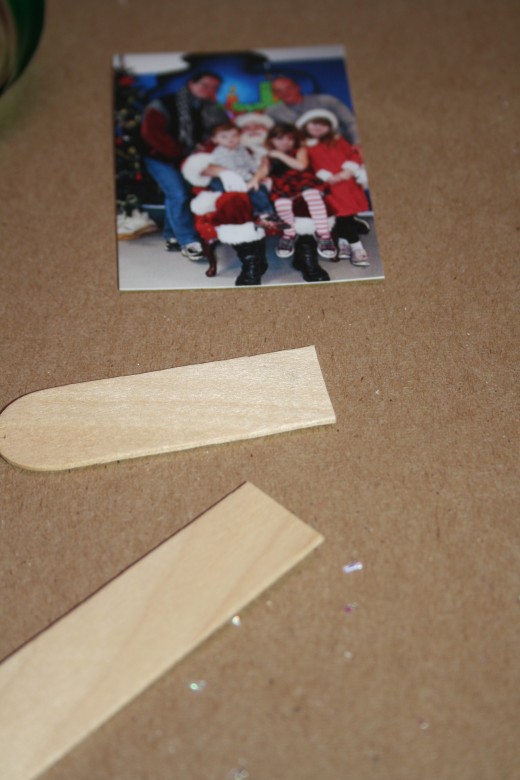
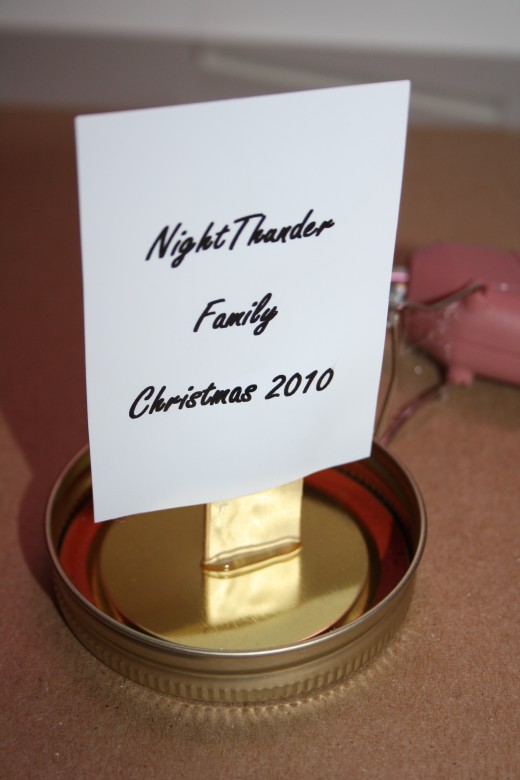
- Print a picture and wording for the back of the picture. (My words are NightThunder Family Christmas 2010)
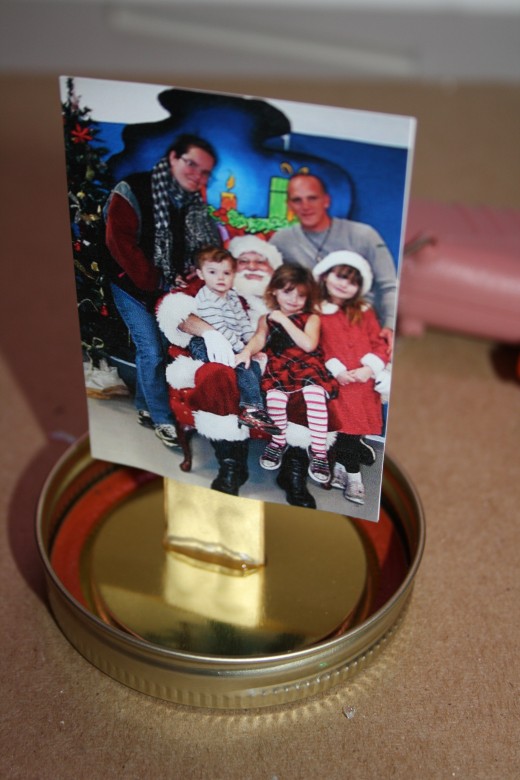
- Glue these two pieces back to back and make sure the cutting around the edges is the same. When gluing make sure you leave space at the bottom for a popsicle stick. This is what holds the picture in place.
- Glue the popsicle stick in between the picture and the word page.
- Hold the popsicle stick off the edge of a table and put the jar on top of the picture to make sure you get the right height for your photo.
- Cut popsicle stick if needed (mine needed it).
- Put a lot of hot glue on the bottom of the popsicle stick and place it immediately in the center of the flat lid for the jar. Allow it to dry and this should be plenty strong enough to hold your photo in place no matter how hard the jar is shaken.
- Insert the flat lid into the jar, attach the lid tightly.
- Turn the jar upside down (so the photo is upside right).
- Add ribbon to the bottom and you are finished.




Bottle Cap Snowman
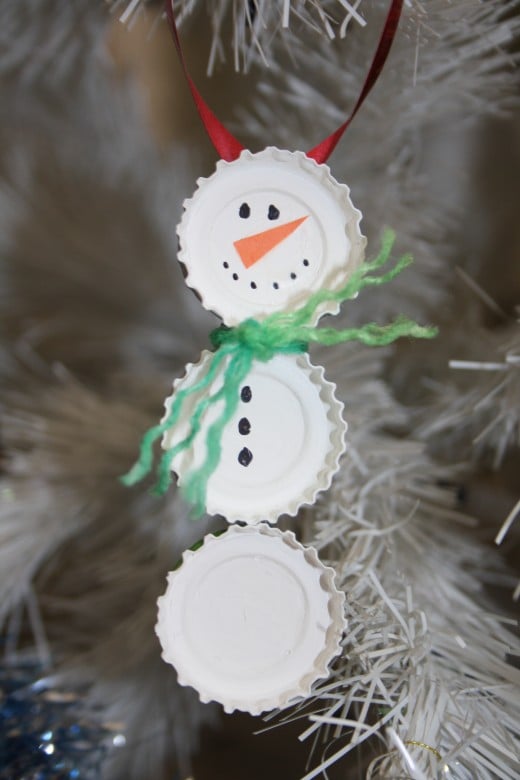
My favorite part of Christmas time has always been snow. I love making snowmen and having snowball fights. I figured since snow was my favorite thing during the holiday season I should make some snowmen. What better way to do that than with using the old bottle caps I have had laying around the house. I knew these little guys would come in handy one day!
These ornaments are easy enough that a child can help make them. I do suggest parent supervision, as the edges of the bottle caps can be sharp and hot glue is needed. Here's how to make these adorable little snowman ornaments:
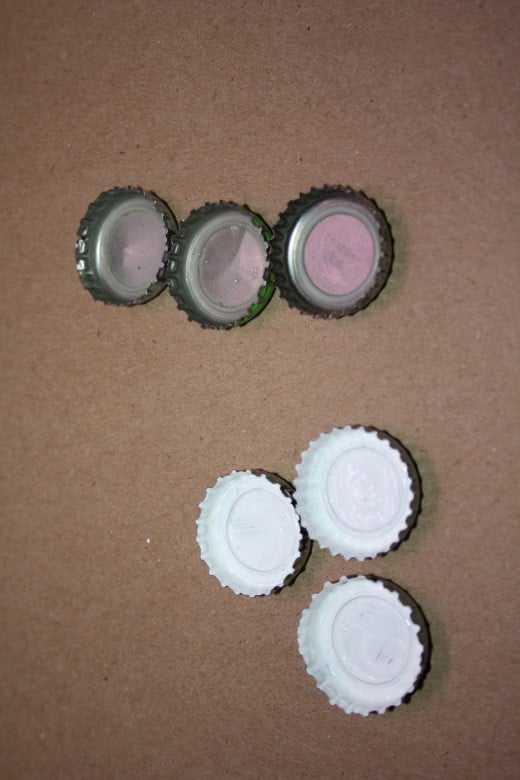
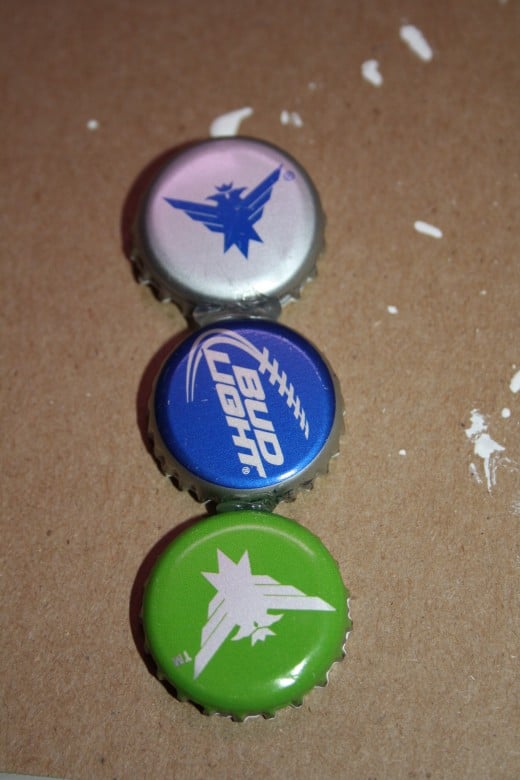
- Start with three bottle caps, the ones that come off of beer bottles or root beer bottles or any bottle of that kind.
- Clean up the caps (you don't want the snowman to smell like beer after all).
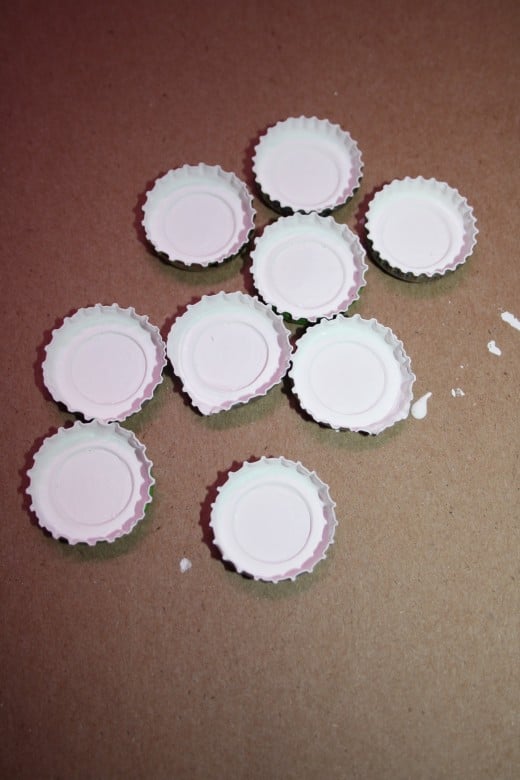
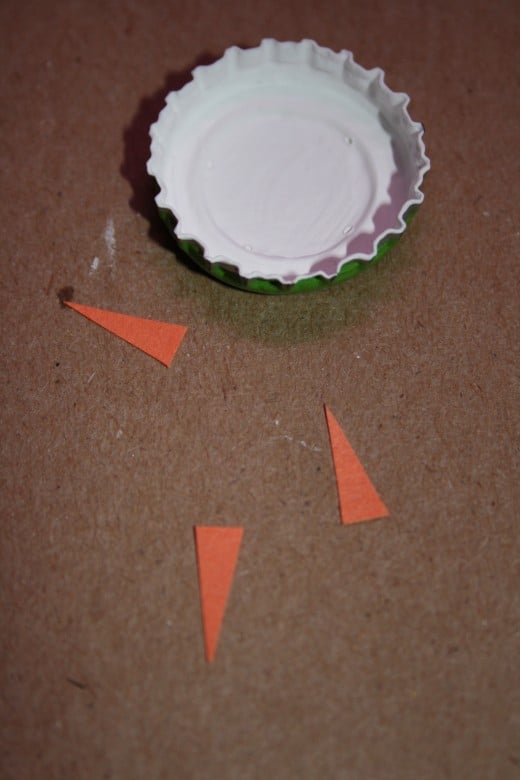
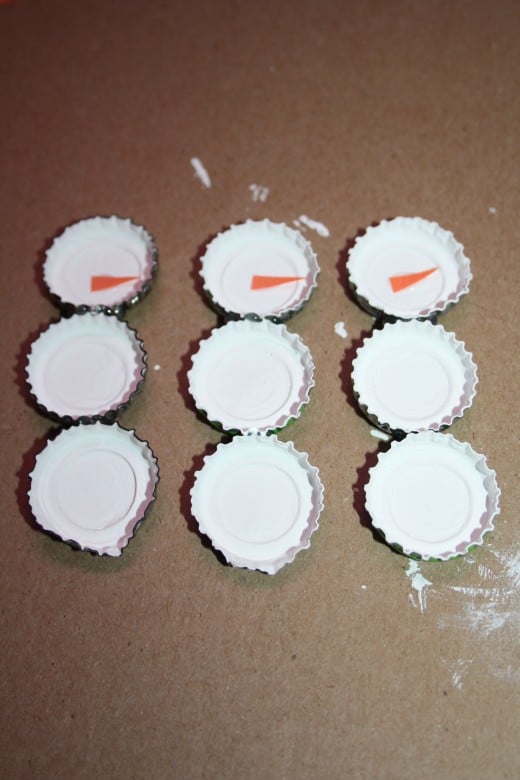
- Paint the inside of the bottle caps with white acrylic paint. You will have to do several coats. I did three coats on mine just to make sure they were good and covered.
- ***Here you can paint the outside of the bottle caps too if you would like, I chose not to.***
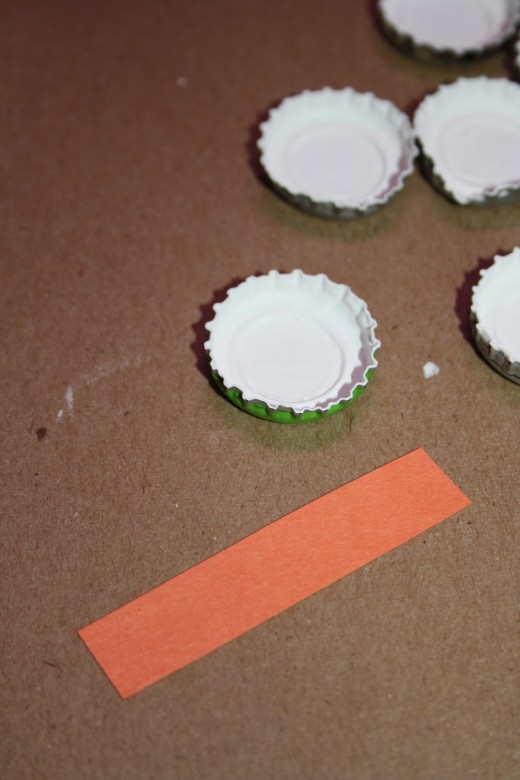
- Once all the bottle caps are painted and dry take an orange piece of construction paper and cut a small strip for the carrot nose. Cut out a carrot nose for your snowman.
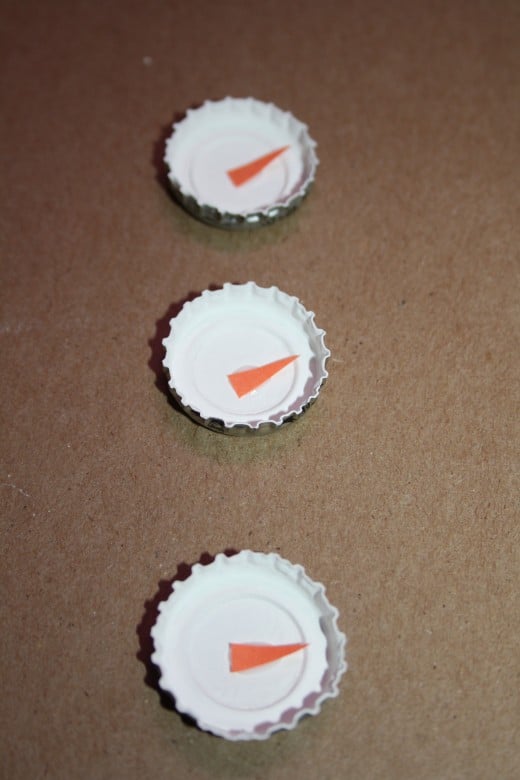
- Use a small dab of Elmer's glue to put the carrot nose inside one of the bottle caps. You will want it kind of in the center so you can draw eyes and a mouth around it.
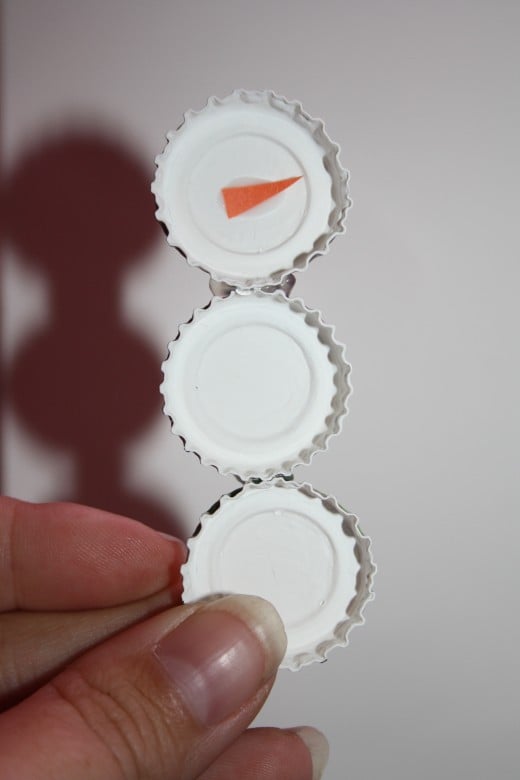
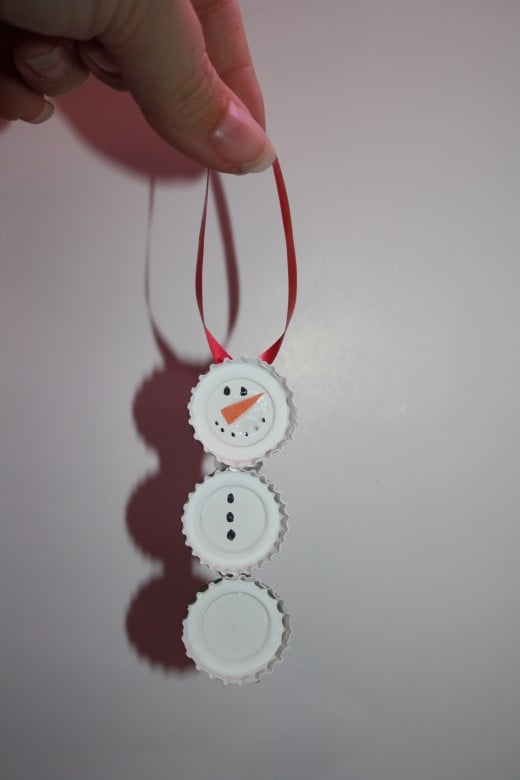
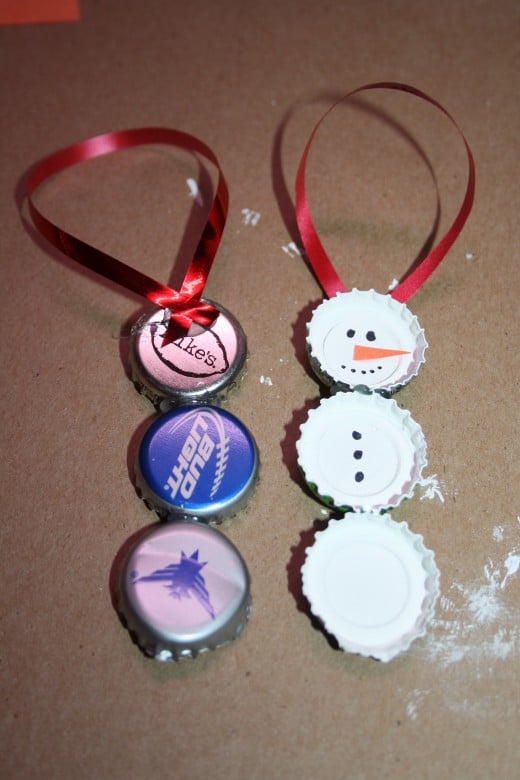
- Next use hot glue to attach all three bottle caps to one another. Just put some glue on one, stick on the other and hold until dry. I laid mine on the table for a second to make sure it was all level but picked it up right after so the glue didn't stick to the table.
- Once all are glued together you add your little decorations to your snowman.
- Use a permanent marker to draw on eyes and a mouth in the head and buttons in the middle bottle cap.
- Attach a ribbon to the back of the snowman's head using hot glue.
- Cut a piece of yarn and tie it around the snowman's neck (between first two bottle caps) and tie in a double knot.
- After the knot is in the yarn, uncurl the yarn to separate each strand.
- Hang your snowman on your tree and enjoy!

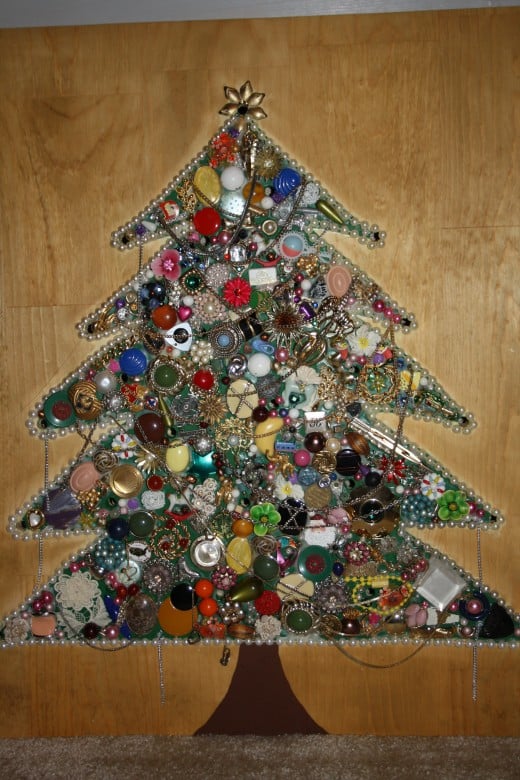


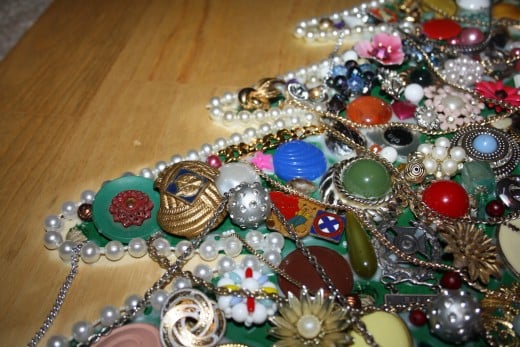
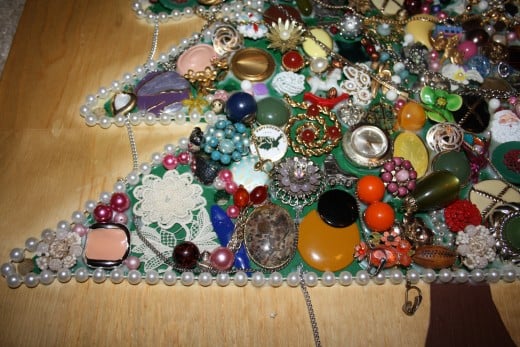
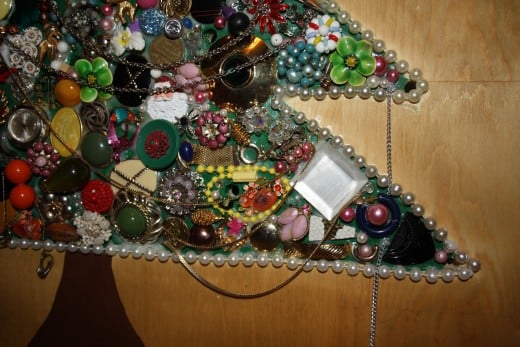
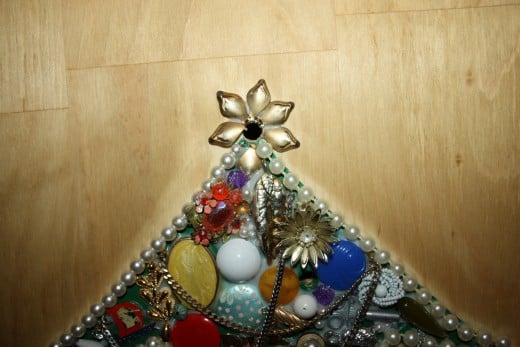
Jewelry Christmas Tree
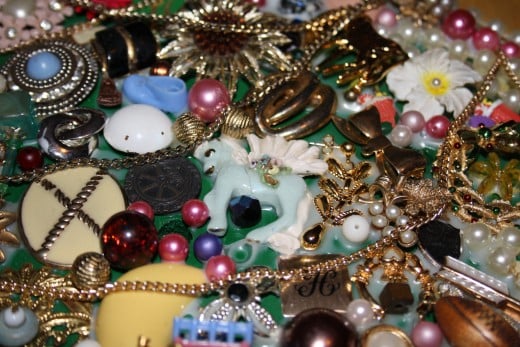
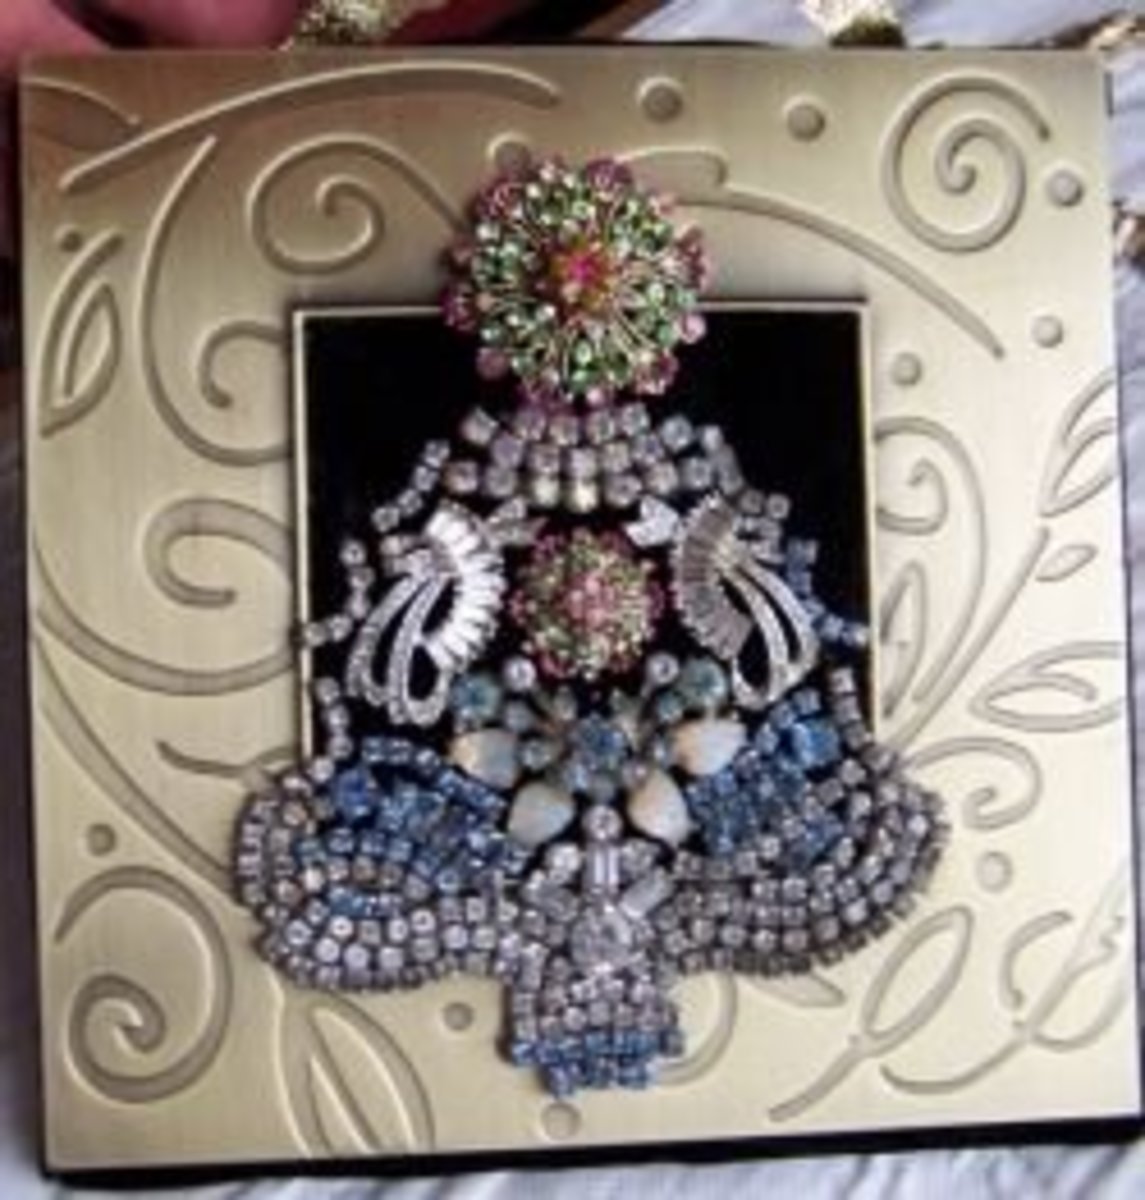
You know all that old jewelry you have from your mom or grandparents, or all the old jewelry you see at thrift stores and yard sales? There is something you can do with all those old pieces that can make for a really cool Christmas time craft. You can make a jewelry Christmas tree!
- Buy a piece of wood that is thick enough to hold the weight of the jewelry.
- Draw an outline of the tree you want to make on this piece of wood.
- If you want to add lights to your tree you need to find out how many lights come on a strand and drill those holes in the tree before you start painting or gluing on jewelry pieces.
- Paint the tree green and the stem brown.
- After the paint is dry, lay out all your jewelry pieces on the tree to see where they would fit the best. Make sure you don't cover your holes for your lights.
- Start in any spot or in many different spots by gluing each piece on one at a time. Save any necklaces or dangly pieces for last.
- Once most of your jewelry is on the tree use a pearl necklace or something of the sort for the outline of the tree.
- Once the outline of the tree is done you can add your necklace pieces as the strands of tinsel to the tree. Allow them to dangle from one part to the next, only gluing the ends down.
- Once the jewelry is all on, add your lights in the back through the holes.
- Attach the on-off switch to the side of the board so that you can turn it on and off as you please.
- Add a border to the wood to finish off the Jewelry Christmas Tree.
I still have some finishing touches to do to mine this year but I absolutely love how it turned out and can not wait to get it completely finished and hanging on my wall.


Crafts from Oriental Trading
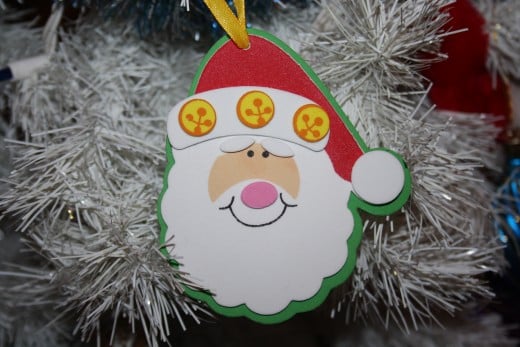
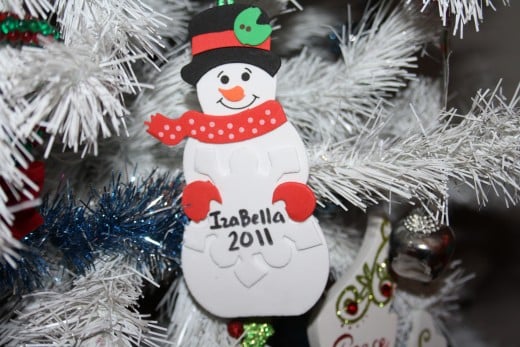
Foam crafts are great for children of all ages. I have always bought mine foam projects from Oriental Trading and they come pre-cut. All you have to do is add the glue and put them together. So simple for the even toddlers to do. Most of these projects come in 12 count packages so it is great to have them made for school projects or giving them to family and friends. They have ornaments, picture frames and even ones to make into magnets. There are even foam gingerbread house kits. The best part of all, there is every shape and Christmas decoration to choose from! My kids have always loved to do the foam projects and now that they are getting older the pieces are actually being put in the right spots.
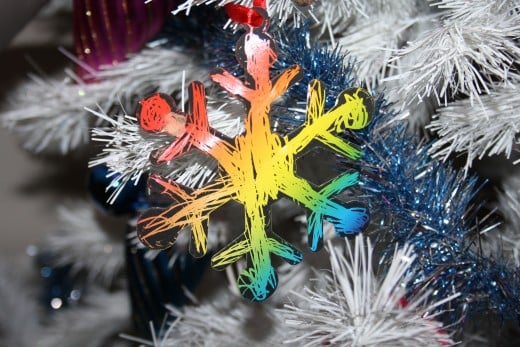
Oriental Trading also had scratch paper cut in special shapes that come with the wooden dowel that scrapes off the black parts to reveal color. I have grown to love these as the possibilities are endless.
- Party supplies, crafts, party decorations, toys: Oriental Trading
Oriental Trading carries an irresistible assortment of fun, value-priced products for every occasion.

Popsicle Stick Crafts
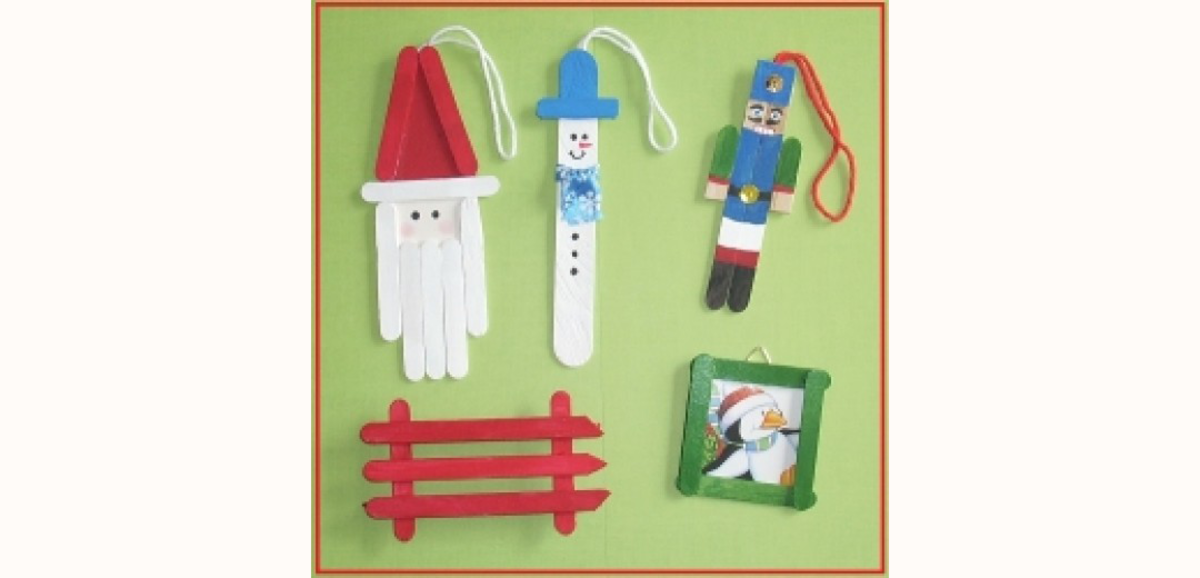
If you are a crafter, than chances are you have popsicle sticks in your craft stuff. These make excellent craft pieces for kids of all ages. As long as you have some paint, glue, glitter and a few odd and ends you can make just about anything. Popsicle crafts are great for any age. I even have a lot of fun making these with the kids as mine are usually more detailed and precise then theirs. But sometimes the messiness of it is what makes them so special when done by a kid.
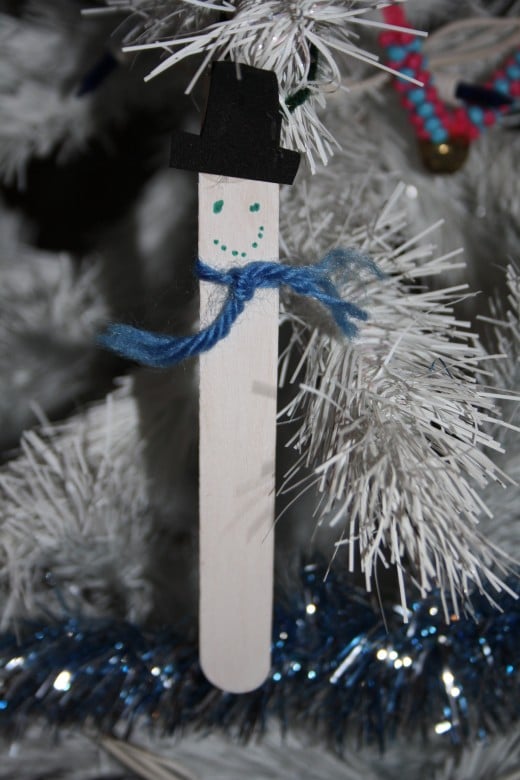
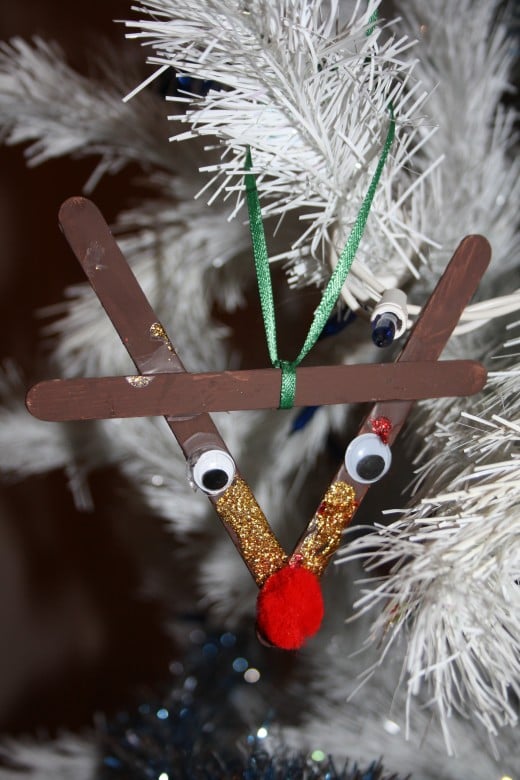
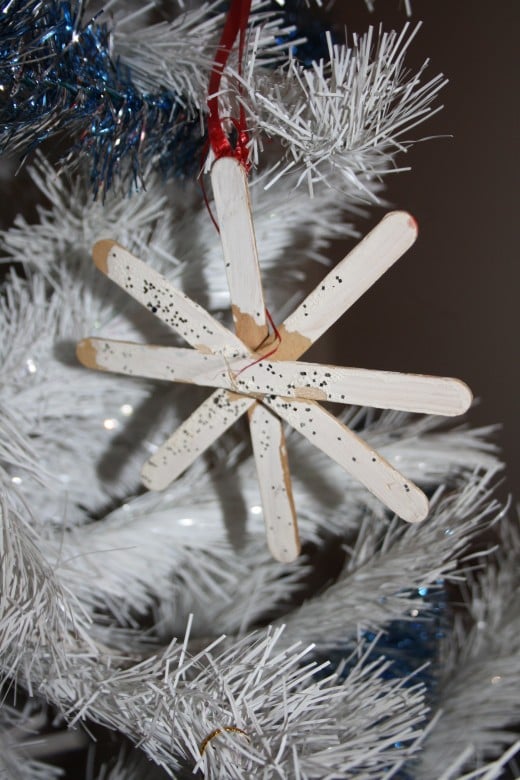
On my tree this year I have a snowman made from one popsicle stick, a reindeer made from three popsicle sticks and a snowflake made from four popsicle sticks.
Here's how to make the snowman:
- Paint one popsicle stick white (all sides).
- Cut out a hat from black foam or sturdy paper.
- Once paint is dry draw on eyes, nose and a mouth.
- Attach the hat with a dab of glue.
- Add a small piece of any color yarn right below the mouth just by tying knot and this piece becomes the scarf.
- To hang glue a piece of ribbon to the back of the snowman's head.
Here's how to make the reindeer:
- Take three popsicle sticks and paint them all brown (all sides).
- Once paint is dry assemble your reindeer by making two of the sticks into a "V" shape and glue at the tip. Then add the last stick about 1/2 - 3/4 of the way up the two sticks and glue on both ends.
- Add some gold glitter glue or decorate your reindeer any way you want.
- Add a red pom-pom for his nose.
- Two googly eyes.
- Tie a ribbon around the center of the reindeer's "head" between the antlers to hang him from.
Here's how to make the snow flake:
- Take three popsicle sticks and paint them all white (on all sides).
- While paint is still wet you can sprinkle some glitter on them or wait until they are dry and paint glitter on them (depending on if you have glitter paint).
- Once all is dry glue all the popsicle sticks together to form a snowflake (or pizza slices).
- To hang, glue a piece of ribbon to the back of the tip of one of the snowflake arms.

