Be Your Own Webdesigner! Create an Awesome Website Header with Adobe Photoshop Elements!

Having trouble making your own website header? Want a more polished look to it without the use of a web designer? Well you can achieve the look you want by using Adobe Photoshop. Tools from this program can do just about anything you want it to do. If you would like to achieve the look that can be found on Vacay Tips, here are a few tips to get you started.

First, start with a blank file (new page). Make sure you select your measurement in inches if that’s what you would like to work in. If you want the main background color to be something other than white select the color of choice and with the Paint Bucket Tool apply your color. Also, at the bottom left corner it will indicate the size of viewing. To increase or decrease this, highlight the number and by scrolling your mouse up or down you can adjust the size. Or if you prefer you can manually type in a number. This is helpful if you want to get a realistic view of sizing of the image.

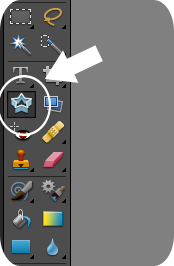
Creating Main Shape
Your design may start with a base object that you want to build upon. You create this by:
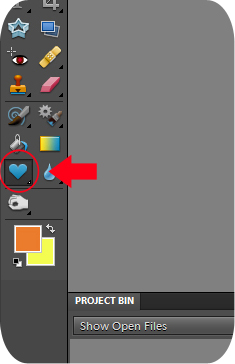
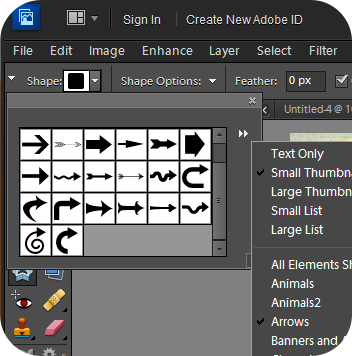
- Go to the Custom Shape Tool button.
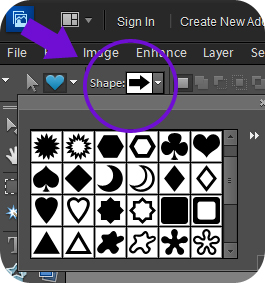
- Go to Shape at the top left and select a shape.
*Create shape how small or large you want it by holding down and spreading the object.

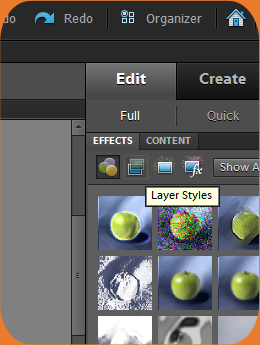
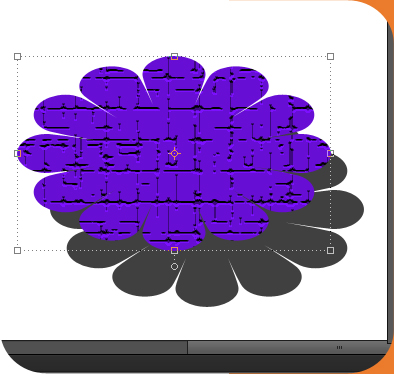
Creating a Texture for Object
You may want your object to have a certain textured look to it. This is created by:
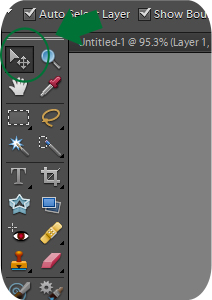
- With the Move Tool select the shape you just created.
- Off to the right side is the Effects panel. Here you can select the pattern you want to add to your shape or text.
- To apply textures either grab desired texture, drag it and drop it over shape or double click desired textured and it will automatically apply itself.
*All this is to be done while the shape you’re working with is selected.

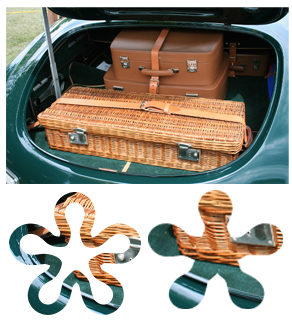
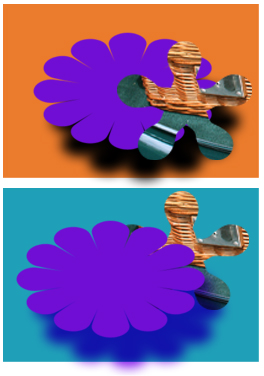
Select a Background Image for Main Object
Perhaps you want your main object to be of an image and not just a shape. This can be used as a background for other images or shapes. This can be done by:
- Find the image you want to use. In this instance I’m using suitcases.
- Crop the image using the Cookie Cutter Tool
- Select shape you want to use. (The dark portion of a shape represents where your image will be seen).
- Drag cookie cutter shape until you achieve desired effect.
- Apply a bordering color, shadow or any other effects, if desired.
*If you have the use of a scanner, you can scan that image in and work with it just the same; applying color, texture or shadow as well.

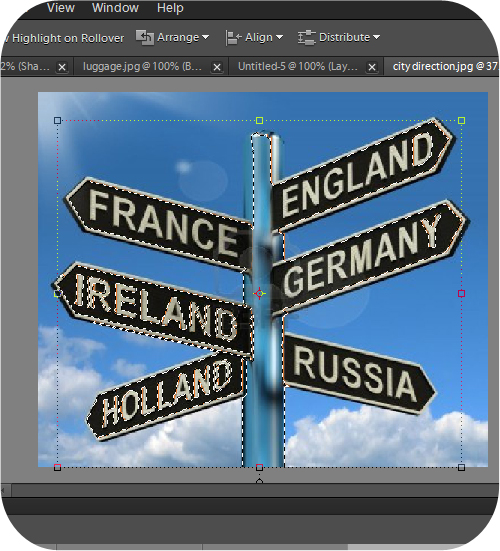
Taking an Image Out of a Picture
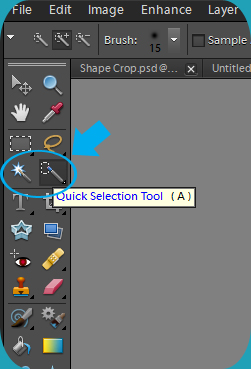
There are times when you see an image and only want a particular object out of the whole thing. There are two tools you can use for this:
- Quick Selection Tool- Once selected, click and drag over an object to select the object you want to cut out. With this tool you can highlight a larger portion of the object you are cutting out.
- Magic Wand Tool- Works the same except this tool selects at a more piece by piece method.
- Once your object is selected, under the Edit menu, copy and paste it to a new file if you would like to make changes to it such as resizing it, adding a texture or adding color to it.
*By adjusting the size of your image select the Move Tool and a border line should appear around the object. Grab border by the corners and drag inward. This will shrink image without messing up size ratios.

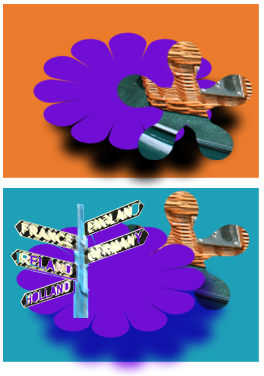
When done with last step, now you have to get your object in with the rest of what you started before.
- Use the Layer menu off to the bottom right.
- Right click layer and select Duplicate Layers (name layer if you’d like). This will give you a copy of the image over the image you just duplicated from. Select the Move Tool, click object to highlight image and move it to make sure it duplicated.
- To apply the image in with the rest of your work that you had previously done, click it, drag it and drop it over the document you want it with.
- Place it where you want it.
*For both tools, to add in or take out what you do or do not want to include use the + or – of either tool to do so.

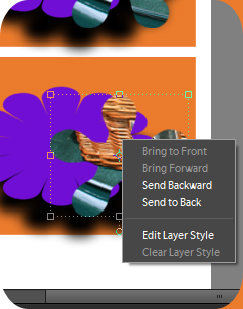
Layering Objects
So far we have only been working with one object. If you choose to use another object in your image you can achieve a layered look that’s quite simple to do.
- Right click on object. Next you will see selections for Bring to Front, Bring Forward, Send to Back or Send Backward. These are your controlling selections
- Selecting Bring to Back or Front moves your selected object behind or in front of everything in front or behind it.
- Selecting Send Backward or Forward moves the selected object behind or in front of other objects one by one until you get it in the desired position.
*If an object you want to get to is hidden behind other objects and you want to move it to the front continuously select Send Backward until the object you are looking for appears from behind them.

Adding a 3-D Appearance
To have an added effect of a 3-dimensional look it’s really quite simple.
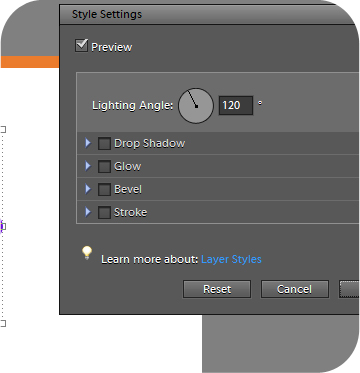
- Right click on the object and select Edit Layer Style. This will give you some selections to play with.
Selections for 3-D Effect
Lighting Angle- Positions where you want your lighting source to appear.
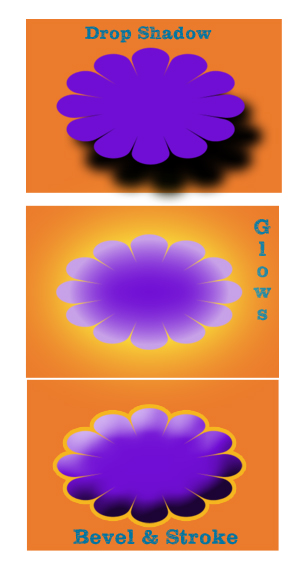
Drop Shadow- This is just how it sounds. It adds a shadow to your object.
- Size- As this number increases the amount of shadow is more widespread around your image. The less this number is, the more concentrated or darker the shadow is. The more this number is, the more faded and thinned out it is.
- Distance- This is how far from your object it is. This gives the effect of how far the sun is from an object.
- Opacity- How light or dark your shadow is.
Glow- This gives the object an inner or outer glow.
- Inner Glow- Gives the shape an inner glow that goes from the middle of your shape and outward. You can control how light or dark.
- Outer Glow- This affects the outer edges of the shape if another color or shape is behind it. You can select how light or how dark it will be. You can also control how far or close to your object the glow is.
Bevel- This gives your shape a risen/puffed up look.
Stroke- Controls how thick or thin the bordering color is.
*You can control the color of each of these except for the Bevel effect.

Text
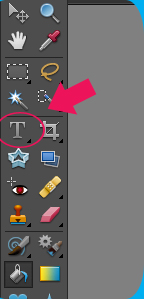
To apply the name of your website there’s lots of fonts and ways for your name to look for you to choose from.
- Select the Horizontal Type Tool
- The arrow now becomes a cursor. Place the cursor where you want to apply text.
- Drag and create a outlined box.
- Begin typing in what you want.
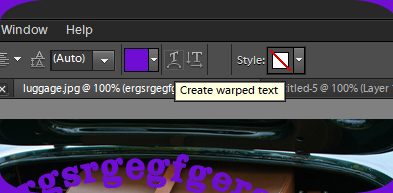
- At top of page a menu is seen that you can use to change the way your text looks. Warping Text is always fun!
*If you need to change the font do so while under the Horizontal Type Tool button. Highlight text and then adjust it to the desired effect.
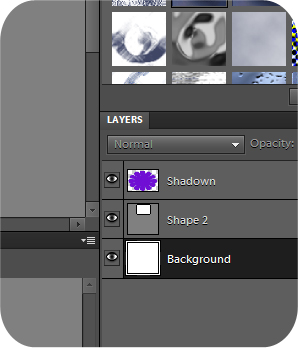
Editing Stage
Now you have your image the way you want it but you may see some things you want to change. Off to the bottom right you can use the Layers panel to individually select each object that you want to change. You can edit them just like normal changing color, texture, size or whatever you desire.
Saving Image As A JPG. File
When saving your work select Save and under Format pull down the menu and select from the options JPEG. This basically merges your layers to form a picture.
Things to Remember:
- Don’t merge layers until you’re sure. If you choose to merge images you will no longer be able to individually select layers and change them. Merging is for turning all layers into one image.
- Use of undo or redo only goes back so far.
- The Move Tool is used to select items. It is not only used for moving things.
- Play around and have fun!
With a certain amount of patience you too can create a header for your website that you can be proud of. Everything we used in this lesson is what was used to achieve the header for the website Vacay Tips. If the theme you are using allows you to use a jpg. file as your header then this is a very simple way for you to apply a well designed header to your website and get the look you want.


