Creating Your First Project: Step 1 : Design, materials.

Getting Started, Create your First Project
For your first project, I suggest you start something small, at least 12'' x 12''. Then, once you are used to the mosaic workings, you can go for larger projects.
First, you need to find a design of what you want to create. It can by anything that inspires you, or something functional, like a key rack. Look around your home or on the Internet to see if something inspires you!
Start with a piece of plywood, 1/4" thick at least, or a nice piece of MDF. Make sure you have a bottle of Weldbond glue handy, a hammer, safety glasses, an old towel, tile nippers, an exacto knife, some fine sandpaper and that should cover it all to begin your first project.
For now, I suggest you try ceramic and later I'll explain how to create a glass mosaic which involves a little more experience.
Once you've decided on your design and the colours you want, pick up some wall ceramic tiles at your local hardware or flooring store. Make a rough estimate of the tile you will need by measuring your project in square inches and breaking down the colours needed in the square inches. For now, I suggest wall tiles because they are much thinner and easy to nip and work with.
Once you have the tiles, take your piece of board, and score it with the exacto knife as to make the surface rougher for the glue to stick to once you glue on your ceramic shards. This would also me a good time to install a wire, or hanger onto the back of the project. Check your local hardware store and make sure to calculate the weight...at least 5 pounds and up for the hanging strength. For once the project is finished, it is heavy with the grout, ceramic and wood all together.
Try to work one colour at a time into your design, do all the areas of the same colour, then proceed with the next. Break your tile up into small pieces in a towel, covered as not to be hit by flying shards. Nothing bigger than 1'' x 1'' should be the norm for a small project, with time, you judge the size you want to use. Try and keep the tiny little pieces because you will use some to fill in large gaps in the project between the mosaic pieces already glued on.
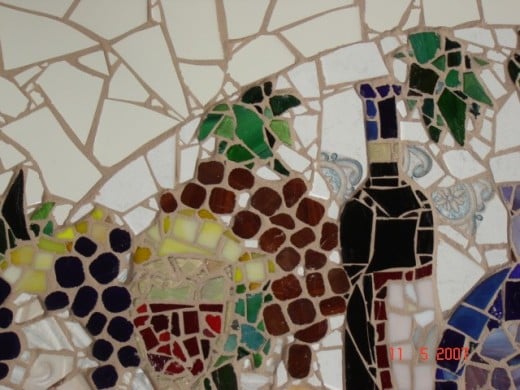
When gluing your pieces, I usually don't lay them down before, I go with my perception and how it looks to my eye. Some of you may want to lay down all your pieces before gluing them down..but this I find it more difficult, if the pieces move, you have to start over again and you may forget to glue some pieces on. I lay them down one at a time, glue them and I use the other pieces to fit in around without following any specific pattern (random) all I concentrate on is keeping the gap between the pieces at at lease 1/8'' - 1/4''. Follow your design and you will find that the pieces will eventually flow all together. Use your instincts when doing this! As long as the gaps between the shards are uniform and you follow the pattern laid out, everything will look great!
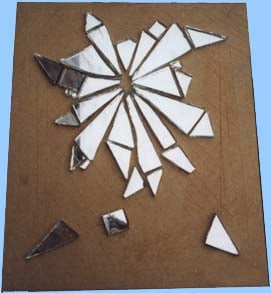
Put a small dab of glue onto your shard and if your piece of ceramic is uneven or has ridges on it, put the glue onto the highest reliefs so that the area in contact with the board will be glued. Press the piece firmly onto the board, be careful with the glue , if you see glue flowing from under the piece once you have glued it down, you are putting too much on. After a few minutes, the glue will begin to stiffen and within 20 minutes or so, be pretty well fixed to the board. Try to glue on the largest broken shards first, then once you have less space to work with, break down your shards into smaller pieces with the hammer or trim them the tile nippers to make them fit. Once your pieces are all glued, take a look and if you see large gaps, take small itsy pieces and glue them to bring down your gap space so that it looks good to your eye. Try not to put too many of them in because once grouted, you can lose them because they are so small and do not glue as well.
If you have sharp pieces, take your sandpaper and file the edges or tip to make it less dangerous to work with.
Put your project aside and leave it dry for at least 24 hours to let the glue bond properly before the grouting process. I'll be writing the grouting process in the next section.
If you have any questions, leave me a message and I will get back to you asap!
© 2008 K D Martel

