- HubPages»
- Arts and Design»
- Crafts & Handiwork»
- Textiles
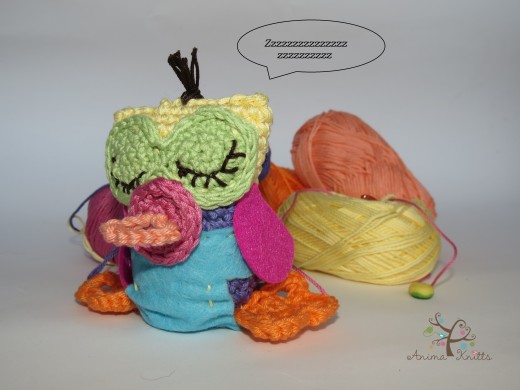
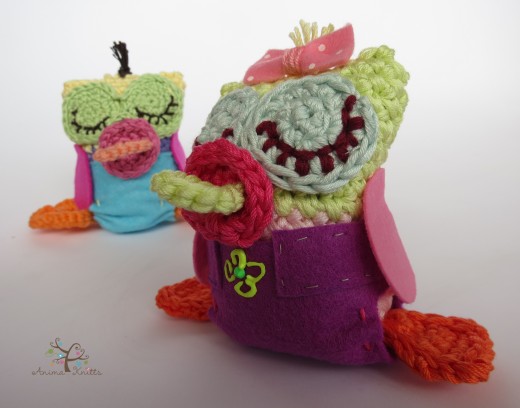
Crochet Pattern of Sleeping Baby Owl Zsa Zsa

Before We Start
Skill level:
intermediate
Finished size:
Zsa Zsa is app. 3,5 inch tall and app. 2,5 inch wide
(if using similar yarn)
Gauge: 5 sc per inch
About the Pattern
ork in continuous rounds unless otherwise instructed. Please use a stitch marker and place it in the 1st stitch of the round to mark the beginning of it. After finishing the round, move the marker up to the 1st stitch of the following round.
Materials You'll Need
Pure cotton yarn (Color A (pink); Color B (light green); Color C (Fuchsia); Color D
(Yellow); Color E (Light Blue); Color F (Brown)
And Color G (Orange))
Felt 1mm thick (with and without print)
Water resistant fabric paint marker
3,5 mm crochet hook
Yarn and sewing needle
Polyester fiberfill
Glue gun (optional)
Abbreviations:
Ch – Chain
Hk – Hook
Ss – Slip Stich
Sc – Single Crochet
Hdc – Half Double Crochet
Dc – Double Crochet
Sc2tog – Single Crochet 2 Together
Dc2tog – Double Crochet 2 Together
St(s) – Stitch(es)
Wk – Work
Rep - Repeat
How to make a Magic Ring
PATTERN
BODY
Row 1. Using Color A start by making 5 sc in a magic ring (5)
Row 2. Work 2 sc in each st around (10)
Row 3. Sc in next st; 2 sc in next st – rep 5 times (15)
Row 4. Sc in each of next 2 st; 2 sc in next st – rep 5 times (20)
Row 5. Sc in each of next 3 st; 2 sc in next st – rep 5 times (25)
Rows 6 - 10 do 25 Sc around
Change color here
Rows 11– 17 using Color B do 25 sc around
The body is finished
Do not sew it just yet. Leave it aside until other segments are made and sewed on

SOOTHER (Gauge here is 6 sc per inch)
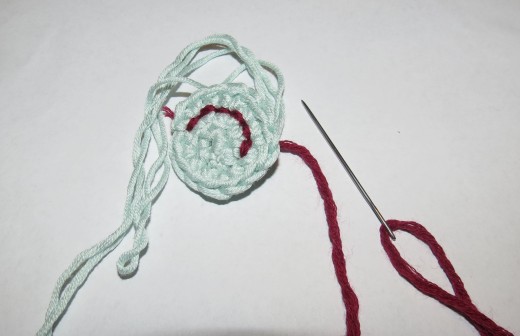
Row 1. Using Color C start by making 5 sc in a magic ring (5)
Row 2. Work 2 sc in each st around (10)
Row 3. Sc in next st; 2 sc in next st – rep 5 times (15)
Row 4. Ss 15. Tie off.
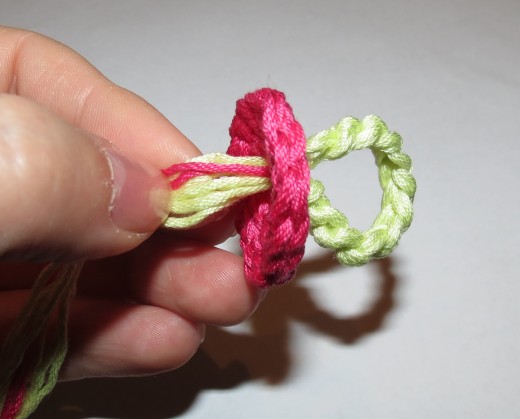
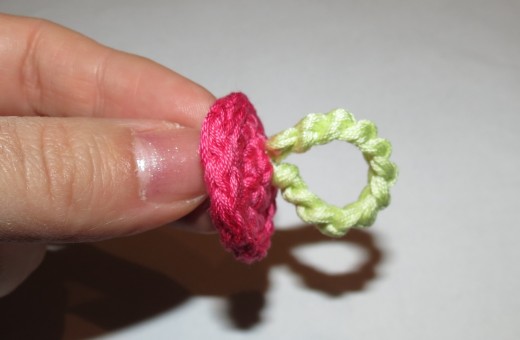
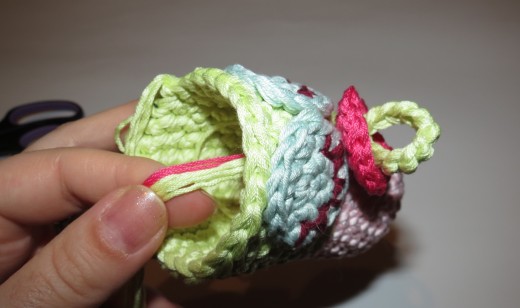
For the handle, make chain of 12 using Color B.
Both loose ends of the handle simply pull threw the center of the purple circle (like shown in the pictures below).
EYES
Row 1. Using Color E start by making 5 sc in a magic ring (5)
Row 2. Work 2 sc in each st around (10)
Row 3. Sc in next st; 2 sc in next st – rep 5 times (15). Tie off.
Repeat this step for the second eye.
Using Color F and yarn needle - make the eyelid and lashes.
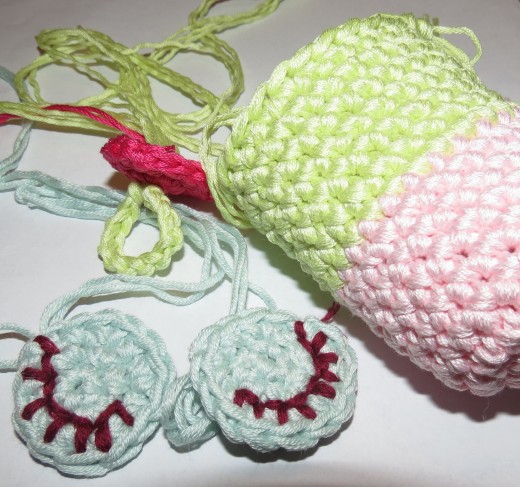
At this point, we have the body, eyes and soother completed. Now it is the time to attach the eyes and soother to the body.
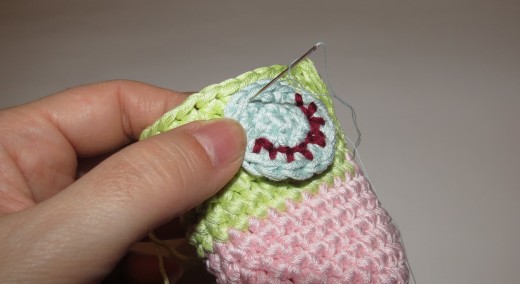
Sew the eyes with sewing needle making sure that you start with the line where the Color A is changed with Color B. Both eyes should be sewed closed to each other (touching each other).
The soother is attached just between the eyes – the lowest point. Pull threw the loosing ends and tie them firmly on the inner side of the body (like shown in photo B).
When this is done, you can start filling the owl with polyester fiberfill. Make sure that it is filled quite heavily.
Using the yarn needle, sew the owl, like shown in the picture.
DIAPER:
Cut the felt in a shape of letter H and following the dimensions:
length:3.5 in
width:6.5 in
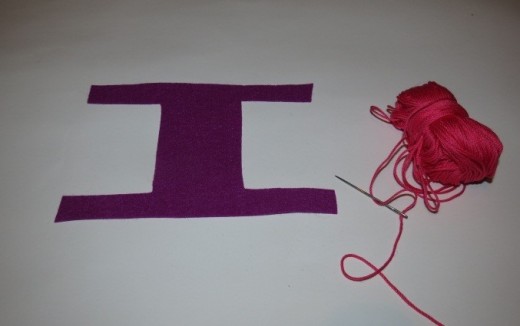
With these dimensions you will have enough material to overlap the ends (just like in real diapers). If you end up with a bit too long ends you simply cut the extras.
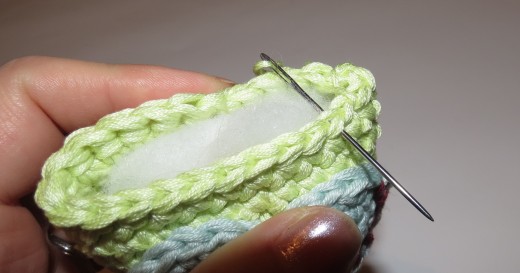
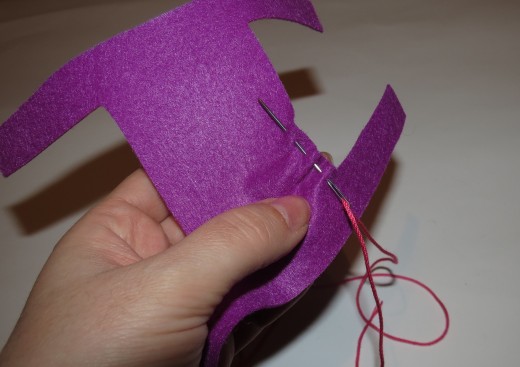
Before attaching the diaper, make ‘wrinkles’ by using the thread (fuchsia) pull the yarn needle threw the very end of the 3 inch long diaper side (like shown in the pictures below).
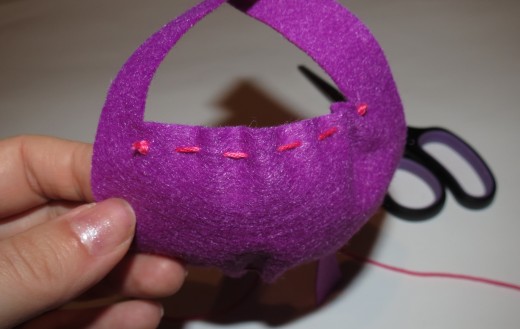
Using the sewing needle, attach the diaper. With water resistant fabric paint marker, draw the flower on the front.
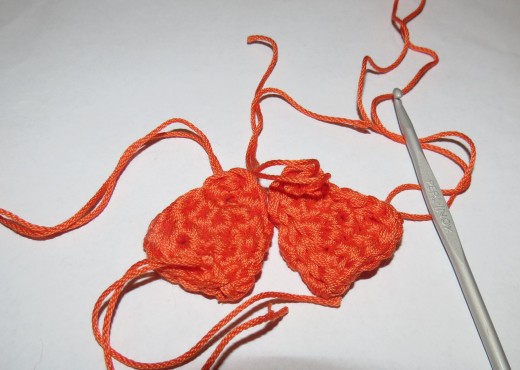
FEET:
Row 1. Using Color G start by making 4 sc in a magic ring (4)
Row 2. Work 2 sc in each st around (8), turn
Row 3. Work only 5 sc and then turn
Row 4. Work 5 sc, turn
Row 5. Work 5 sc, turn
Row 6. Ss all around. Tie off.
Repeat this step for the second foot.
Using the sewing needle, attach the feet.
WINGS:
Cut two circles 1,5 inch in diameter. After the circles are cut, then cut 1/3 of the circle and you will get the perfect shape for the wing. You can sew on the wing onto the owl or simply (like I did) glue it on making sure to attach just the upper part leaving the rest of the wing loose.
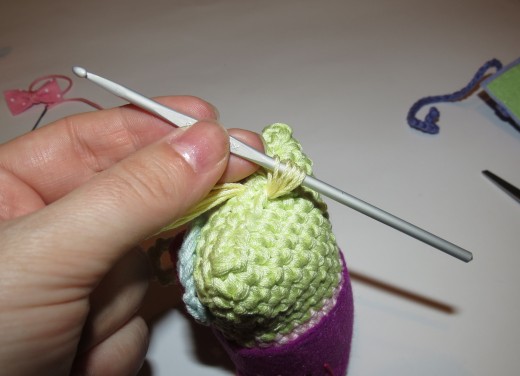
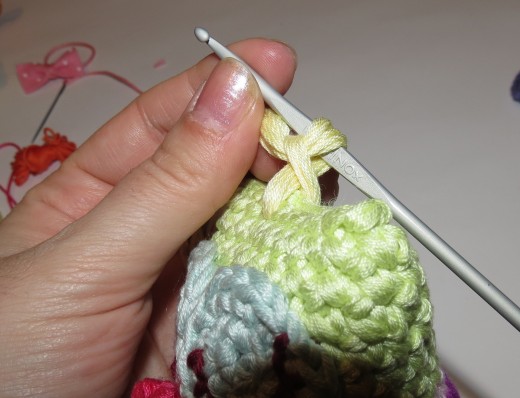
HAIR:
Cut 5 threads 4 inch long (Using Color D). Pull the threads threw the center of the owl head (Sc) (like shown in the pictures). When the hair is in place, cut it onto the 0.4 in length.
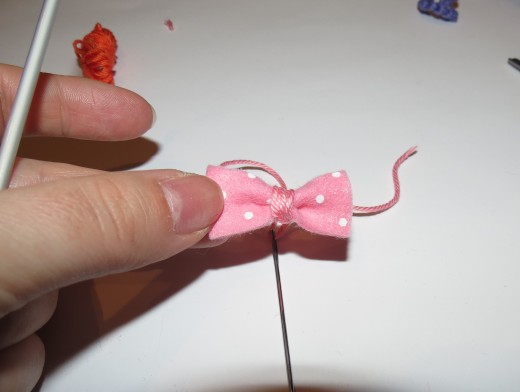
BOW:
Cut the pink felt following the dimensions: 0,5 x 1,6 inch.
Using the pink color thread simply circle the thread around the centered part of the longer side of the felt. Tie off. With the remaining loose ends, tie the bow to the hair.
Flower Insead of a Bow
If you prefer a flower that is also fine. Here is very useful link on how to crochet a flower that you can attach to your little Owl.
I would like to thank the Happy Berry Crochet for making this great video available.
How to Crochet a Flower
And there you go. Your sleeping Owl Zsa Zsa is made.
Thank you very much for taking time to visit my hub.
Please do not hesitate to convo me in a case you have any questions.

For those of you who prefer a sewing toys, here is an excellent book filled with instructions on how to make a variety of animal toys.

")


")


