DIY Create 6 Garland Strands For Less Than $75


Hands down out of all the Holiday seasons Christmas is my absolute favorite. Not because of the materialistic desire to chase down crazy deals for one more place setting I’ll never use or a slightly bigger TV (even though mine works fine), but because we as humans need a reminder to break from our busy schedules and just enjoy friends, family, and good fun. Plus who doesn’t love the decorations! Houses covered in multicolored glow. Flowers intertwined with red and gold ornaments bringing warmth to the common areas. All the little bobs and doohickeys that come together to create the “Holiday look”. Now this article isn’t about getting into a big debate about holiday spending. Instead I wish to share with you about how I managed to add some warm Christmas cheer to my home at a fraction of the cost of store products. Here is my story.

How it all started
Our home is relatively new. We’ve only lived here for about a year, and when we decided to move from NH we didn’t want to ship a large amount of items. Most of the Holiday decorations were the first to go. After returning home from my in-laws and their delicious Thanksgiving feast the Christmas bug hit the second my big toe passed the threshold. Three hours later all the boxes were out and the house was starting to look a littler merrier. Except for the beautiful archways, that of course, are the first thing you see when entering our home. Something had to be done! And what better way to decorate arches than with garland. That was it! The next day my mission was to find beautiful garland, and that’s when this story turned into Goldie Locks and The Three Bears.
The frustration
Every store I visited the garland was either too big, too small, cheap and falling apart, or no garland at all. Finally I went to my beloved Hobby Lobby who never lets me down, and this time was no different. They had the most beautiful garland I have ever seen…until I saw the price tag. The least expensive piece was $59.99 and I needed 6. That’s $360! Some were as much as $139.99 a piece! Budget aside I just couldn’t justify paying that much. Deeply disappointed I was about to leave the store when my husband found a section of bare garland for only $9.99. Which turned out to only be $4.99 because everything was 50% off. After a little pep talk from my husband about how I could make the same thing we finally left the store with a huge pile of garland and some decorations. And you know what…he was right. So now I would like to share with you how I made my own beautiful garland for a fraction of the price of Hobby Lobby. Please keep in mind that I did buy my supplies on a Black Friday so most of the prices are after the 50% off. Those deals will continue through December, or you could go to the stores after Christmas and get the same discounts or better if you’re willing to push this project for the following year.
Price Break Down
Garland Bare $4.99 x 6 = $29.94
Large container of red and gold ornaments (50 ornaments each) $12.49 x 2 = $24.98
Green wire (jewelry section or floral section) $1.49
Berries and Gold leaves $4.74
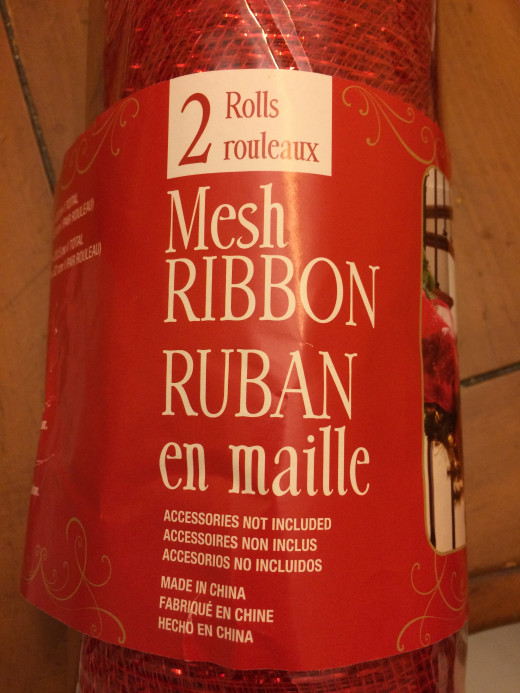
Mesh Ribbon $10.00
Grand Total $71.15


What is your style?
What color combination do you like for Christmas?
Getting ready and prepping the garland
To increase completion time I highly recommend prepping your supplies ahead of time. 100 ball ornaments divided by 6 garlands equals 16 ornaments apiece. One will have a few extra ornaments. Cut all the berries off of their long stems (roughly 5-6 per garland) and separate the gold leaves to be individual. The most tedious step is cutting the wire. I prepped 25-30 2inch long strips per garland. You will have enough with one roll of wire (about 30ft long) but it will be close.
Start by taking your garland and separating all the branches. Mine were all clumped together almost creating a large green tube. You want your garland to have a more natural feel to it.

Adding the mesh ribbon
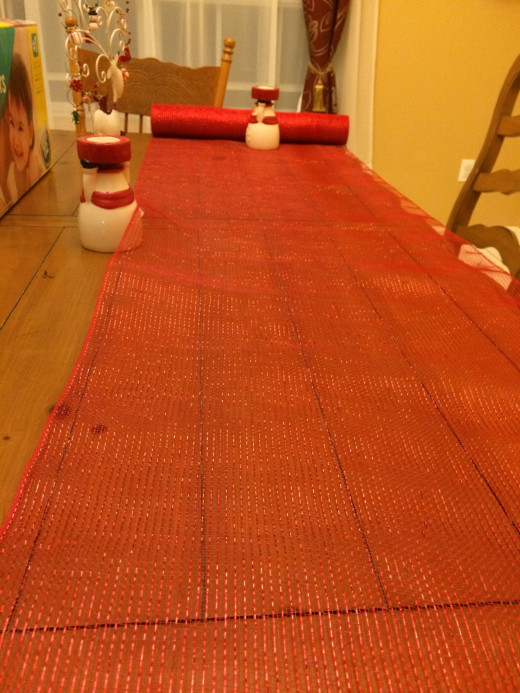
Next, roll out your mesh ribbon and place a heavy object on the end to keep the material from rolling back in on itself. You’ll want to cut about 1.5 times the length of your garland. Wrap the red mesh around the garland leaving gaps for the leaves to show through.


Adding fun accesories
Place your garland on either a table (that is long enough for the whole thing) or on the floor so you can layout all your accessories before hand. This will help you create the flow you would like for your garland.


Tips from the author
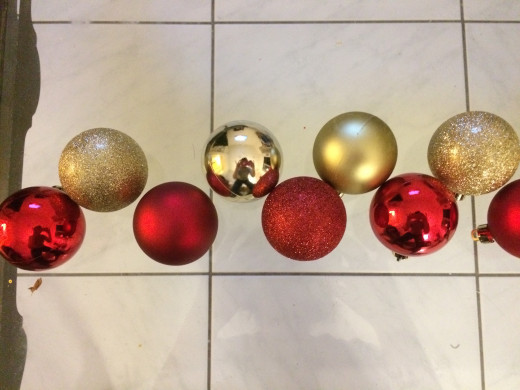
With my ornaments, I tried to enhance the visual interest by spreading out the textures and placing opposites next to each other. Shinny (smooth) would go directly next to glitter (Which is very textured) and the matte ornaments became a transitional element. Also, to keep the garland from ending up with one side all gold and one side all red I altered the ornaments diagonally. This also mimicked the flow of the ribbon. See photos for examples.


Additional video on how to make garland for your mantle with Kendra
Attach the ornaments using the 2inch wire you’ve already cut. Needle nose pliers will be very helpful for this step but your fingers will work just as well. Last but not least are the gold leaves and berries.


Final notes
So lets recap. With a little hard work, and an excess of Christmas movies to watch, I now have 6 professional looking garlands for my home. All the materials only cost $71.15 compared to the $360-839.94 dollars that could have drastically crippled my budget. Plus not only will these last for years to come, but if something breaks or goes wrong you know exactly how to fix it. Best of all, my entire home is finally starting to really fill with Christmas cheer. I hope you have enjoyed this tutorial, and if you have any questions please don’t hesitate to ask in the comment section.


