- HubPages»
- Arts and Design»
- Crafts & Handiwork»
- Paper Creations
DIY (Small) Heart Envelopes


Steps for Making a Heart Envelope
1. Get Your Supplies.
This DIY is pretty simple. All you need are some scissors, a piece of paper, a pencil and tape. Easy.

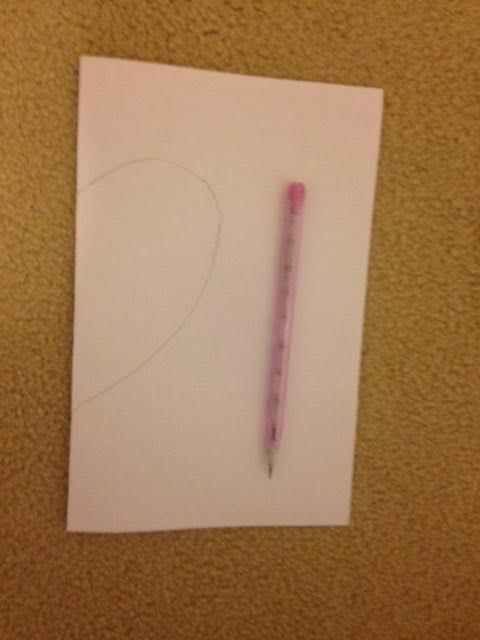
2. Fold and Draw.
Second step is to fold your paper in half. I usually fold it, well, in the lack of a better word, hamburger style (placing the paper landscape style and folding it left to right or right to left). Then, depending on the size you want the heart to be, draw half of a heart. It is really important to draw the heart so that the strait part of the half heart is touching the folded side, not the side with the two pieces. Try to cut it out after drawing the wrong way and you will end up with two separate half hearts that can't make any sort of envelope. But if you don't feel like doing this step, you can always skip it an draw your own heart on a piece of paper. This step is just so people can get a nice symmetrical heart to make things easier.
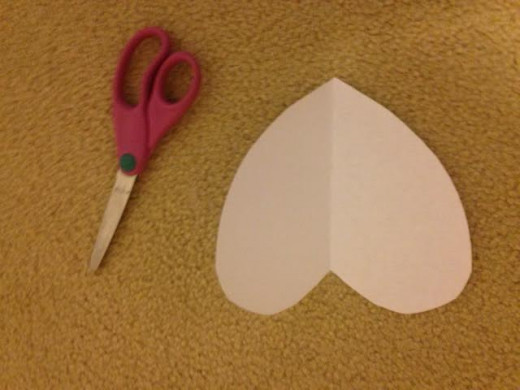
3. Cut out the Heart.
The heart is no good being in a piece of paper. Just cut out the heart. I find it better to keep the paper folded while cutting. Makes my cut heart more symmetrical.
Note: the size heart that I made from the sheet of paper made an envelope that was about 4cm by 8 1/2cm.
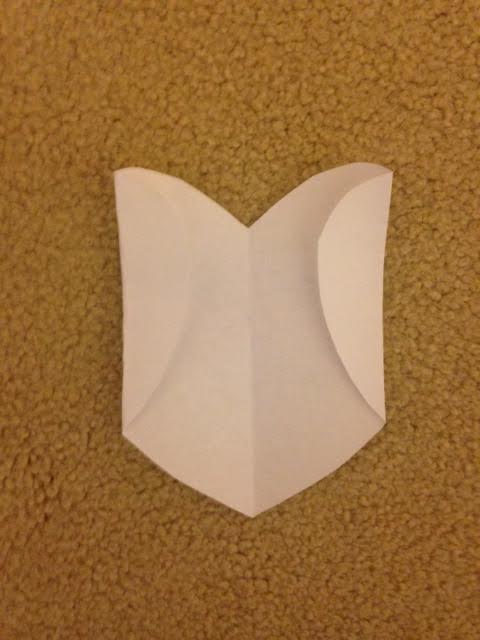
4. Fold in Curves of the Heart.
Fold in the curves of the heart on the sides so that the new sides are vertical to the bottom of the heart.
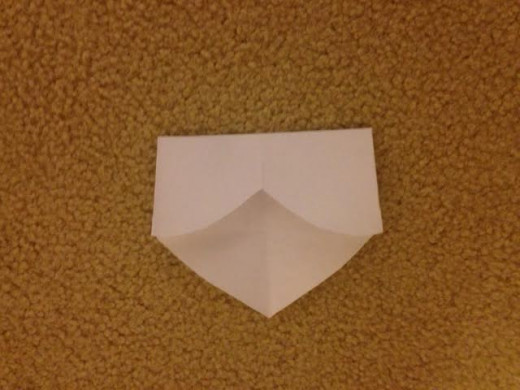
5. Fold down the top of the heart.
Fold down the top of the heart so that the points at the top, made from folding in the last step, touch the points in the middle of the heart, made by folding in the last steps. Or you could say the points where the triangle starts.
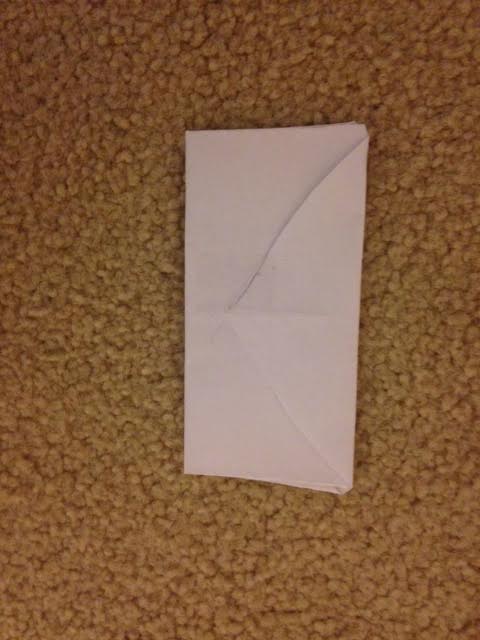
6. Turn, Fold Triangle Down and Tape.
Now we can see the envelope coming together! Turn the envelope so that the triangle points up. Then fold the triangle down so that it makes a nice rectangle with straight edges. Then, tape.
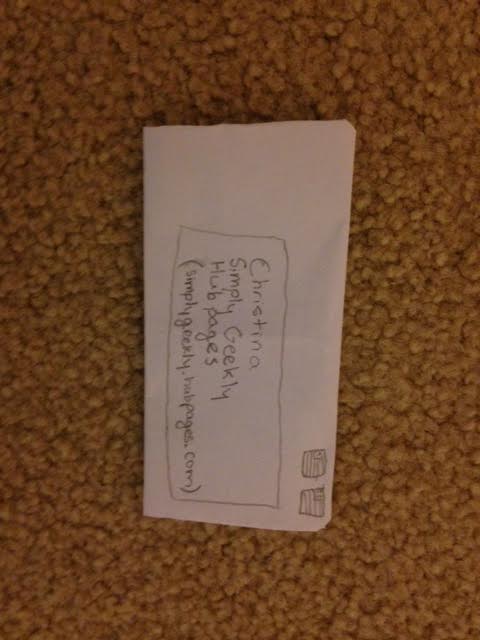
7. DECORATE (optional).
I choose to decorate my blank little envelope. I just wrote stuff on the front in pencil. But, there is no limit to this completely optional step. Just gives the little envelopes the pizzazz it needs :)


")
