DIY: How To Make Vintage Bookmarks
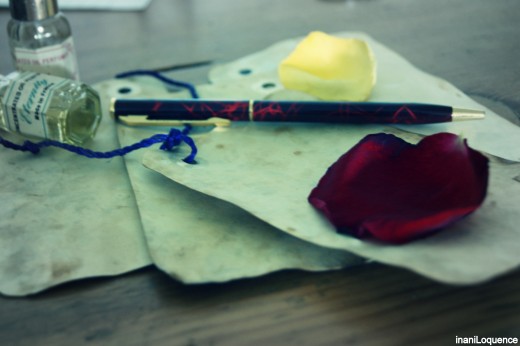
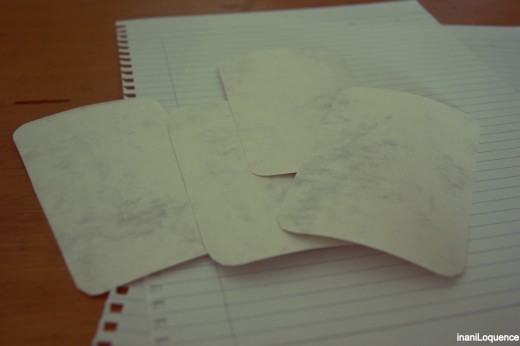
Welcome to another simple project step-by-step tutorial you can do in the comfort of your own home. Many of us here are book readers. Often times, we do not bother to use bookmarks; instead, we just fold the corners to remind us where we are. This is a terrible habit even yours truly indulges in. However, if I tell you that there is a very creative way to make your own bookmarks, I assure you that you would never fold another page ever again.


MATERIALS
- Pen
- Reinforcement Ring
- Scissors
- String
- Tea
- Coffee (Optional)
- Your choice of paper (Cut to your desired specifications)
- Onion Paper/ Wax Paper
- Perfume/ Oil Essence (Optional)
- Tissue
The coffee is optional but recommended since it "ages" the paper more and creates a vintage appearance. However, if you do not have coffee, tea would suffice.
The perfume/ essential oil is also optional but recommended since the final product would reek of coffee. If you do not have problems with the aroma of caffeine, then do not dab perfume.
Ensure that the bookmarking papers are cut to your desired measurements before doing the next step.


STEP 1. TEA TIME!
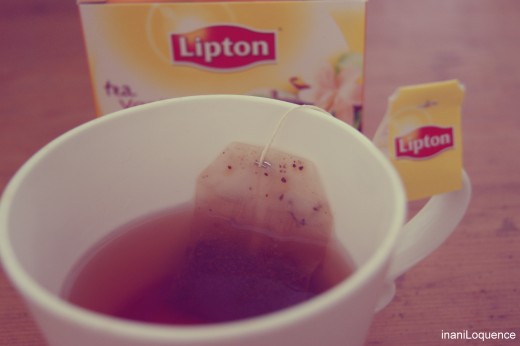
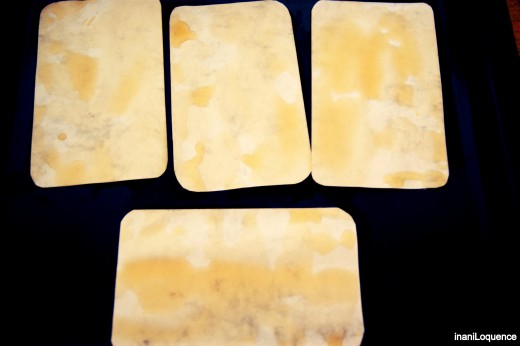
The first step in making the bookmark is to pour the tea. I used Lipton Vanilla-Flavoured Black Tea but any other tea would suffice. You have the option to pour all the liquid into your container (I used the baking tray as container) OR to manually pour it using a spoon or dropper. The manual pouring with the use of a spoon or dropper would enable you to have more control over the colour intensity of the paper.
More tea would give you a more yellow/aged look.


STEP 2. COFFEE BREAK!
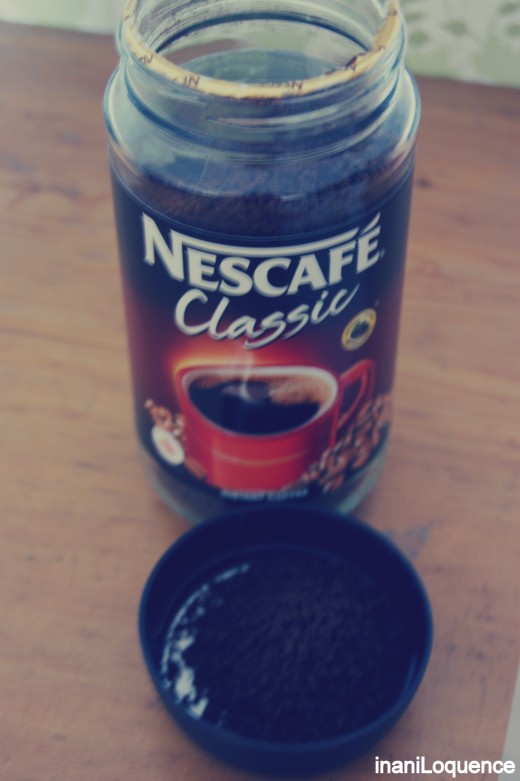
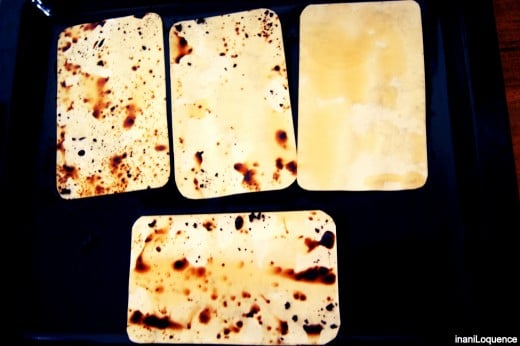
This step is OPTIONAL. If you want a darker, more vintage appearance, then do not skip this step. You would need coffee grounds-- used or unused, depends on what you have. I used Nescafe Classic Ground Coffee but any other coffee brands would suffice.
When applying the coffee grounds, sprinkle it. Wait for about three minutes to allow the coffee grounds to melt and seep in to the paper's pores.
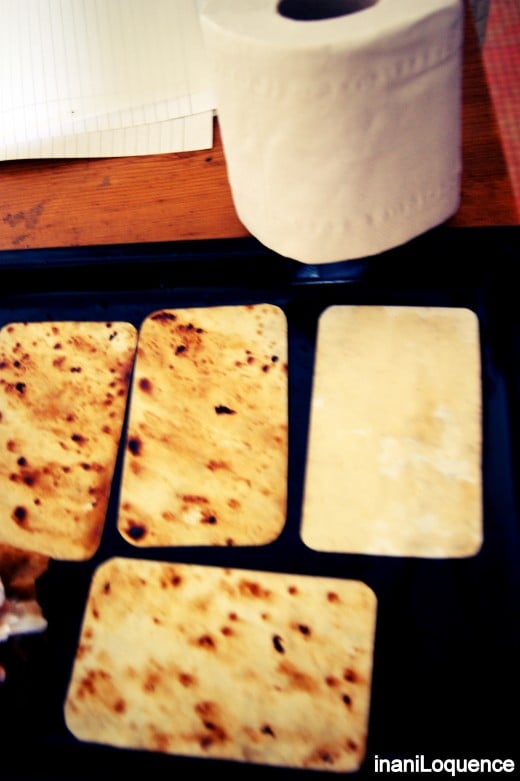
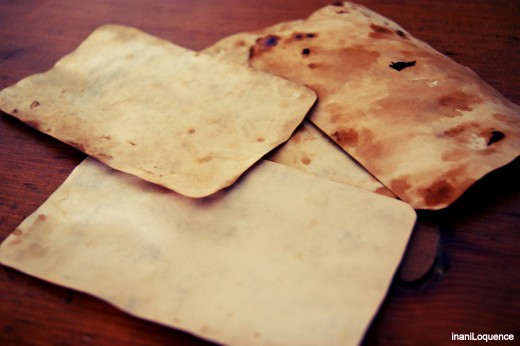
After this, lightly dab the paper using tissue paper to remove the excess coffee and tea liquid.
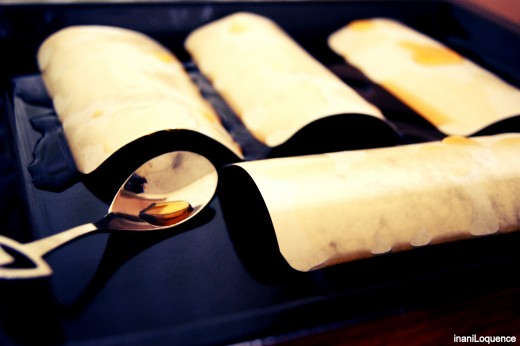
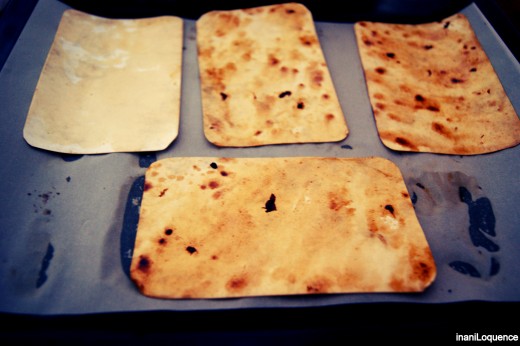
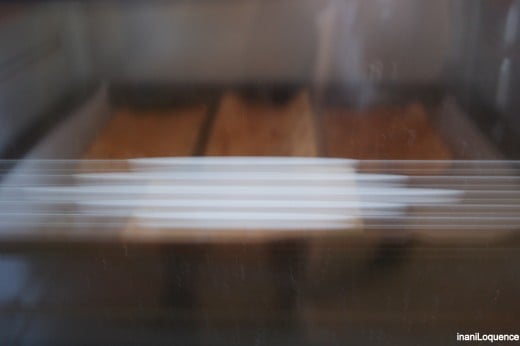
Next, transfer them to the baking tray lined with wax paper, before putting it in the oven. Ensure that the oven is pre-heated to about 150-200 degrees Celsius and only bake the paper for a few minutes. You would know that it is done when the edges of the papers start to curl up.


STEP 3. PUT A RING ON IT!
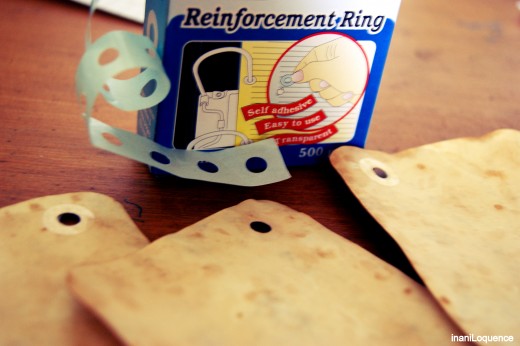
Punch a hole into the paper and use a reinforcement ring (plastic or metal-- depends on what you have) to create a protection to avoid tear when you tie in the string.
THEN USE IT!
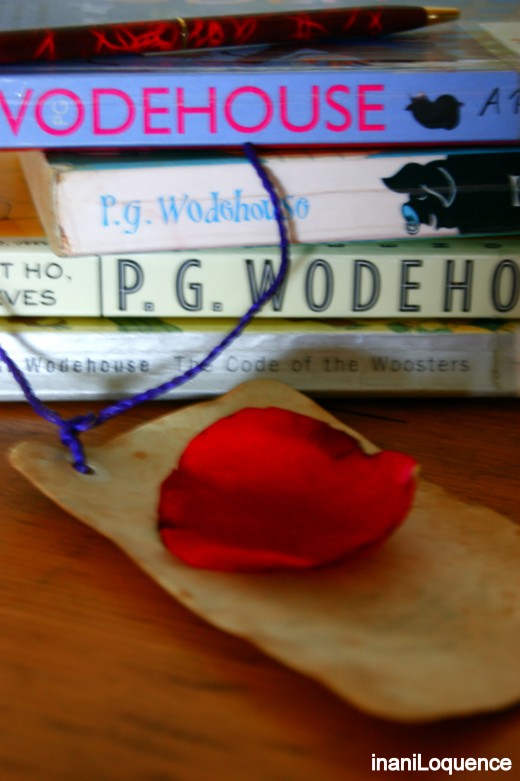

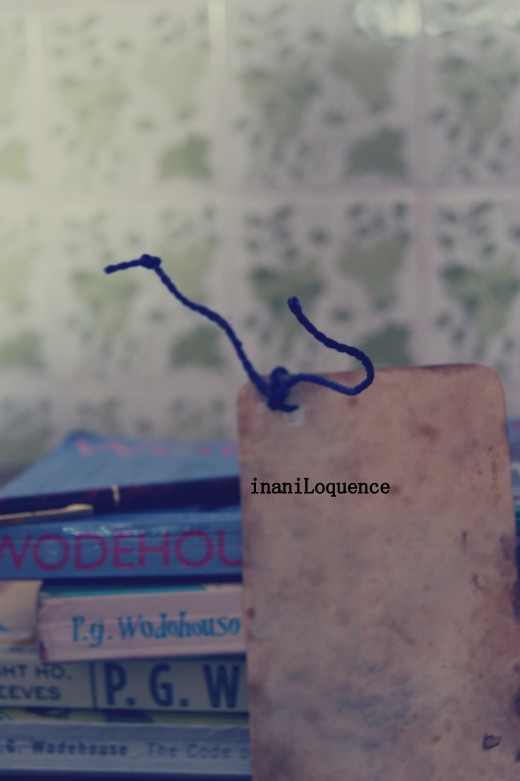
I will be sending one to my penpal half a world away. If you are reading this, Mercedes, drop by and say hello! :)


