D-I-Y Pen or Brush Holder

Hello everyone. Here's another interesting project you might wanna try while at home. This project is an easy one because I finished it in a few hours. It can be done by kids but with guidance and assistance from older ones since we will be using sharp objects such as knife or cutter and a pair of scissors.
On my previous art project, I mentioned that I am into recycling and/or upcycling objects which are commonly being sent out to trash but since I love the environment, I tend to keep them until I've made up my mind on what to do with them.
Now for this project, I decided to use an empty bottle of a body wash. I found the bottle cute so I decided to keep it. I kept it for weeks thinking of ways to reuse or re-purpose it. Should I use it to refill with another liquid soap? Or maybe make something out of it? But what could be that something?

It took me weeks before making a decision. Yes, weeks! I was busy looking for homeschooling essentials when I realized that those pen holders I was eyeing for were so expensive but ordinary, hence led me to look for alternatives from my supplies. And viola! I saw this empty bottle. I washed it again and wiped it with a clean cloth. I noticed that the material wasn't that thick so maybe it would be easy for me to cut it. After wiping it, I prepared the other materials needed. Since I am an aspiring artist, I have these basic materials needed for the project (see photos below).
Materials and Guide
, ruler and a pen. Use the pen and ruler to mark the area to be cut.")


I used an empty bottle, a ruler, a pair of scissors, a pen-type cutter, card stock (should fit the size of your bottle), stickers (optional), tweezers, double adhesive tape, a pen and a marker.
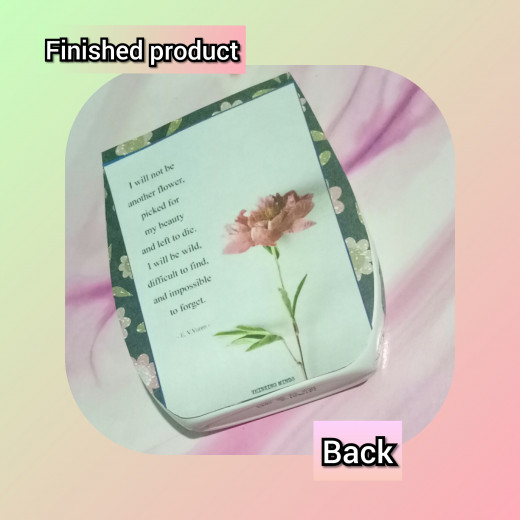
The card stock and stickers depends on the bottle you will be using. I used card stocks (two different designs) to cover the label on the bottle because my initial plan was to create a pen holder for my son. I added those stickers as inspiring messages. Sometimes, we need some inspiring words to keep us going with whatever we have started.
I also put stickers on each side of the bottle. That was also optional. I just found it boring for being so empty so I added some colors through stickers. By the way, those stickers can be removed and the design I did can be changed. I might have another idea in the future so it was intentional not to use a super glue.
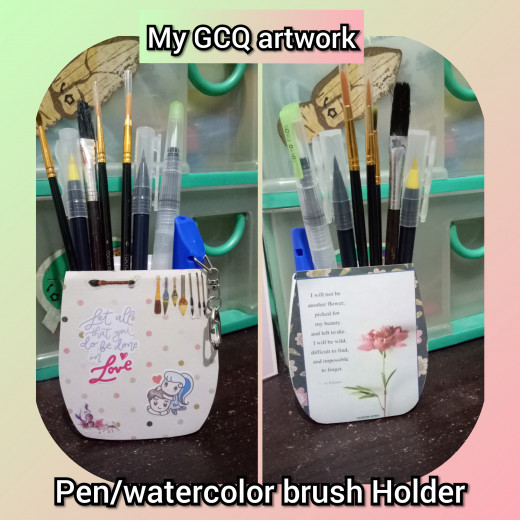
When I finished the project, I saw that we have too many pens. I did not want to take them out of their original cases while those without cases were already sitting pretty on my old pen holders. Taking out other materials from my boxes and rearranging our things, I saw that my watercolor brushes were somehow at a lost. They do not have their own house so they were scattered. Some were overly used and some were not because they were hidden. So I decided to use my little project as a watercolor brush holder instead.

Step-by-Step Guide
Here's the step by step guide in doing the project:Pl tape ( and a camera to take photos or videos of your project)
2. Mark the area to be cut using a marker and ruler. Use your cutter in cutting the bottle. You may use your pair of scissors to straighten the edges.
3. Trace the bottle on the card stock using your pen. You may use pencil so it will be easier to erase when things go wrong or when your hand slipped and marked the wrong area instead. I used colored pen because that was what I wanted to use during that time, no other reasons.
4. After tracing, cut your card stock. It is now shaped liked your bottle. You may start designing it using stickers. Use tweezers to gently pull off the stickers from its case and to hold it while deciding where to place it. You may also use magazine cut-outs or if your handwriting is great, you might try writing something on it. If you want it to be plain and simple, especially if your card stock already has a design, stickers may no longer be needed. You probably noticed that my cards were bigger than or taller than the bottle. That wasn't intentional but I saw that it might help for the bottle to have a better hold on tall pens or brushes.
5. Decide where to put your adhesives. You may stick it directly on the bottle or in your card stock. Remove the other side of the adhesive then press firmly your card stock against the bottle. If the adhesive is not working, you may use other glue or the super glue should you decide not to alter the design in the future.
6. Do the same on both sides of the bottle. Then put your pens or brushes and take photos on your project.
Now, isn't that easy?

This content is accurate and true to the best of the author’s knowledge and is not meant to substitute for formal and individualized advice from a qualified professional.
© 2020 Iya Alva


