DIY Teacup Candle Tutorial
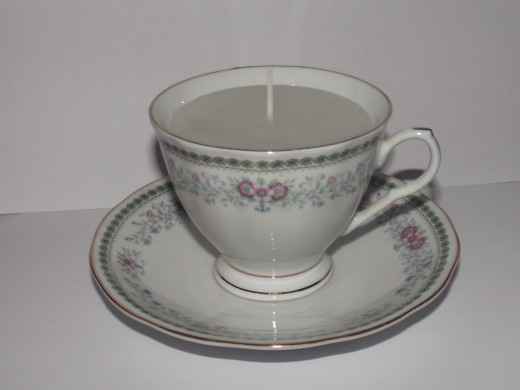
Teacup candles are a lovely addition to any home, bringing a touch of the past into the future. They are a versatile, kitsch item that can be used for many things, such as themed tea parties, wedding centrepieces, wedding favours, gifts, home décor... you get the idea...
This hub will show you how to make your own teacup candles, from scratch, and how to prevent any problems along the way. I think you had best get choosing some teacups!

You will need
Candle Wax- It's up to you whether you recycle old candles by melting them down, or use soya wax, or microwaveable wax, or whatever you are comfortable with. I used plain old paraffin wax because it is easy to use, and goes completely clear when melted, which is a good indicator!
Teacups- and saucers, again its up to you, but i think they look cuter on saucers. I got mine from local charity shops, where I picked up a set of 4 for about £2. I got about 5 sets, but I work through them in batches. Some of the designs are gorgeous, dating back decades, and the beauty about charity shops is that everything is cheap!!!
Wick- Now, I bought the wicks pre-cut and pre-dipped because I am lazy. But, if you feel like doing that step yourself, there are plenty of candle making suppliers on ebay that can provide all the fiddly bits and bobs!
Glue Dots- This is to affix the wick holder to the teacup so that it doesn't move while pouring the wax.
Skewer- Or, another straight stick that will go across the rim of the candle to hold the wick in place. You will also need tape or string to hold these together.
Candle Thermometer- This isn't essential, but it does stop you from over heating the wax. If the wax is over heated, it can have bubbles in, which destroys the professional finish of your candle.
Essential Oils- If required, please put these in after the wax has melted, and stir slowly. Follow dosage instructions as per the label.

Melt The Wax
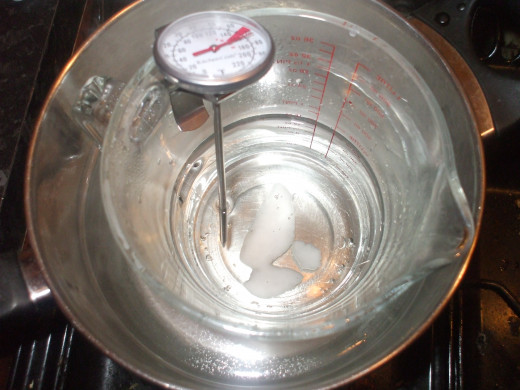
Use old containers for this, as the wax goes everywhere! Put boiling water into a large pot, simmering on the heat, and then rest a smaller one on top. Place the wax granules or pieces into the top pot, and allow the wax to melt. I used a Pyrex glass jug, as I thought it would be easier to clean, and for pouring, but a metal pot would be much better for heat conduction. Either way, I got there in the end!
Try to avoid excessive stirring of the molten wax, as this can cause bubbles to form, and if you are using the candle thermometer, try to keep it below the red indicator, which is usually around 180 degrees.
If you are using microwaveable wax, or other wax, consult the packaging for melting advice, as some types can be sensitive to certain temperatures.
Set Up The Cups
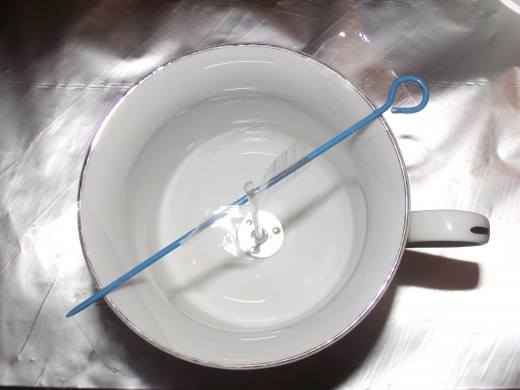
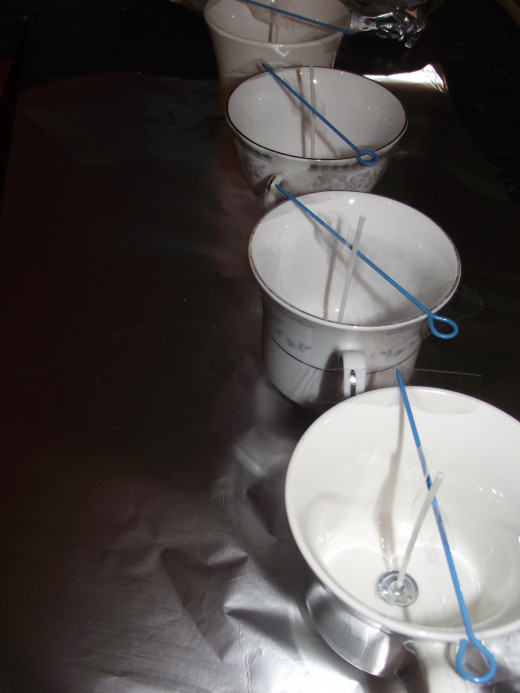
Attach a glue dot to the metal wick holder, and stick to the bottom of the cup, as central as possible. Then, use a skewer to hold the wicks position in the centre at the top of the cup. I recommend sticking the skewer to the cup, so that it can't move, and also sticking the wick to the skewer. I used tape, but blue tack works better for this.
Repeat this for all of your cups, and line them up in a row. This allows ease of pouring, and there is no need to move the cups once the wax has been poured.
Pour The Wax
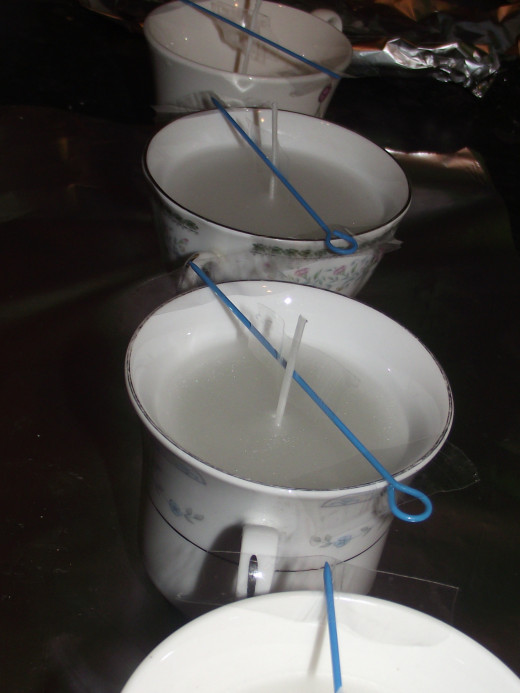
By this time, your wax should be completely melted. If it is the paraffin variety, there should be no white parts left, and the molten wax is clear. Pour the wax slowly into the cups, stopping about half an inch from the cups rim. Repeat this for the other cups.
Allow To Set
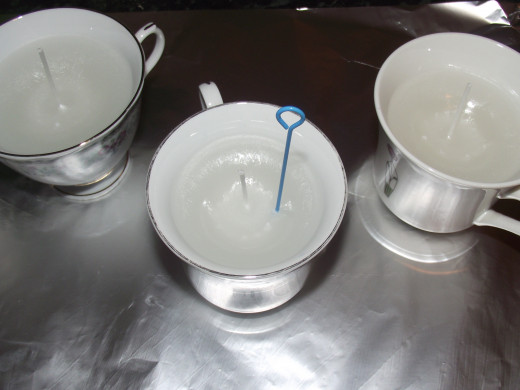
Allow the candle to harden, and set for about an hour or so. You will notice a dip in the centre of the candle. To remedy this, use a skewer to poke some holes around the dip, near the wick, while re-heating your wax.
When the wax is ready, top up the candle to about a quarter inch from the top, and allow to set again. There should be no more dip, but if there is, simply repeat this step.
Practice Makes Perfect
Remember, your first batch may not turn out perfect. If you have followed the steps, there shouldn't be an issue, but slight variances such as temperature of the heat, can affect the way the candle sets. Don't worry about this, just practice on another batch. Also remember that you can re-melt the wax and try again, just be careful on how you remove it from the cup to avoid breakages!
Good luck, and let me know how you get on! Feel free to post a link to your blog or tumblr or flickr etc with the results, if you like, but I will review each link to ensure that it is relevant.
© 2013 Lynsey Hart

