DIY Wolf Cap
DIY Wolf Cap Gallery
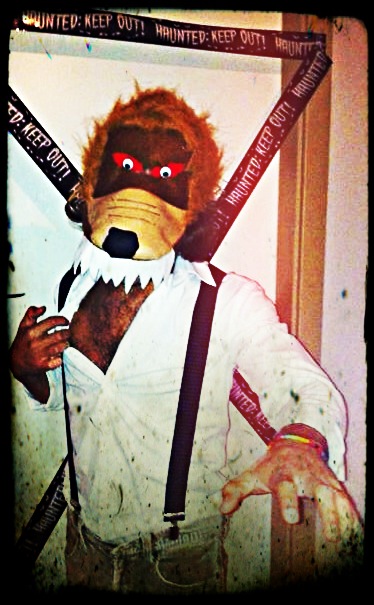
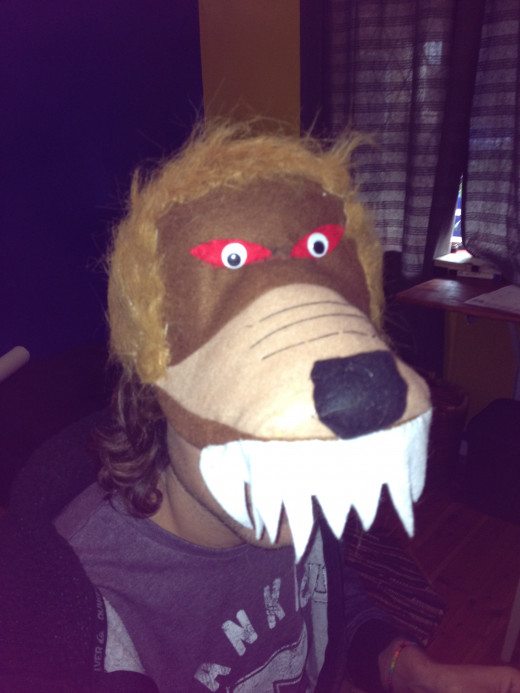
An easy tutorial on how to turn a cap into a Wolf!
This is one of my favourite projects to date. I made a wolf hat for my hubby to match my Little Red Riding Hood Costume for Halloween. I just love how easy this actually was and thought that it could be pretty cool to try around Easter for the kiddies Easter bonnet.
You will need:
- 1 Cap
- Felt in various colours
- Fur material
- Wobbly Eyes
- Fabric Glue
- Teddy Bear Stuffing
- Needle and Thread/Sewing Machine
Method:
1. Cover the Peak:
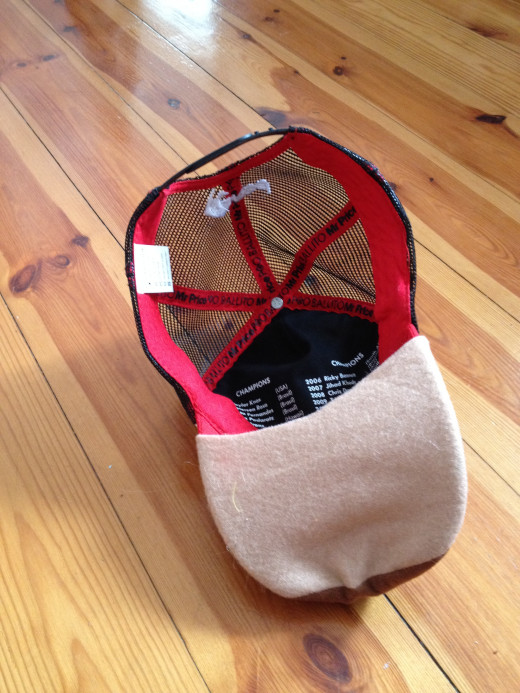
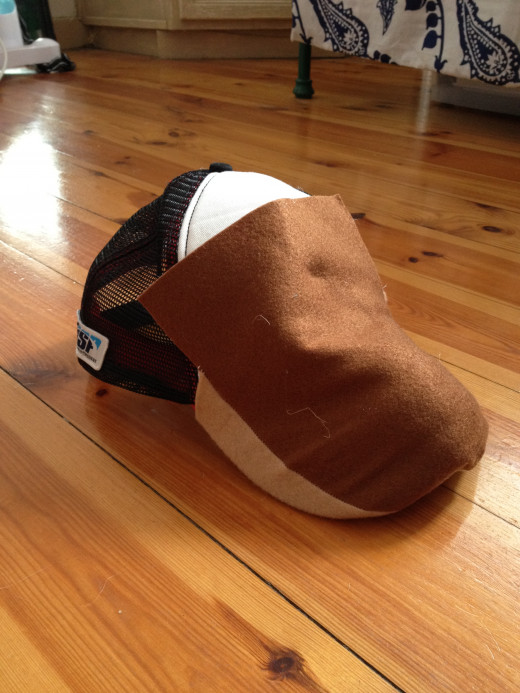
a. Place the cap onto a piece of felt and trace approximately 1cm around the peak. Repeat this step with a second piece of fabric. Making sure that the second piece is longer enough to cover from the end of the peak to the top of the head.
b. Sew the outside edges of these two pieces of fabric together, leaving the opening to slide the peak into. Turn the fabric inside out and slide the peak into the pocket. (Refer to below pics).
2. Make the Nose:
a. Push stuffing into the top of the peak pocket to give the cap a rounded nose effect. Try and shape the foam to resemble a nose.
b. For the nose tip/ball, cut a felt circle approximately the size of your palm. Place a ball of stuffing in the middle of the circle and stitch the circle closed – it doesn’t matter if this isn’t neat, you won’t see it.
c. Tack the nose onto the end of the peak and stitch some wrinkles onto the nose with some black cotton.
3. Cover the Cap:
a. Cut squares/patches of fur material and fabric glued the fur onto the head part of the cap. These patches can overlap, it gives the cap a shaggy effect.
4. Eyes: Cut out your eyes and stick them onto the cap.
5. Teeth: Cut a zig zag strip in white felt (make sure you leave approx. 2cm above the zig zap for a stitch/hem line). Also keep in mind that wolves have fangs so you should design you zig zag to have fangs next to the two front theeth. Then just stitch you teeth to the outside of the peak (use white thread).

