DIY Wall Plaques from Coasters - Affordable Demo
Three plaques come together with some coasters and stickers to make custom decor.
Let's make something that looks really trendy, without the trendy price tag.
Have you seen all the home décor on the market now with wording? There's wall art, stand alone words for shelves, all kinds of stuff.
I wanted some but I didn't want anything big. I'm really short on space too, so I wanted it to match the décor I already had.
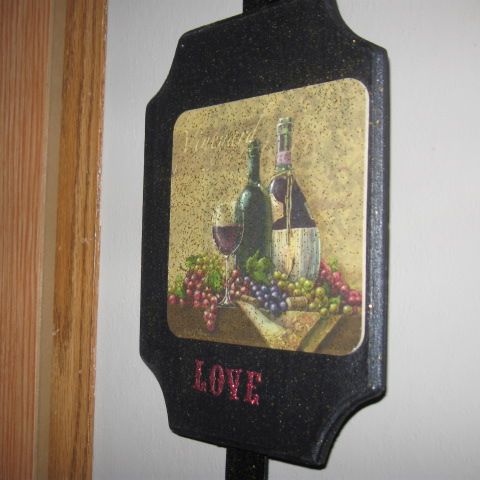
Therein was the problem. My kitchen is mostly done in grapes. I found zilch in the way of grape themed word art décor. What to do? Make it myself.
Follow along here to see just how ridiculously easy this was. It was really cheap too.
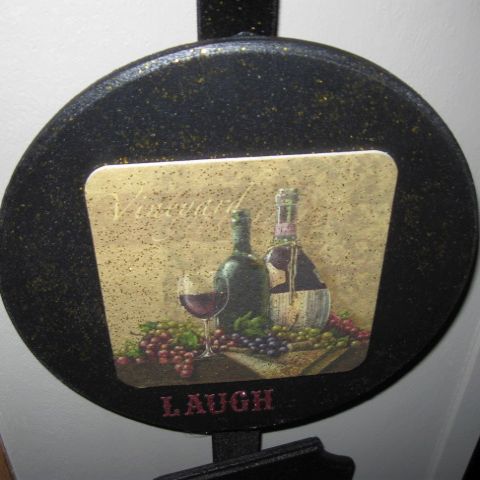
This plaque hangs in the middle of a three plaque number.

It's as simple as one, two, three.
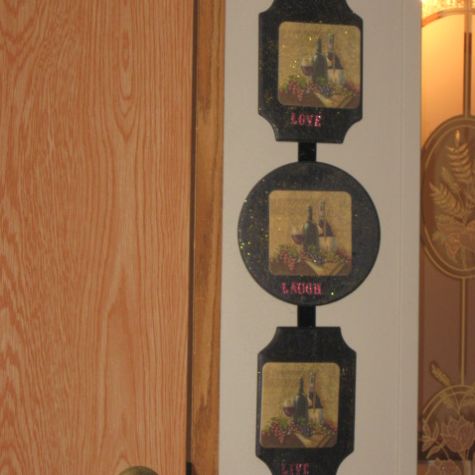
Grapes and wine always work together in decor.
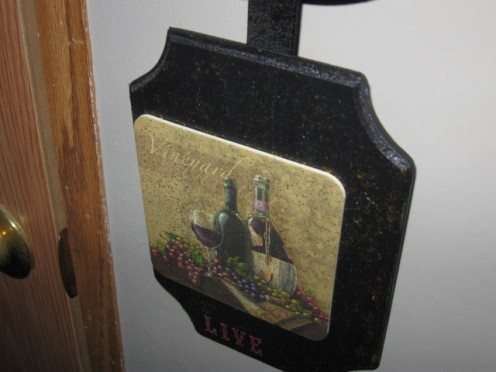
Just how frugal is it?
This project is frugal in the extreme.
I used three wooden plaques purchased for seventy five cents each and one set of eight Tuscany grape themed coasters for a buck.
Add on a little paint, stickers, a piece of velvet ribbon, one button, a little glitter and a boatload of glue.
There was one other secret component, hairspray. I kid you not. Hairspray works great for adhering glitter.
The glitter will never come off. Hairspray is much more affordable than spray acrylic or Mod Podge, so it's a crafty staple for me.
All total, I think I have less than five dollars in this project.
It could have been done for less than that. Scrap wood would have been great to use instead of the purchased plaques.
Pictures printed off the net could be substituted for the coasters, even old jewelry, Christmas ornaments, whatever your heart desires.

These plain small plaques come in many shapes.
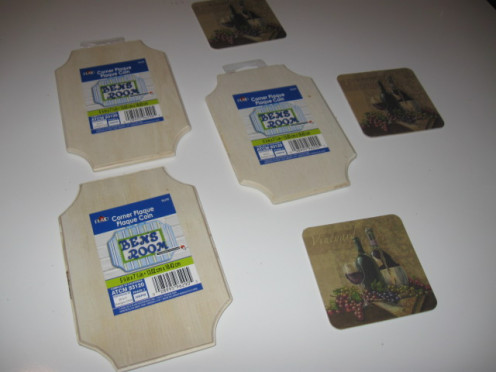
Enough talk. Let's make this DIY, hanging, wall art.
Before we begin, you need to do a little prep work.
There are three things involved in the making of this project that can get really messy. Further, they can damage furniture and flooring, if you're not careful.
No worries. Just be sure to cover whatever you are creating your project on. We don't want paint, hot glue or glitter getting all over the good kitchen table.
Just about anything will work for this. Since I do a ton of crafting, I have a large white board that I just throw on top of the table. It's great because everything wipes off it.
You could use old bedding, butcher paper, towels, newspaper, what have you.
My number one pick for plaque base.


Saving old plastic food containers gives you great bowls for holding paint.
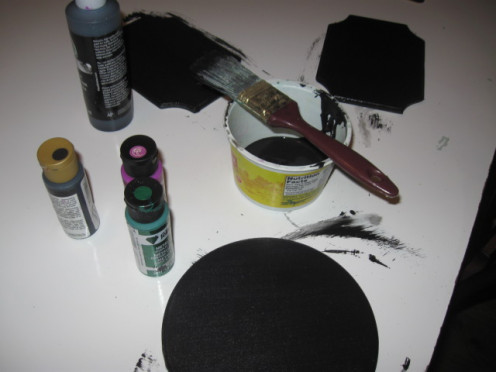
Three lonely little plaques.
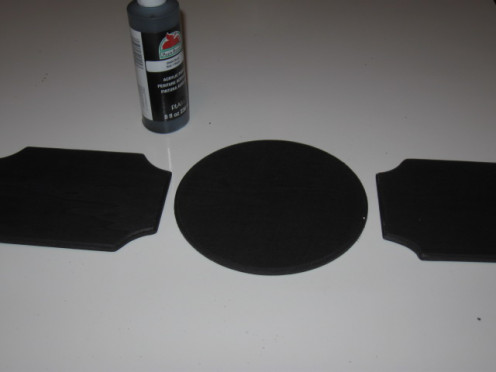
You could use duct tape, paper, fabric or even just glitter to cover the plaques.
What medium is your favorite to work with?
Step one is to pick and paint.
Decide what plaques or even wood squares or rounds you want to use.
Lay them out and play around with it until you get a look you like.
I used two rectangular pieces and one circle in the middle.
After picking your plaques, it's time to paint.
For this activity, regular old black craft paint was used. Stain would give a good look, also.
Prime the wood or be prepared to do multiple coats.
Since this is raw, untreated wood, it's going to soak up the paint like a sponge.
I did three coats on the front and one on the back of each plaque.
You don't have to do the back. No one will see it.
Set all the painted pieces aside to dry. This will take anywhere from fifteen minutes to an hour.
Grab a fan to speed up the dry time.
Temperature will also play a role in dry time, as will humidity levels.
The hotter it is, the faster it will dry. Wait until it's totally dry before doing anything else.
If you try to work with it when still tacky to the touch, fingerprints will show in the final piece. Not a good thing.
If you are concerned about something getting on it before it's finished and ruining your efforts, give it a quick coat of Mod Podge or any clear sealing agent before moving on.


Tips for the glue process.
Be sure your plaque is straight when you go to glue down the coaster. It makes it much easier to get things to look lined up and not all wonky.
Next, use a good bit of glue. Spread it around in thick lines and drops.
Hold the coaster over the wet glue. When you get it exactly where you want it, press straight down and hold for at least 30 seconds to prevent it from sliding.
Step two is the easiest thing ever. Just glue and go.
Get your coasters and play around with where you want each to go. Mine were super thin. That is an advantage in this project in a few ways.
First, I could have cut out just parts of them. Secondly, they lay much flatter on the plaque than a traditional backed coaster would. Not that the added depth and texture might not look good.
HM. In hind site, I think it would look really good. I may try that next.
Once you figure out where you want them, glue down your coasters.

Glue guns are a crafty gal's best friend.
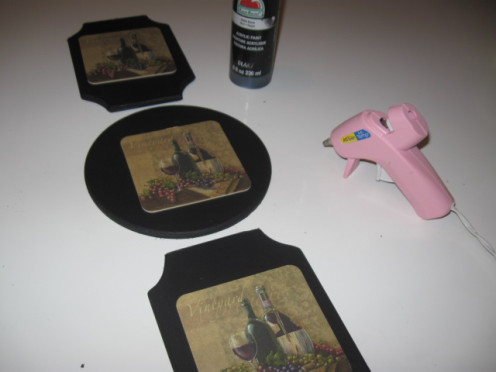
One flat button makes the hanger.
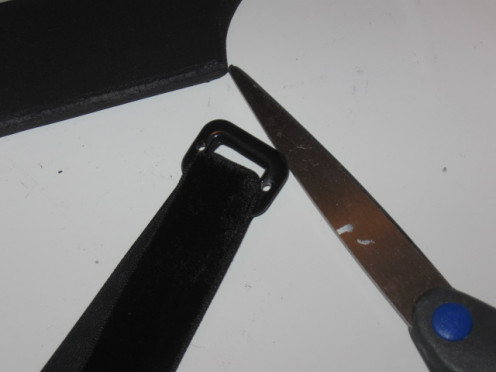
Measure, measure and measure some more.
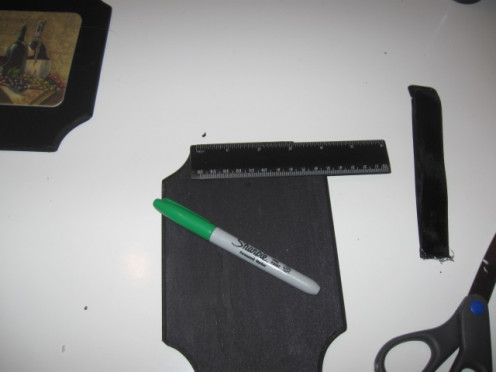
Be sure to use a sturdy ribbon or it won't support the weight.
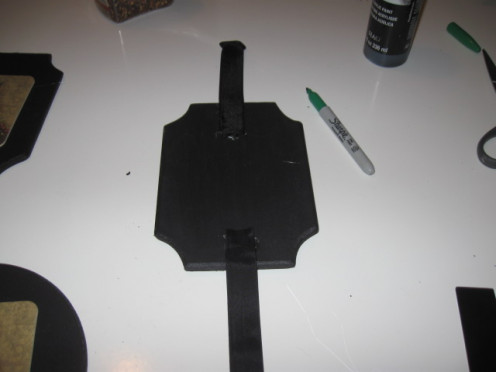
Step three is to connect the plaques and make the hanger.
I had this flat, square shaped button that I thought might work really well as a hanger. It did. I would not use a round button for this because it won't hang right on the wall.
If you are just in love with a certain round button, glue it to a smaller square bit of wood, like maybe a cut crafting stick and then glue the whole thing to the ribbon backing to ensure proper hanging.
How to be sure everything hangs in a straight line.
Use a ruler to determine the mid point on your top plaque. Mark it on the back.
Cut the ribbon three times as long as you want showing above the first plaque.
Thread it through the button. Glue it to the back of the plaque using the mark you made as a guide to be sure it's in the middle. Repeat that process for the other two plaques.
The circle piece presents a problem the others do not. How to be sure you get the picture centered in the front when you're gluing on the back and can't see it.
Don't sweat it. Lay the circle plaque face up directly below the top plaque. Use the ribbon and a ruler as a guide to be sure you have it centered. When you get it rotated to where the image is exactly straight, lift the circle with one finger. Make a mark on each side of your ribbon guide on the back.
Use the marks to ensure your circle glues down with the image straight and level.

Stickers go right on.
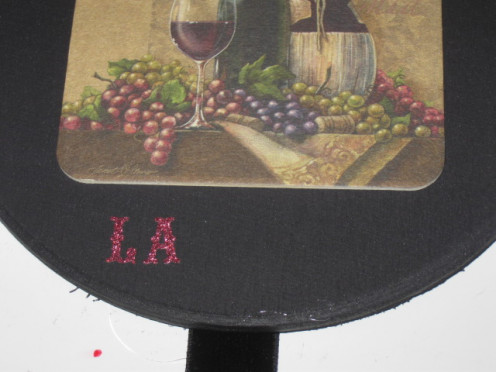
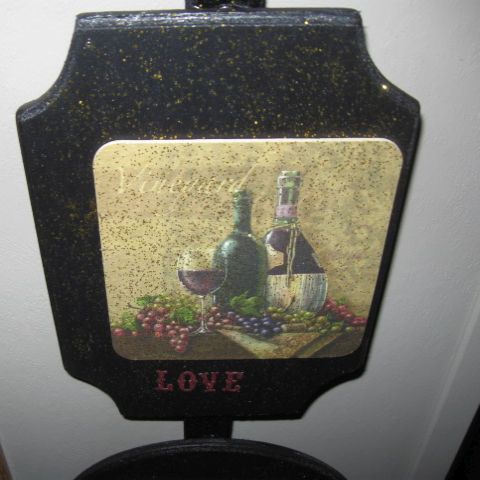
Step four finishes it off.
If you're anything like me, you will have little, clear, hot glue strings everywhere.
Pull off all the ones you can find.
If you miss some, don't worry about it.
You can pull them off whenever you see them.
To get the words, we just use kid type stickers. These were glitter stickers found in the sticker section of the local craft store.
Now, grab the hairspray. Spray each plague one at a time. Sprinkle or finger buff on some fine gold dust glitter.
When your happy with the look of your glitter. Shoot it again with the hairspray.
Let it dry and repeat for three good shots.

DIY Tuscany grape hanging wall plaques craft project demo.
Anyone can do this.
Don't go waste a bunch of money on trendy décor that won't be trendy in just a few years time. Make your own. It's super cheap, fun and productive.
Even the little ones can do this. Grab some pals and give it a go. Be it for personal pieces, gifting or just something to keep the kids busy and doing something constructive, get your crafty on. You won't regret it.
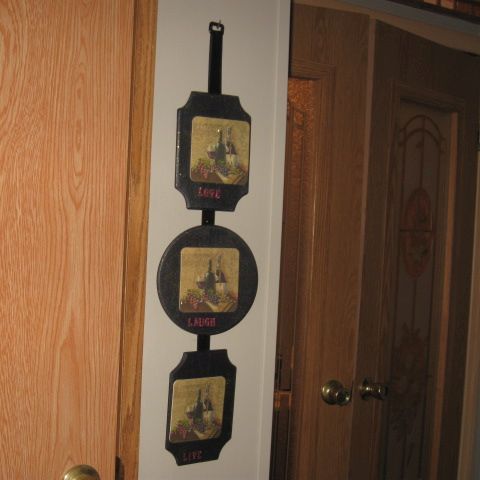

These directions can be applied to multiple projects.
Using just the directions for the plaques, not including connecting them, you could make as many single plaques for displays as you like.
They would look awesome grouped displaying family photos instead of coasters. Think about how cute they would be with mirrors on the front of some here and there dispersed among the pictures.
Single plaques can also be easily applied to larger items like chests, drawers and toy boxes to further embellish them. What ever your inner crafty envisions, give it a try. There's really nothing to it but to dream it up.
All image credits are my own.

