Designing Dazzling "Dream Banks" for Big Dreamers of All Ages
The Dream Banks of a Young Entrepreneur
Big Dreams for Young Dreamers
My daughter dreamed of owning a pet. She'd love a dog or cat, but at the moment we have no place to keep a litter box and our schedule does not support adopting a dog. She needed to find a low maintenance pet that would be entertaining enough to engage her and small enough to fit into a little nook of our living space. Hence ~ Chocolate Chip the hamster joined our family this year.
My daughter worked to save money to buy her beloved hamster. She made and sold honey glycerin soaps last year. In the meantime, we realized that all of the coffee cans my husband emptied could be a useful resource for a craft with much less extra overhead than the soaps.
She wanted other children to know the joy of saving up for and buying something they dreamed of having. She thought that decorating banks and selling them to children who had something to save for would be a way of bringing those children joy and earning more money to buy food, bedding, etc. for Chocolate Chip.
Raw Material
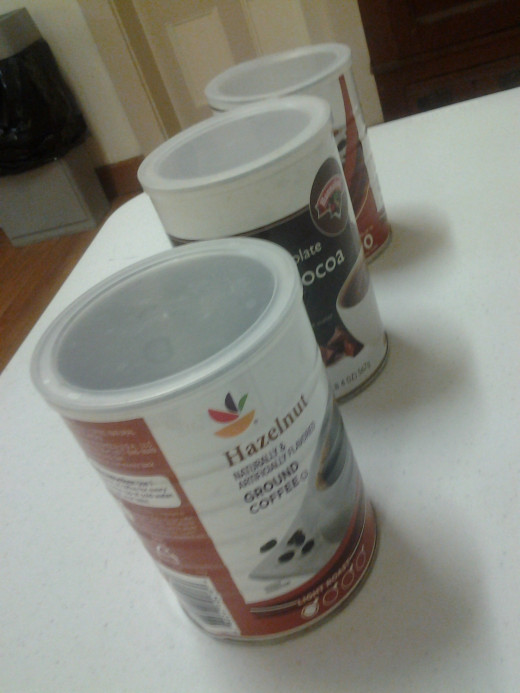
1. The Coffee Cans
In the beginning, there was the coffee plant. The coffee plant made coffee beans, which were ground into a course powder by humans. Some of the grounds were poured into bags and others were poured into cans. The cans were sold in grocery stores and my husband bought them by the dozen. When the cans were emptied, they were washed and brought out to be taken away and the materials recycled.
One day, the coffee cans spoke to me. They told me that they are a good resource for making things, such as pencil holders and banks. I thanked them for this idea and shared it with my daughter. She agreed to try turning the clean, empty coffee cans into beautiful banks for children to save their money in so that they can buy a hamster of their own, or something else that they would like.
Decorating the lids
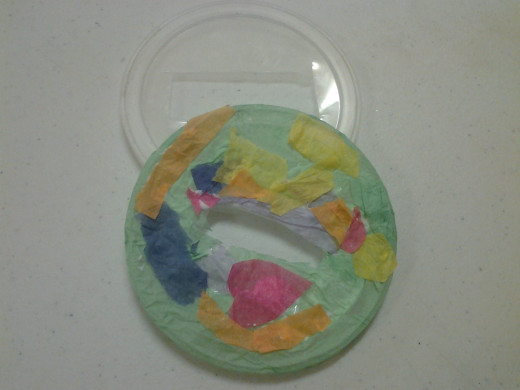
2. The Lids
For the dollars and change a child wants to save, there needs to be a hole at the top of the bank to drop the money in. I helped my daughter by cutting the holes in the lids that came with the coffee cans with sturdy scissors A rectangular hole is pictured in this hub, but I have also cut round and star-shaped holes for her bank's lids.
Since the lids seemed plain without any decoration, my daughter decided that gluing tissue paper to them for a stained-glass effect would add to their magic. Tacky glue was used for this part of this project.
First step ~ Gluing on the Felt
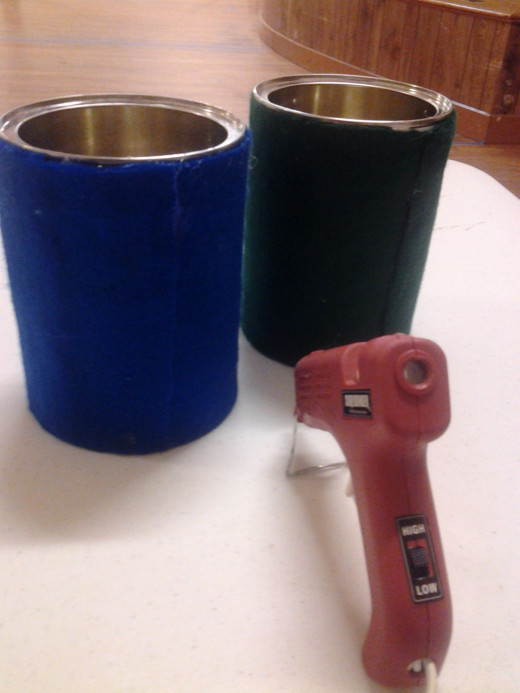
3. Decorating the cans
My daughter and I stopped by our local Michael's craft store to buy some of the supplies for decorating the coffee cans we collected.
Base Coat
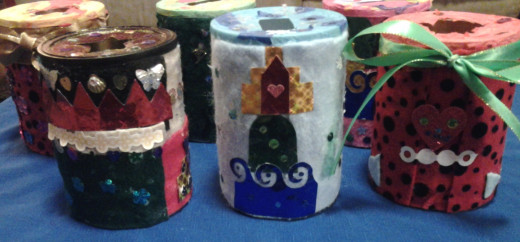
Our base material was felt, My daughter chose some attractive pieces of felt to glue to the cans as the base for the decorating. Some of the colors chosen were green, blue, gold, solid red, and red with black ladybug spots.
While the tacky glue on the "stained-glass" lids dried, I used the hot glue gun to attach the felt to the cans. The hot glue dries fast so that the felt stayed where it was attached and did not move around. This also meant that my daughter could quickly start decorating the felt with colorful accessories..
The Bling for our banks
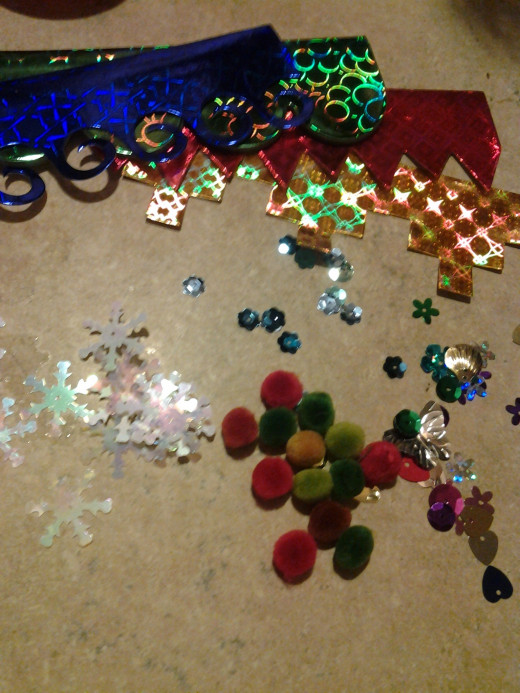
4. Bling and other Accessories
My daughter chose some fun materials for decorating. She wanted the cans to be attractive to other children, so she decided to use shiny paper borders and sequins of various shapes and sizes. She also chose miniature pom poms and stickers.
Bits-n-Pieces
Some of the supplies used to decorate the banks were already part of our stash for rainy day projects: ribbons, yarn, smaller pieces of felt, and tissue paper in a rainbow of colors. We also have popcorn and herb leaves in our home for when my daughter is inspired to create a bank with Nature as a theme.
Finishing Touches
My daughter glued the accessories and finishing touches to the felt with tacky glue. It takes a long time to dry, but when the glue is dry, the accessories are attached securely and do not fall off very easily.
When my daughter considered a bank as a finished work of art, we put it in a place where it can be left to dry for a few hours. Then we put it in our bag full of hand-made creations to bring to local craft fairs.
Cusomize!
My daughter used her observations about the themes most popular among her peers to decide the way she decorated her banks. You may know an individual who has very big dreams and a personal style that you know well. She or he may appreciate an attractive, unique bank that reflects her or his sense of style, which would add to the magic of a holiday, birthday, or other special occasion. Go ahead and make that bank and give it as a gift. It will make her or his day!
Dream Banks for Big Dreamers
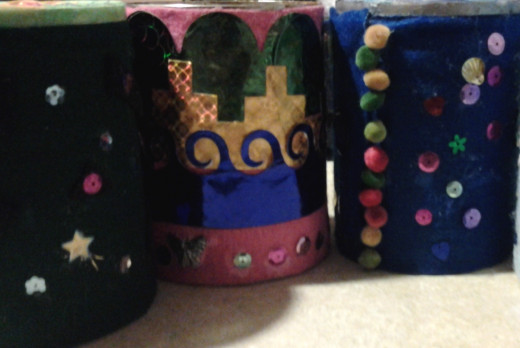
Are you dazzled?
Are you ready to make your own a dazzling "dream bank"?
"Chocolate Chip," dream hamster

This content is accurate and true to the best of the author’s knowledge and is not meant to substitute for formal and individualized advice from a qualified professional.
© 2014 Karen A Szklany

