Dirt Cheap Miniature Painting

For the COVID-19 lockdown, I decided to start painting my Dungeons and Dragons miniatures. I’ve been collecting them over the years, however, I’ve never had the time to start investing in the painting hobby, so I thought – if not now, when? Therefore, I got some advice from a fellow Dungeons and Dragons companion, watched a plethora of YouTube videos and got psyched up! Here’s the problem though: I don’t have miniature paint or proper tiny brushes. So, I decided to improvise.
Dirt Cheap Equipment
When I was 16 years old, my high school gave us paints and brushes for all our creative needs, however, I never used the paints and brushes during school. It was only after high school that I actually started painting, “painting” – swooshing some paint on canvas every few years. So that’s the paint I have at hand: 19-year old hobby paint.
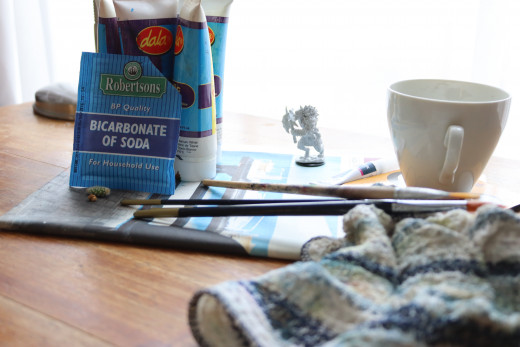
Starting equipment:
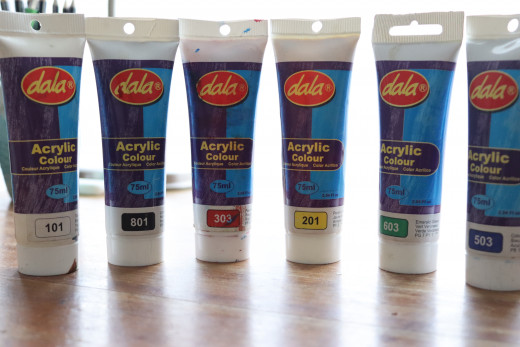
- Super old acrylic paint
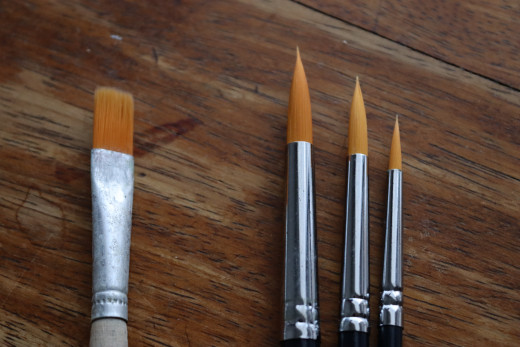
- Dirt cheap brushes
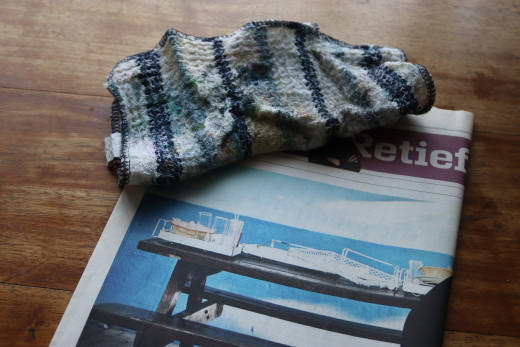
- Rag and newspaper
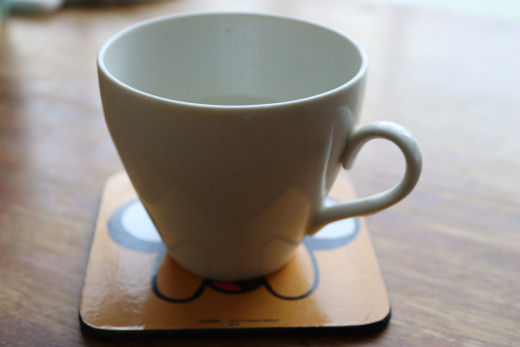
- Cup of clean water
- Old plastic cupcake holder (“palette”)

The Mini
I chose a Gnoll from the Dungeons & Dragons Nolzur’s Marvelous Miniatures line of unpainted minis by WizKids. The reason I chose this mini is because it’s larger than regular medium sized minis, and because the paint I’m using is old and quite thick; I didn’t want to screw up the fine detail on my other minis.
Moving right along, the mini came with a simple black plastic base which I decided to decorate with a little rock and filling up my base using the super glue plus baking soda method. I also thought about using a little cactus to decorate my base but ultimately decided against it.
Creativity tools:


The Base
The mini’s base isn’t pretty. It is fine as it is when playing on a grid but if you’re going to put the effort into painting your mini, you might as well put some effort into decorating your base. However, there are those who don’t like putting a theme to their base because it won’t always be appropriate on the board – a base with grass tuft doesn’t really make sense in a dungeon. There are those who prefer transparent bases for just this reason, and I must say, I’m in two minds about it. When playing, a transparent base is great for increasing immersion. Then again, just use your imagination! BUT, I neither have transparent bases, nor the wire cutter to cut the mini out of its “terrain”.
So, I journeyed to the outside to find the perfect little rock. With that resting on the side lines, I started applying super glue to my base, however the super glue was quite runny. This meant that I had to rapidly place the rock and sprinkle the baking soda. The baking soda acts as a hardening catalyst, therefore, before the glue gets a chance to leak over the base, it’ll harden. After the sprinkling, I just brushed off excess baking soda with an old brush. The baking soda is also used to create a “sand” effect on the base. Here’s what it looked like:
Painting
A good option for painting miniatures is using a wet palette and this is something you can make yourself. Here is why I didn’t: I needed to thin my paint quite a lot to avoid covering up all the fine detail on my mini, and since a wet palette hydrates your paint, I didn’t want my paint thinned any more than it already had. Moreover, I only had prime colours, so I had to do a lot of mixing and because different colours had different viscosities, each mixture needed custom thinning. Also, since I only had prime colours, I had to do A LOT of mixing, especially to get brown (how can one person struggle so much to mix brown!). So my paint dried quickly on the plastic palette but at least I could go nuts when mixing colours.
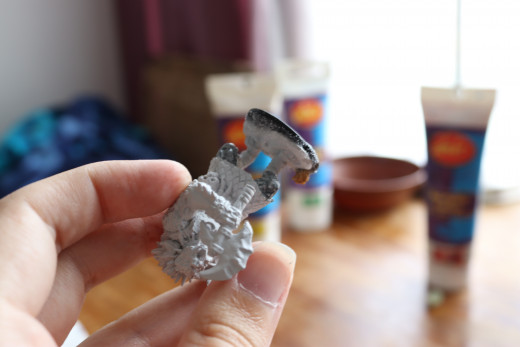
First I started painting all the different parts of the mini in my chosen colours. I didn’t use my smallest brush because I wasn’t interested in doing detailed work; I just wanted to create a foundation to work from. Here’s what it looked like:
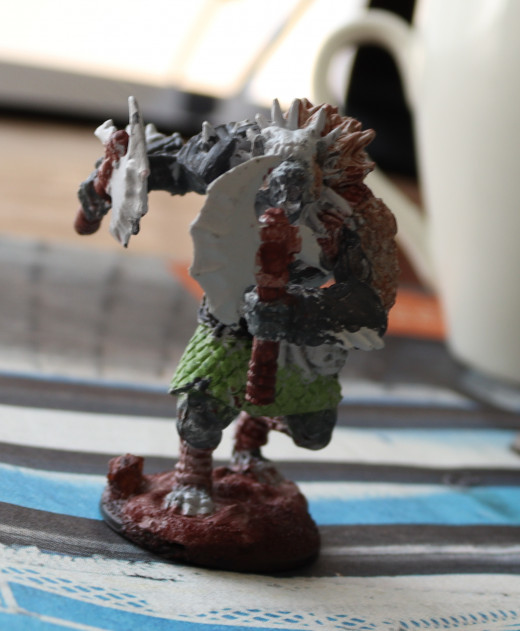
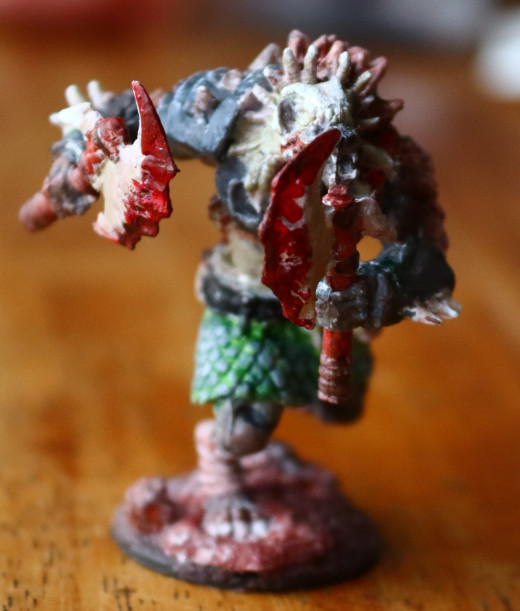
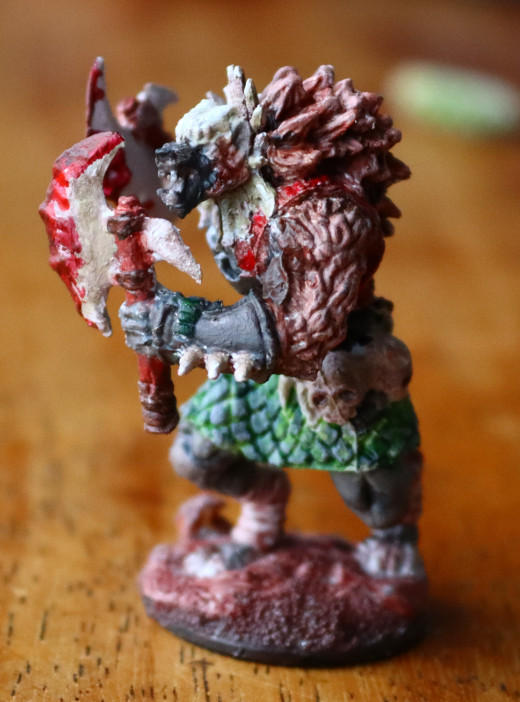
After getting an idea of where I wanted which colour, I started using my tiniest brush to clean it up, paint the details and fill up ambiguous areas on the mini. I decide to do his flesh first in a dark grey colour (representative of images on gnolls in the D&D books). After that I did his armour, however, I don’t have metallic paints so I couldn’t do it in a silver like I wanted to. I decided then to do it in a slightly lighter dark grey and then highlight it later to make it look more like metal, however, the flesh and armour turned out to be pretty much the same colour. To contrast, I added a bit of brown to my flesh mixture. It turned out to be a very pretty grey-brown colour and looks spectacular on this legs, however, next to his armour, it was still too similar. Because of this, I did some dry brushing with a brown on his hands later on.
Brown. Oh brown. As I said previously, I struggled a lot to mix the colour brown, and none of the shades of browns I mixed where mixed on purpose. On this mini I used about three different shades of brown – and it was hell. I used a lightish, orangeish brown for his fur, a reddish brown for his leg wraps (gnoll socks?), strap and weapon handles, and a dark brown at the base of the bones on his armour. I ended up using the reddish brown for his base as well, but I’m not a fan.
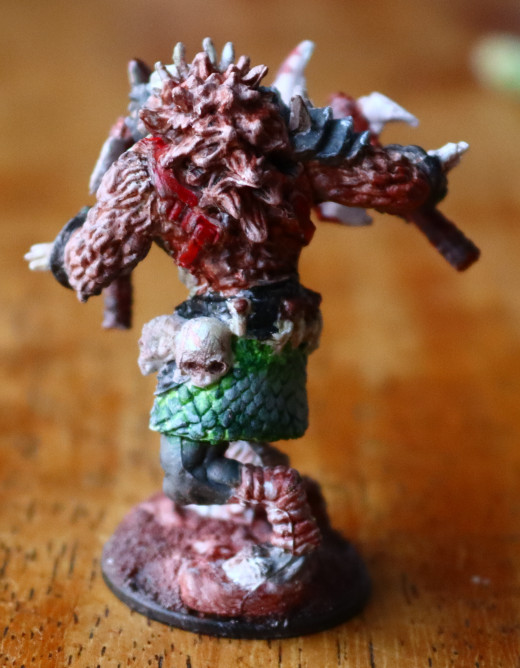
I painted his belt black and I painted his chain mail skirt green. Why green? It’s chain mail! Because I was sick of mixing brown and grey. However, later I dry brushed his chain mail skirt with a light grey.
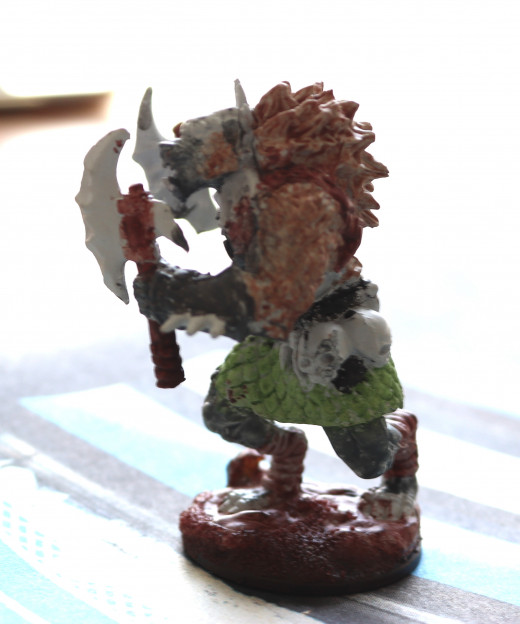
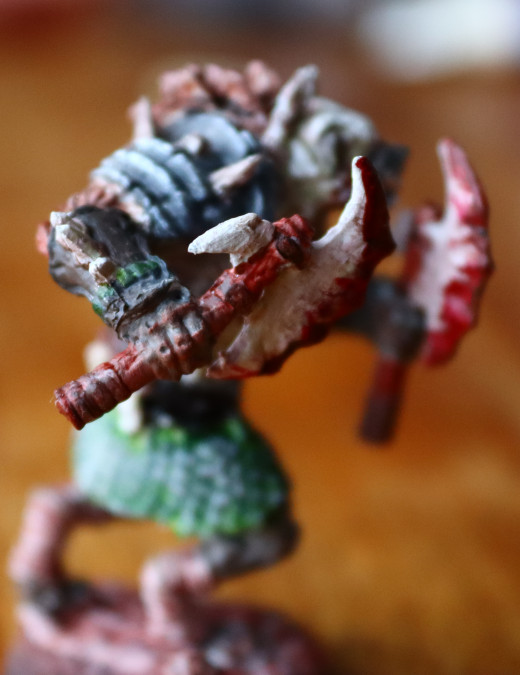
The gnoll has bone all over – part of his armour, hanging from his belt, on and behind his head. I struggled to get the perfect bone colour; first it was too pink and then too yellow. I then decided to add some brown shading (sort of) to make it look oldish and bone like; I did the same for his weapons. Lastly, I tried to do some dry brushing for his fur and I tried to do some highlights and detailing. Here’s the result:
Final Thoughts
- I forgot to remove the mould lines on the mini, but then again, I have nothing to remove them with.
- Because of all the colour mixing, this mini took many hours to complete.
- The browns are way too red.
- My only tiny brush is no longer usable.
- Because of the brush and the paint, I couldn’t really make the details pop or blend colours.
- The photos are a bit out of focus because I don’t have a microphotography lens or extension tube.
Ultimately, I think it looks alright considering the paint and the brushes I had to work with. This is also the first mini I have ever painted so I’m not going to be too hard on myself. Now I’m out of paint and a tiny brush, and my new miniatures paint set will only arrive after the lockdown. Until then, I guess.
© 2020 Chante van Biljon


