Drawing Dogs
Drawing dogs is rewarding for people of all ages and ability levels. First, spend time sketching out the dog with a pencil, and then decide which medium to use for coloring in the drawing. Using colored pencils is a good idea because these can be erased if there are minor mishaps, and these can be purchased in sets for cheap prices. Also, consider visiting the library, bookstore, or Amazon to find books that give useful tips on colored pencil techniques. Artists can also consult online forums and art websites that teach people how to use colored pencils. I have read books and watched videos on colored pencil drawing, but ultimately I like to use methods that speak to me. Remember: art is a very personal thing, and the way one artist draws a dog will differ from her neighbor. In other words, everyone should learn to cultivate their own artistic style when drawing dogs.
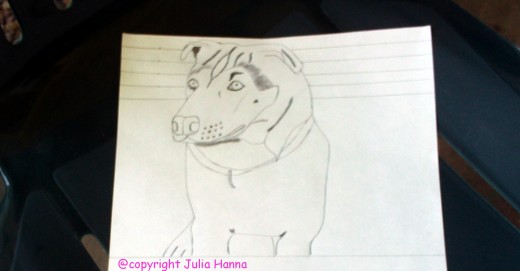
You want to finish sketching your dog before embarking on the journey of shading in your drawing in with colored pencils.
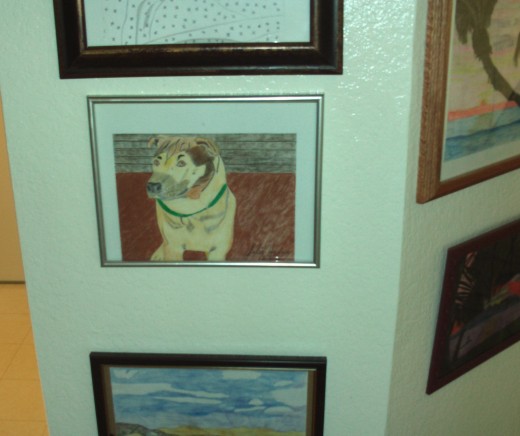
Here is a YouTube video I made to show what the framed Buster illustration looks like hanging on the wall. This picture is hanging next to other animal portraits that I have created of my dearly departed pets, such as Lady dog. Drawing a picture of your dog and other pets is a creative and economical way to create personalized art for the walls of your home.
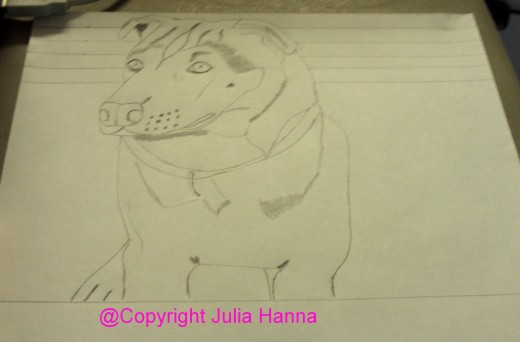
Make sure to add the final details to your sketch before adding the color. This is what I did when I was drawing Buster.
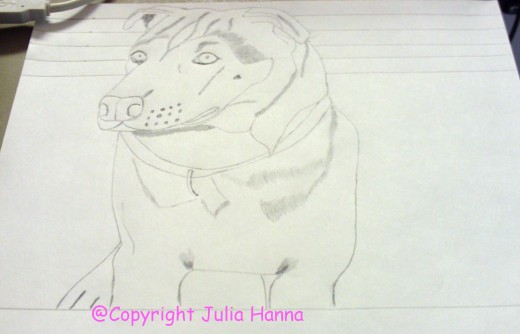
Never be hesitant to continue to add extra details to your sketch before beginning the colored pencil painting of the dog.
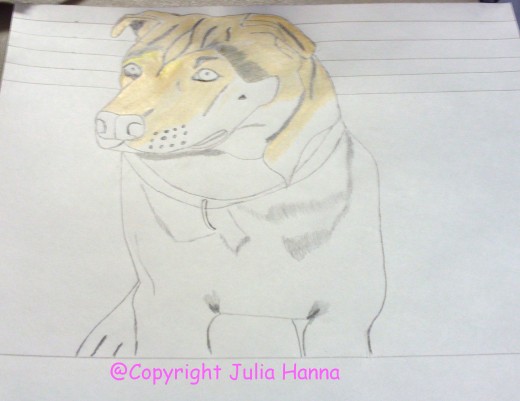
In the reference photograph Buster was the color of banana nut bread, so I used a light tan colored pencil to lay down the main color of his fur coat. I layered the other colors on top of this foundation of tan.
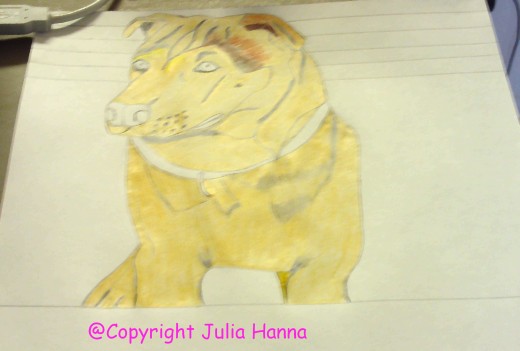
Carefully color in the base color of your dog, and then you are ready to add any extra layers of color. I always approach coloring my drawings like coloring a picture in a coloring book; I always strive to stay in the lines. However, the beauty of colored pencils means you can erase your mistakes easily.
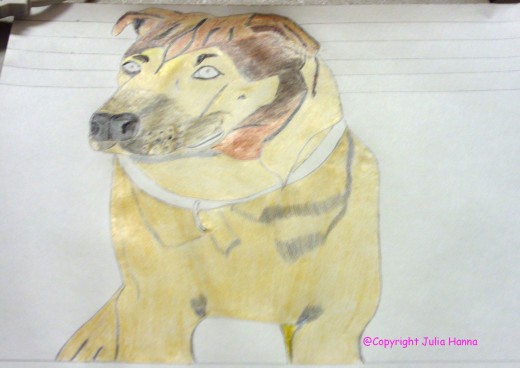
Adding the darker patches to the sketch of your dog helps to bring the drawing to life. I started to see Buster jump off the page once I shaded in the darker portions to his mask.
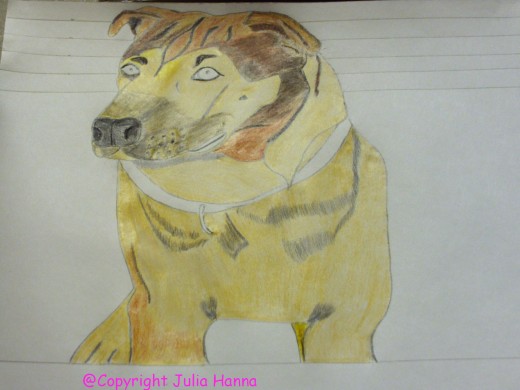
Also, shading in the dark brown portions to Buster's fur coat made him look more true to life. Take as much time as you desire on your colored pencil paintings, which means you will be more pleased with the final product than if you rush.
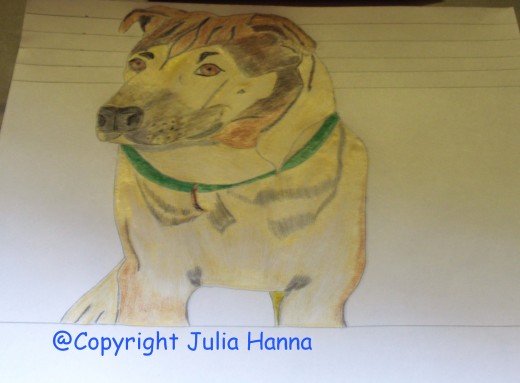
If your dog is wearing a collar in the reference photograph, it is always ideal to use the exact same color when coloring this in on your drawing. You can always change the color of your dog's color for the illustration, but I decided to remain true to my sketch of Buster by using a forest green colored pencil.
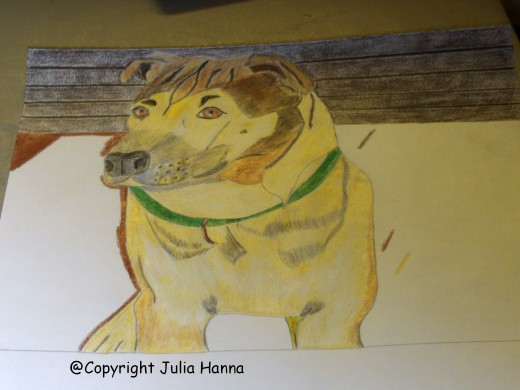
Coloring in the vertical boards of the garage behind Buster's deck gave my photograph an interesting background. Sometimes I change the background for my sketches and paintings, but I decided to keep this one true to life.
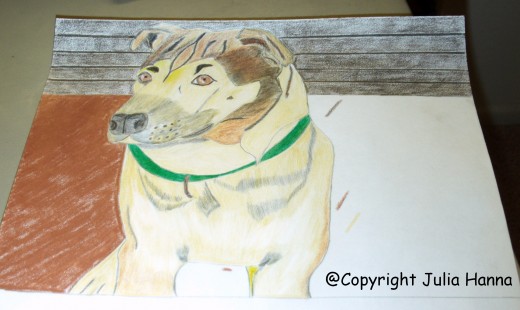
To create the depth of the background, I used forty-five degree angle strokes when coloring in the sienna brown of Buster's deck.
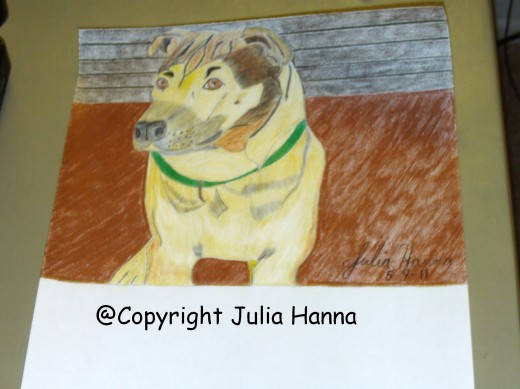
Now that the sketch of Buster standing on his deck is complete, I am ready to cut off the bottom half of the paper.
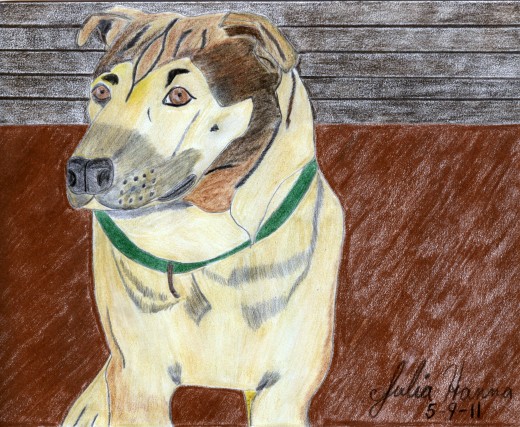
Here is the scanned version of Buster standing on his beloved deck, which is where I used to see him every day I went out to play with him in the backyard. The color pencil painting of Buster was created with a combination of Crayola and Prismacolor pencils because I tend to mix and match my pencils, and also because I use my art supplies up before I buy a new set. I sketched this picture of Buster on acid free, medium weight drawing paper. Consider drawing a picture of your own dog as a way to commemorate your four legged friend.

