Drawing Protraits with Pencils
Family Art
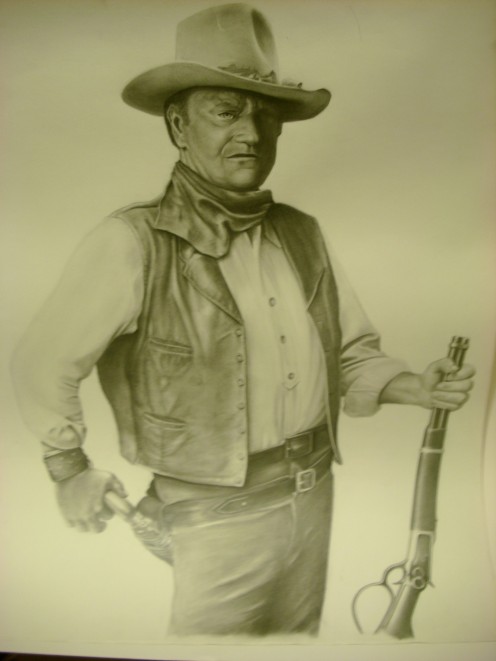
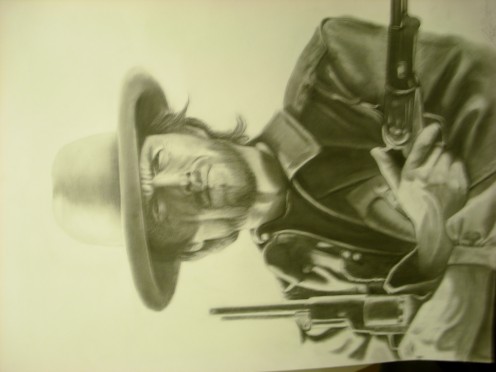
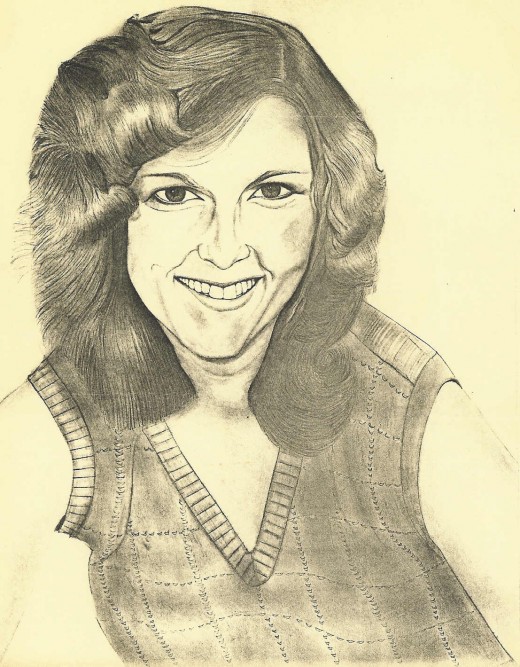
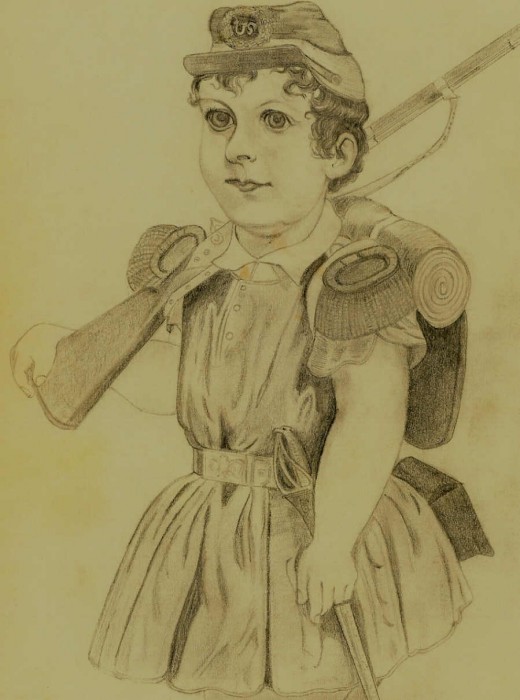
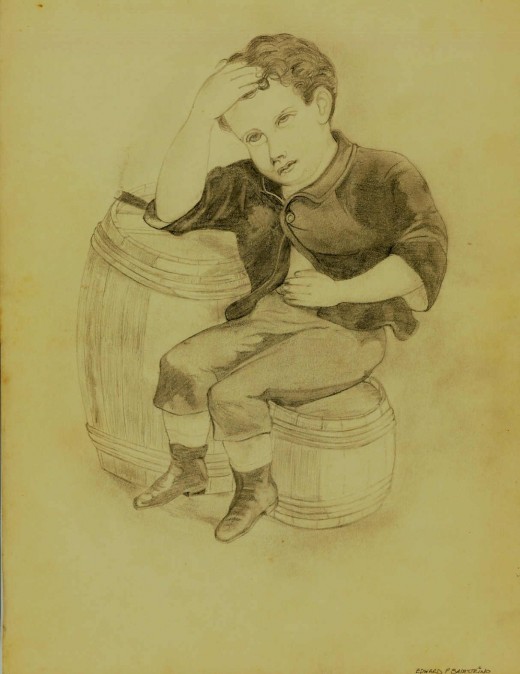
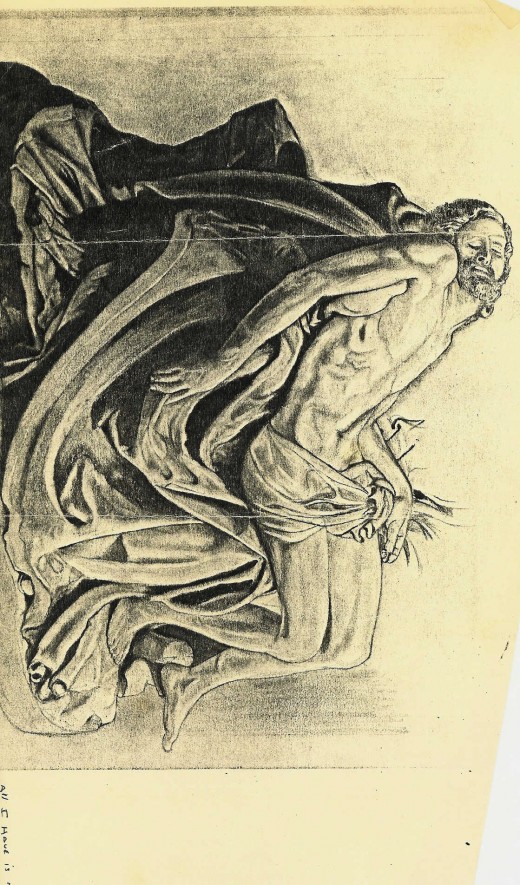
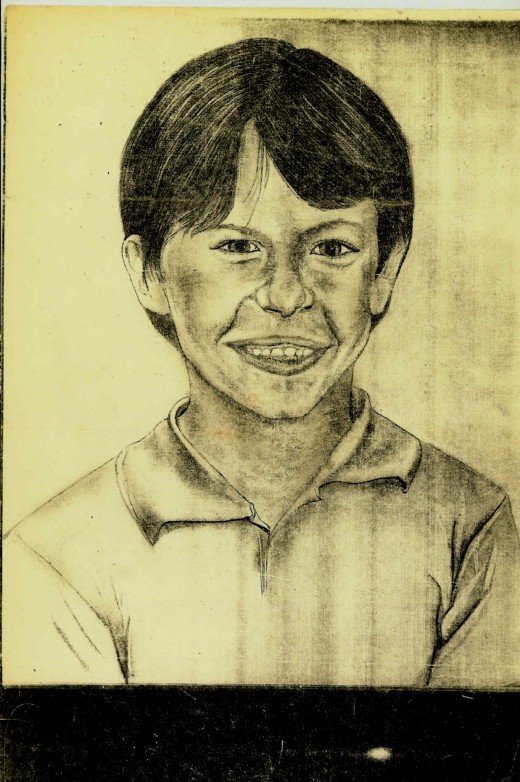
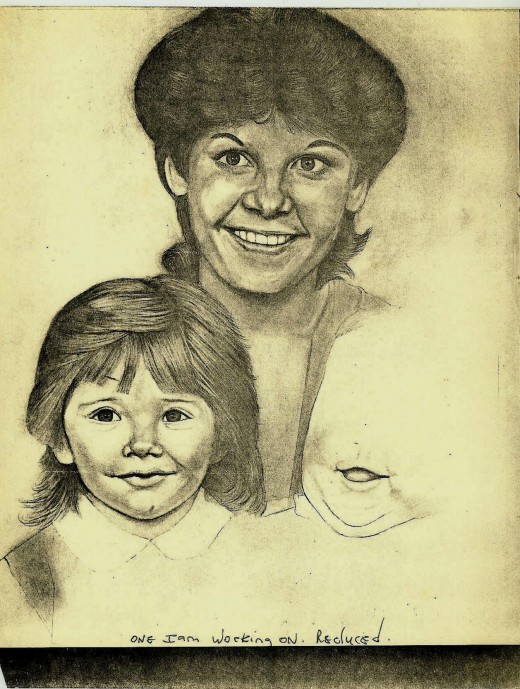
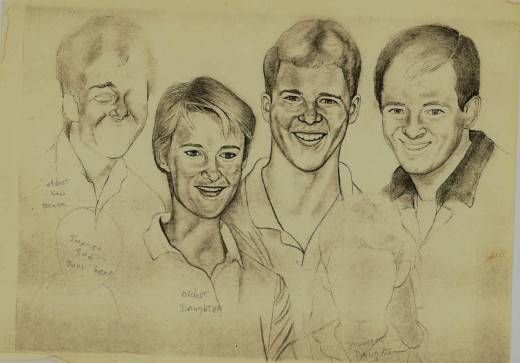
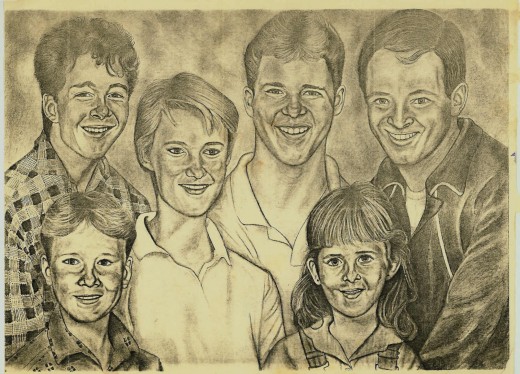
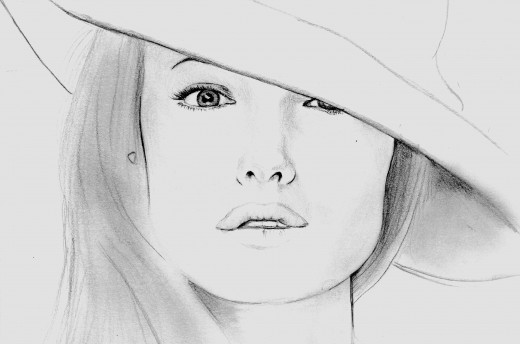
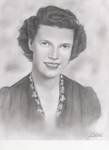
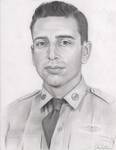
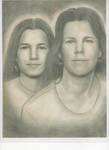
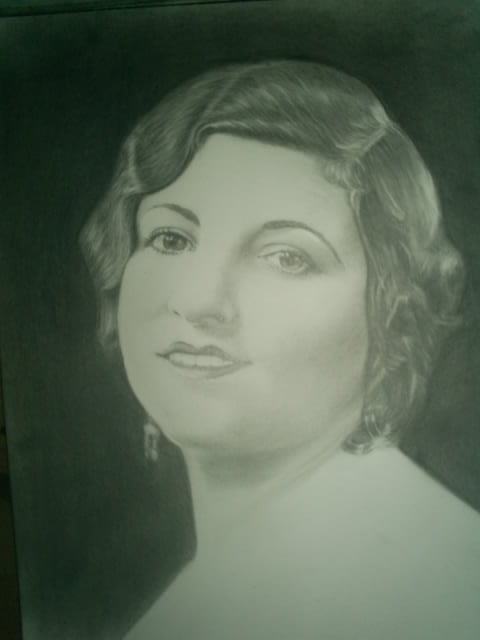
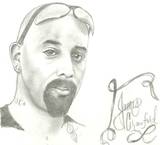
My Family's Personal Drawings
Click thumbnail to view full-size


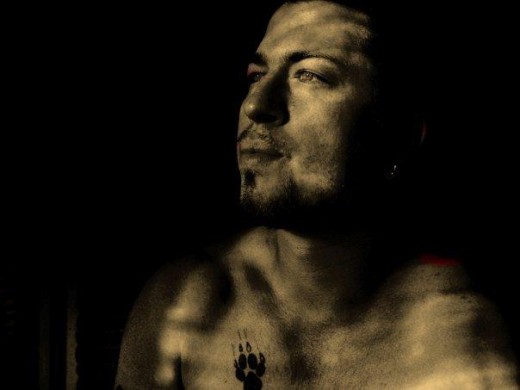
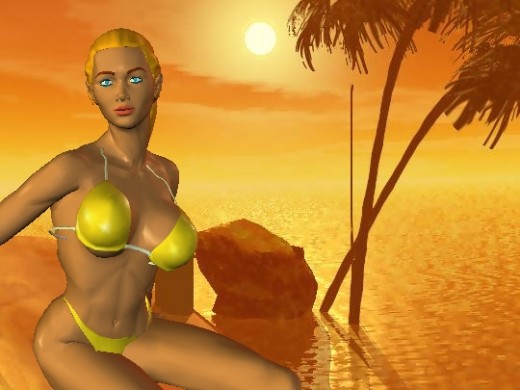
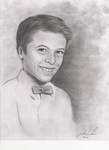
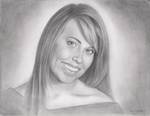
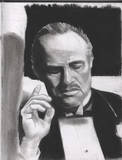
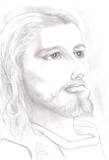
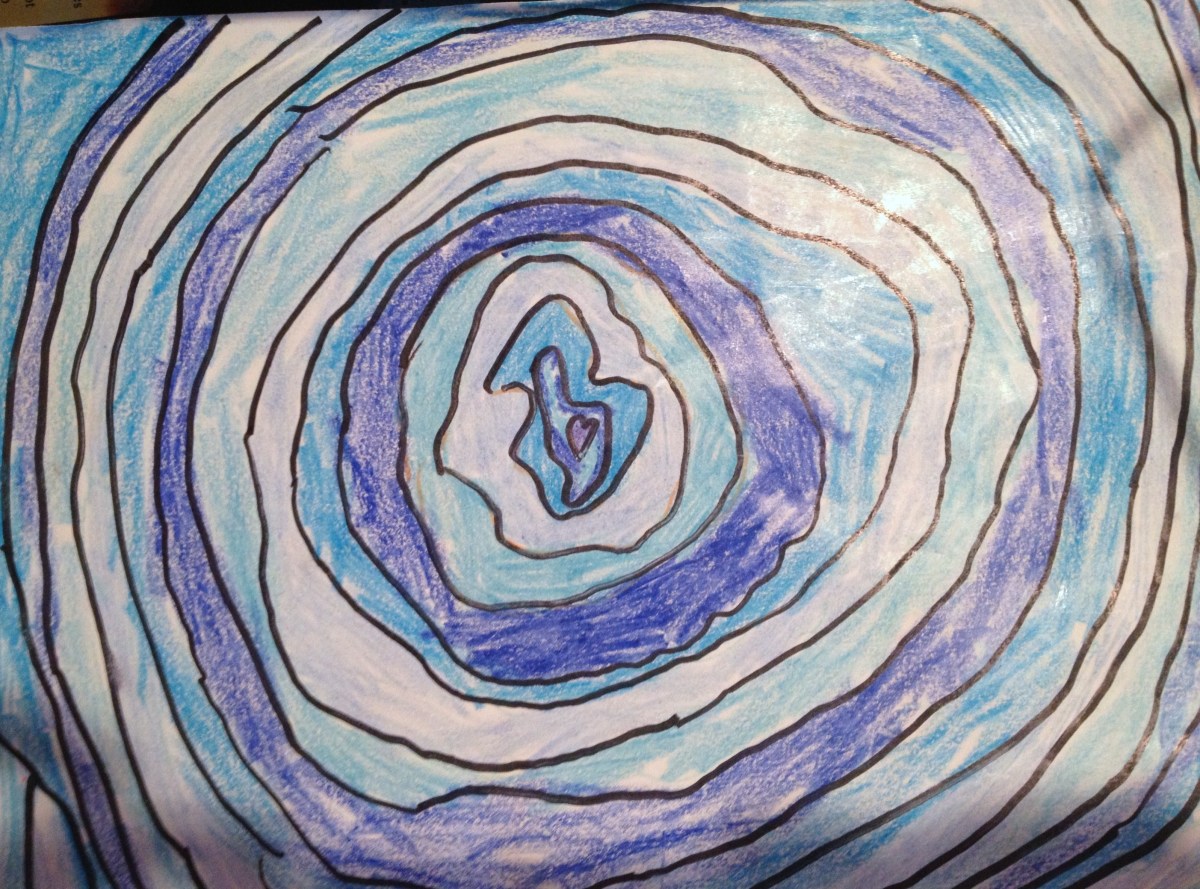
More Rescent Drawing by my Children
Click thumbnail to view full-size


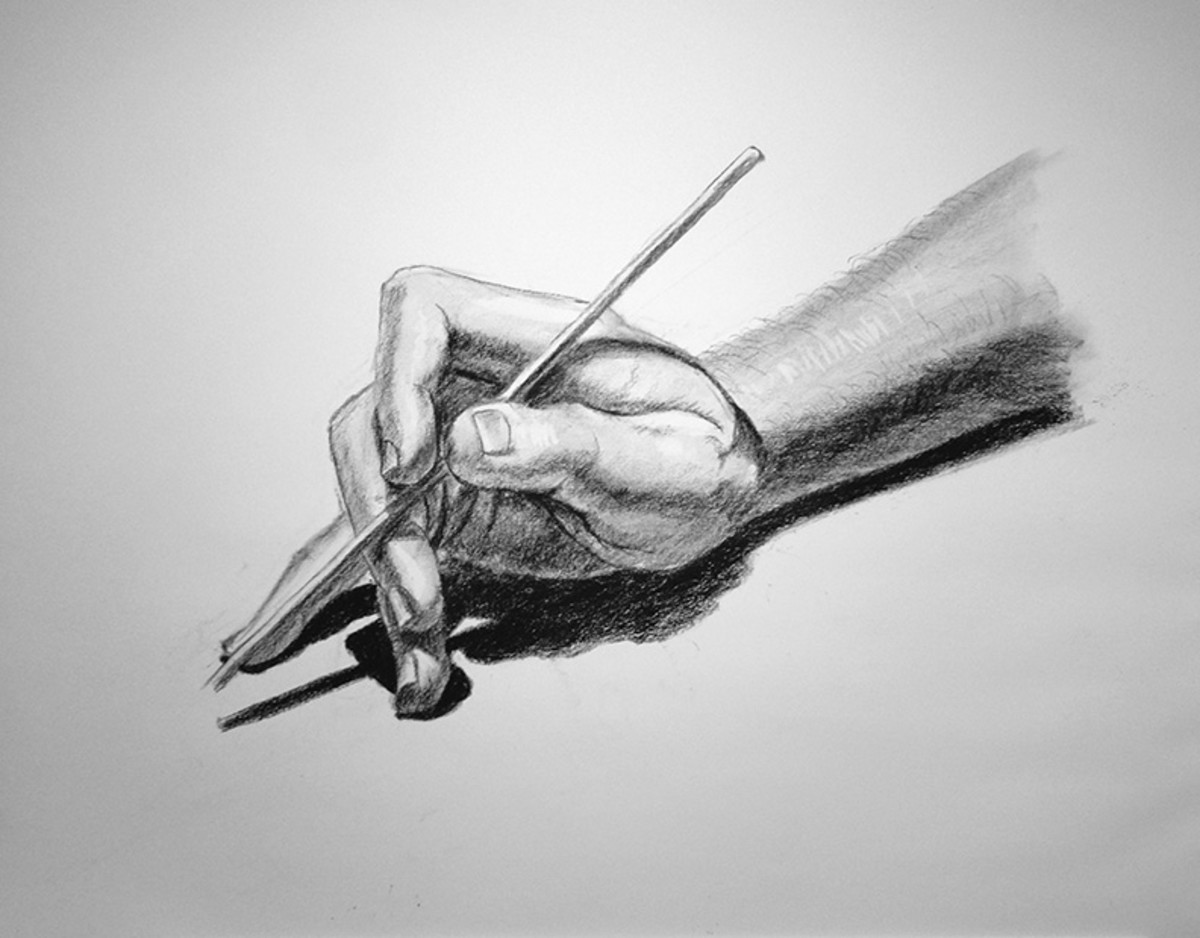
The Art of Drawing
I have been drawing since I was a young boy off and on; I believe I started drawing forts and hidden chambers, under castles. Then I saw an ad in a comic, so I tried one those art tests. Some time later a Man came to our house offering me a chance to take art classes by mail through some DistantArtSchool, but my dad sent him down the road saying it was just a scam to get our money.
But as time progressed, I drew a little of everything, mostly at first were character like Mickey Mouse, and goofy, then I switch to Comic book characters. By the time I reach High School I was getting allot better with faces, and soon started portraits. It wasn't till I went to work for Sherwin Williams, that I rekindled my interest, because they sold art supplies that when I started painting.
. Then one day an Art teacher came into the store and was buying Art Supplies, and saw one of my paintings I was working on, and invited me to come and join her Art class. Her name was Henrietta Ferguson and Marietta White
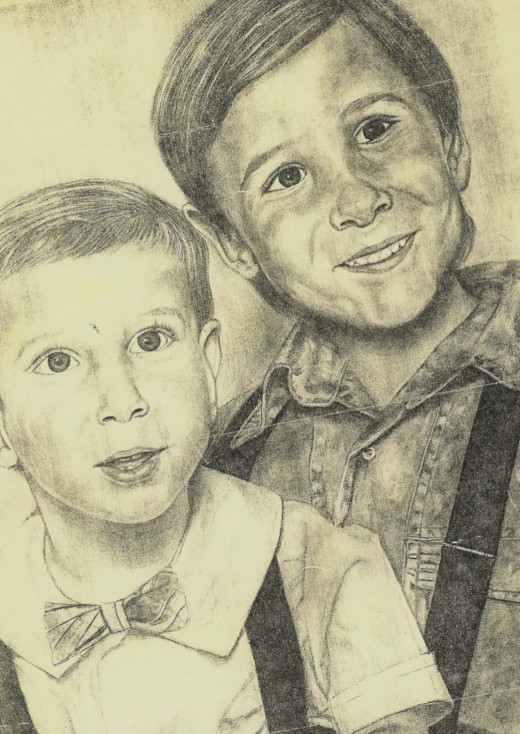
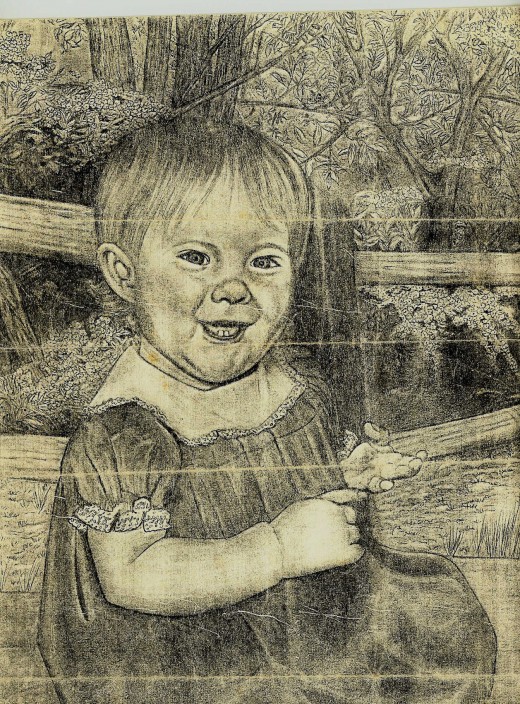
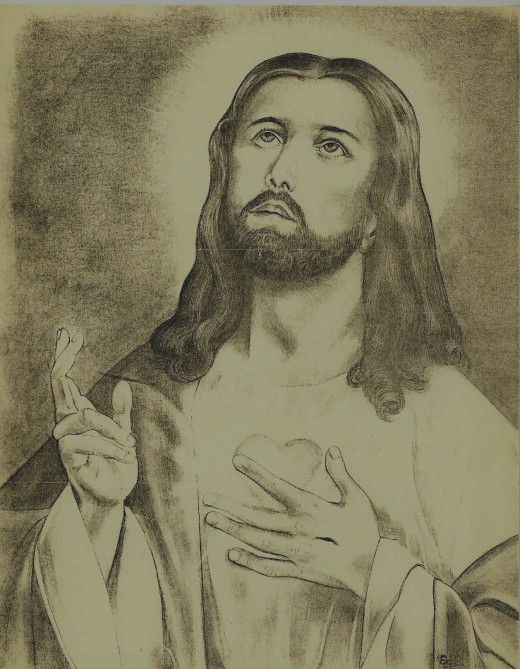
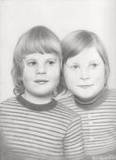
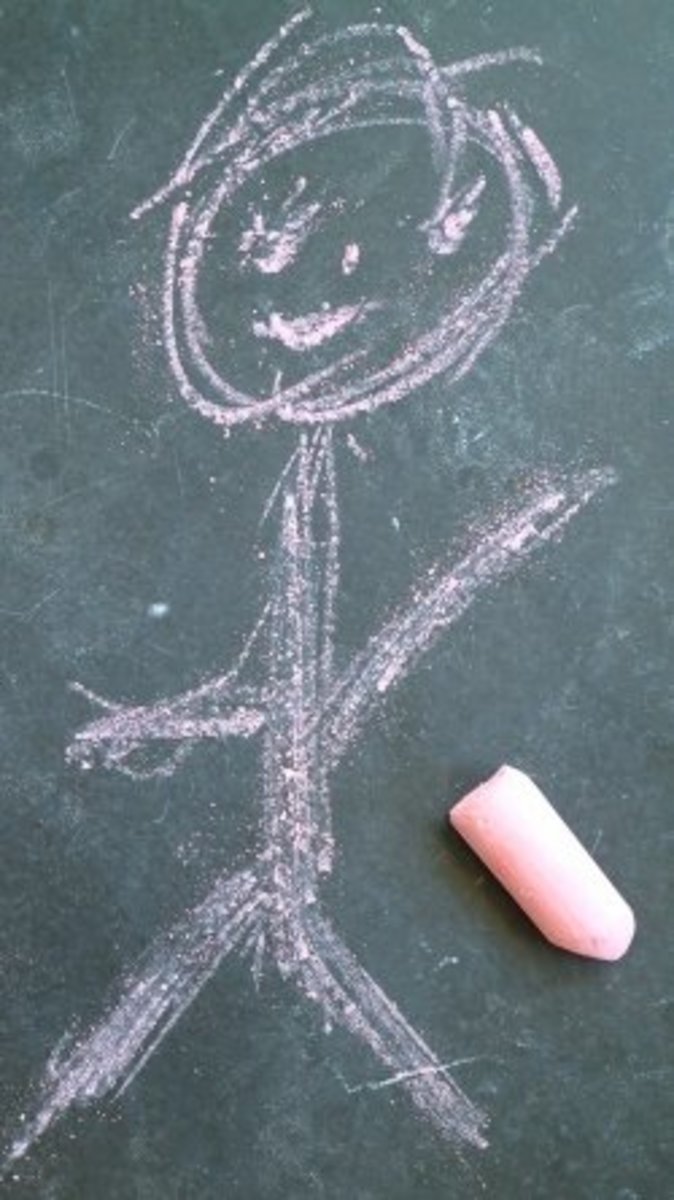
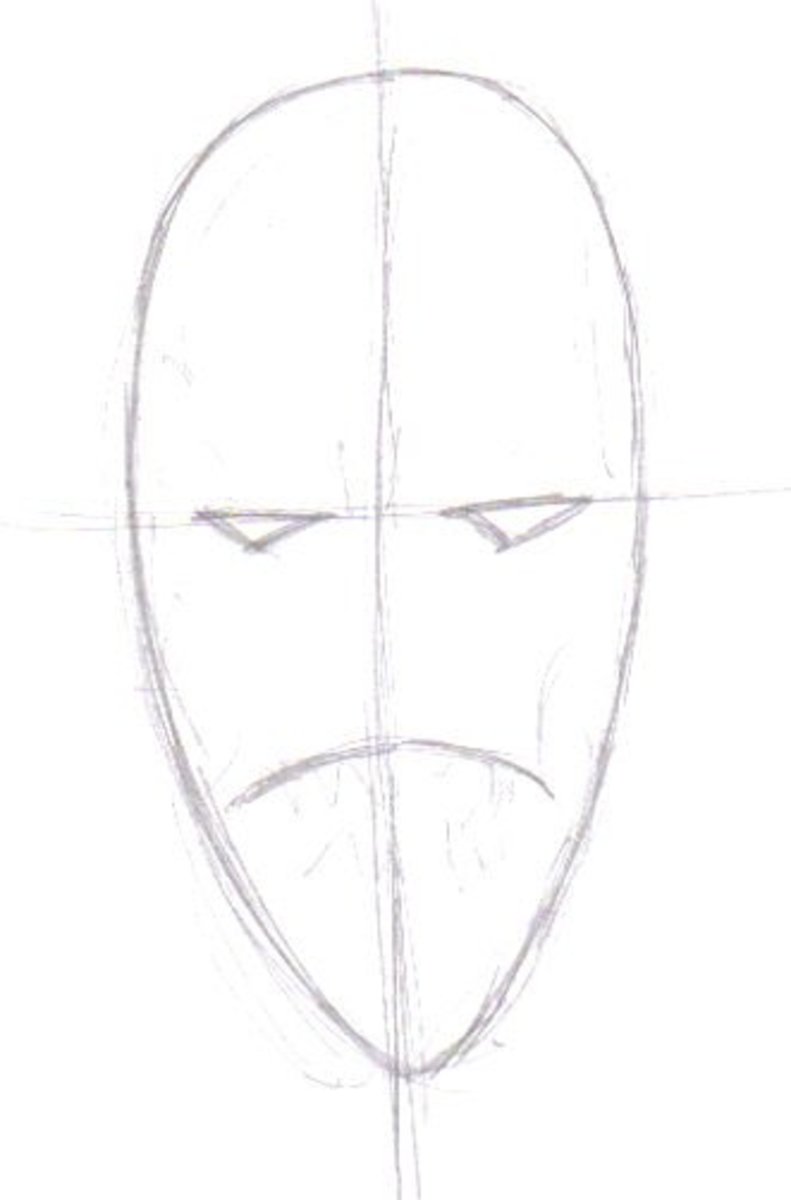
So I thought just maybe there might be a few out there would like me to Share my technique on how to draw with pencils. But to be totally honest I'm no teacher and really don't think I know all the tricks, but I have helped a few along the way and they seem to like the way I simplified it. So if you have a problem anywhere in that which I'm trying to explain, please share it with me, so I can correct it or break it down in greater detail, so it can really help those just starting, I will scan in a few of my own sketches as I finish this Hub, once I'm sure It's truly finish, ha I'm the worlds worst at fine tuning, I did how ever show you a picture my youngest Son drew, it was his first, and since this is your first, I thought you'd rather have his to compare to.he actually likes to draw on the computer now, and you'll see a few of those he's done on some of my other Hubs. Thanks for choosing my Hub to expand your horizons in the world of art...
OK! I'd first choose a picture, make a copy of it on a Xerox machine, then scale it to one inch squares, then very lightly draw one inch squares on your drawing paper. Note[There are some Stretch Pads out there in Art Stores w/Quality Bright White, Fine Tooth Finish Paper (60lbs), because the Tooth Finish paper has a better drawing surface for sketching with soft pencils, especially Charcoal and Pastel Mediums. Oh, Lets not forget to buy a few sheets of 1/4' inch Scaled paper, so when you do another sketch you will find it easier to practice on your 1' Squares. Great, now we have to get a few Graphite Pencils, One of ea. 2H, 4H, HB, 2B and 4B and (2) two Kneable Erasers, Note: [They are really used in sketching as smugglers, and they really act as drawing tool, rather than an eraser.] They can be used to blend the Graphite, and what’s nice you can clean the Kneadable eraser by kneading it. There are several other ways to work the Graphite, by tapping it on the darker area's to lighten that immediate area, also you can shape it into a point to cut in a white line or lighten the graphite in narrow areas. Now we need a pencil sharpener, a fairly good quality, the cheaper ones seemly break the lead and graphic allot, thus you end up buying allot of pencils. Go to: Pencils . Com, look up Sharp Pencil Sharpener. You can match up this one, again a bit higher price but your pencil will last allot longer. Plus this kind of sharpener delivers a nice long point, so you can use the side to drop graphite in larger areas, like along the cheeks, background, hair and while shading the clothing, and the last item is just incase we need something to back up our shading, like a Pencil shaped shadier, a shading stick, which is crushed soft paper form to shade small area, on a sketch.
Ok! You ready to start. Then start from the Right upper portion of the picture , duplicate what you see, exactly as you see it in each Square before you start the next, as you slowly cover the page to the left lower corner, you see how easy it is to copy, by transfer of small areas of art. Note: [Do not erase, if you make a slight mistake, make a point with the kneading eraser, and lightly rub it over the area you wish clean, we never want to scare the surface of our sketch pad paper. Now once you feel you have the transferring of images down, from picture scaled to scaled sketch pad, we can move over to the next process. But first we need to rub each pencil on a piece of your sketch pad, so lets first draw a line at the top of this page about 3" down, with a 4B pencil that has been sharpened to a med point lead. Note: [Were going to be slowly turning the pencil with our fingers as we draw the line], this will keep you from flatting your pencil point on one side. OK were ready, now start listing on the line each pencil type 4H.....2H.....HB......2B......4B ok, try and space them equally apart and center the group on the line. Ok, now take your 4H and rub hard , but not to break the Medium Point, under the 4H about 1/2" wide and 3/4" long, and do the same with each pencil that match up with your line, that’s great, now we will do another pass, but this time about 1/4" directly under the 4H with the same pencil, but rub the Graphite about half as hard, and then as before all the way across, now one more time, with just applying a light rub, just as before 1/4" directly under with each Graphite rating. Ok now I want you to draw a arch line w/an Arrow pointing to from the HB Rating to each hard shaded areas, then rub HB graphic pencil on the lower portion of each Hard pressed graphite sample, down and cover the first 1/4" med shaded sample, you will also cover the 1/4' of the clean are between the two samples, hopefully you will se that the white spotted areas in the sample are gone, now in the area you shade with both HB and 2B & HB & 4B. This will also act as a chart as you draw to glance at if you’re trying to reach a certain depth on your facial shading. And you want it to have a smoother finish.
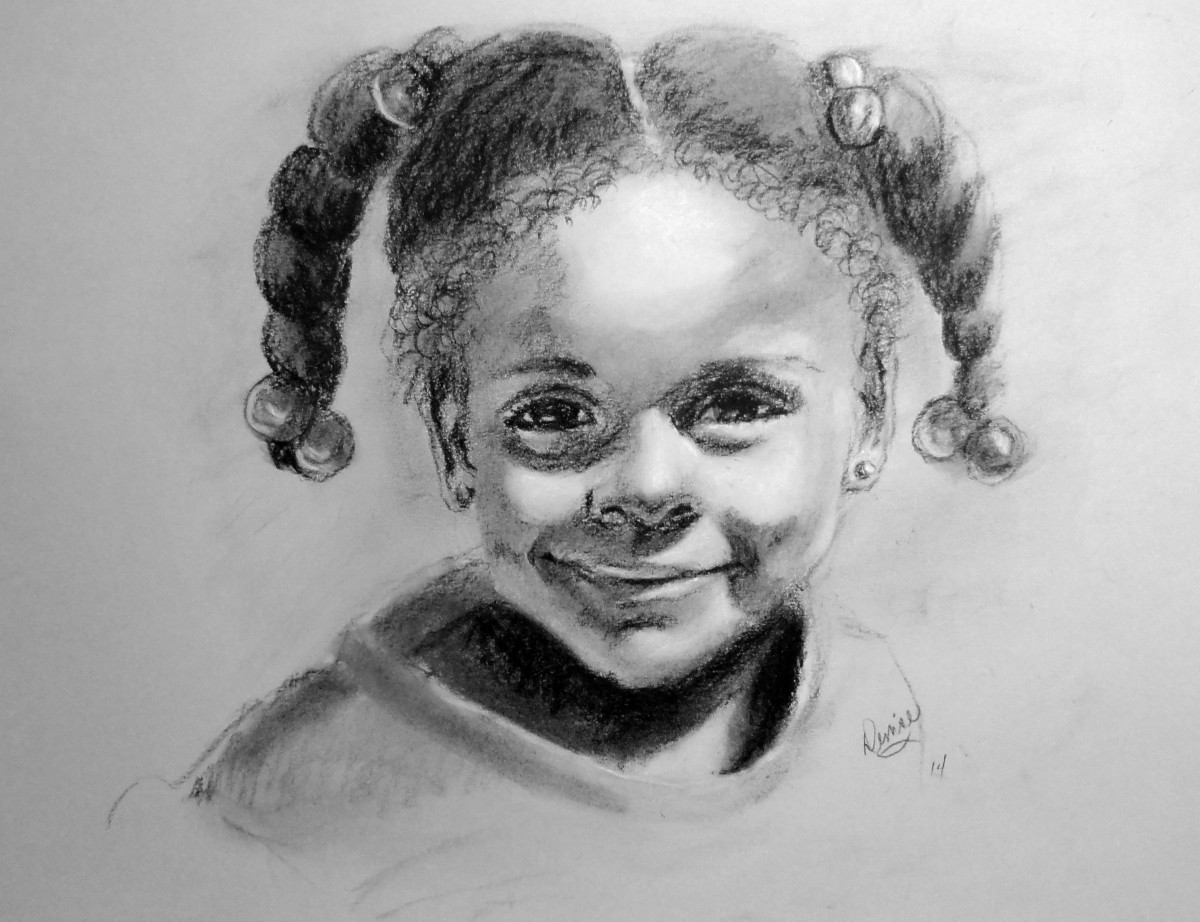
Now let’s step up a notch, let’s do a face, we start by lightly sketching an Oval or egg like shape about the size we have measured out for obtaining the overall dimensions of the face were about to sketch, as you might have already noticed wider portion on top, as you look at someone’s head. after your take your picture and determine the scale ratio of the picture to your drawing paper, as close as you can, because you will use that scale with every dimension you take off the picture and transfer to the drawing, great, now once you draw a rough very lightly near egg shape image on to your page using the pictures face measurements as the scale of size, now go to the center of the facial area, measure half way between the top to the chin, and mark a light line, then mark another line half way from the center line to the chin, that’s the center of the mouth area, then from the center line to the top is the eyes center line(but note one eye is usually slightly lower than the other) ok now get a 5 X & picture of someone you know, and draw the nose first, remember to locate the center of the picture just as you located them on your Paper, so lightly mark your picture with a white crayon on the portrait, not to damage it.
Ok, now start your nose from center to each edge, and bottom of nose to center of mouth. Just as you have done in ratio, with the entire picture. (Note: This means you should have as close as you can a ratio that your picture is either two or 2,2 or 2.5 times smaller than your drawing, so you would use that ratio to locate the key points to locate the actual physical or facial feature, like your eyes, nose, lips eyebrows, ears. then place your foreheads front Hair line, now this is very important, do not draw any lines, just use the edge of the pencil point to lay some lead , either by rubbing very softly the edge on the paper in a up and down motion, or using a bit more of the point and making a very light circular motion where any line might seemly belong or appear, then taking your finger or a special crushed paper pencil that can be obtained at any art supply store. called a shading stick(Note: the vary in size) while your their purchase several pencils, a 2h -Hard lead, writing pencil, a 4H softer lead, writing pencil, then a 2B and 4B, and 2F.
Ok, lets not worry about perfection on are first drawing, lets just get the process down, Ok Shading is the key to any drawing, be careful not to scar the paper or damage it original surface. So rub lightly and if it’s in need of a darker line reapply another coating of Graphite. Ok, lets start with the nose, finding the center of the tip of the nose place a very light dot, then measure out to the left and right side of the nose and place a show line there, remember to just shade, don't actually draw a line, Note( If you feel you need a line shape your kneading eraser into a sharp point, and carefully clean a line, by using it as a pencil, but instead of laying graphic on the paper your removing it.) now measure from the center dot to the lowest part of the nose bridge and do the same, then carefully shape the nose by stroking a few light lines, or you can use a light circling technique, you very lightly move the tip of your 4B pencil so to leave thin line of overlaying circles that act as a line, Ah that’s good, now with this technique, you are really going to put some of yourself into your work. Don't worry, after a few drawings you'll be doing this allot, Ok ready, take your pointer finger and softly rub the graphic slow as to move it away from the area, which you want to stay white. When your done you have a whitening so you can see the same basic shape that is in the picture(Note: it might do well to have a large Magnifier Glass to look closer at features in a picture to catch those things the natural eye might miss) Ok now we need to shape the noses upper ridges, with shading only and we will do it in stages, first lightly because were going to shape the first stage of the eye and also don’t want to contaminate the virginal areas of white which represent the highest rise of the face features, and the tip of the nose is the highest ... After we have brought the noses shape out, well start the Eyes.
Ok! I believe we need to take a brief break, so to be able to come back at our picture with a fresh look, and ready to do some delicate work. Don't fret though; it’s really very easy if we approach it correctly, great! First locate the first lower line off the center of the nose , from your picture, then transfer its approx location by scale to your paper, Note( I recommend you take these eye measurements twice and write them on a piece of paper, just to assure we have them locked in. because your going to put allot of work into the eyes.), and I'm sure you'd hate to finish and realize your off by 1/8" some where and realize it throws the looks off drastically. Ok having brought that to forth for your consideration, let get back to the project at hand. Now locate the top line, then the outer point of the eye opening, and then inner point of the opening, then very carefully shape your eyes, as if you were connecting the dots so to speak, do not press hard enough to cause any indent into the paper(note: If we have done this correctly we have like a tapered Lemon for eyes, but when were finished, well have your actual models eyes. ok now carefully place the pupils as it appears in the picture Note:( Heed where the circle touches the upper and lower curved line of the eye ball covers) get that to match your picture as close as you can, you really can change the appearance to how they look if there off even a little bit, don't be afraid to use the magnifier glass here. Ok! Your doing great, Note:( the inner circle which is pure black whole with in the eye, and has a clear lens over it, so the light reflects off the lens and creates this tiny sparkle which you must capture, with a tiny white spec in your blacken area), which will give your portrait it's sense of life. So very slowly and lightly with your HB graphic pencil duplicate them, to scale as it is on your picture(note: We must not to get any graphic in the white of the eyes, inside and out side the dark smaller circle. ok, now the retina, (which is the eyes shutter as on a camera), you have to be able to turn your paper easily as you mark most carefully with a 4B pencil the light lines as there shown in your picture Note:( It might be helpful to have a tissue handy to place under your hands palm edge, so not to smear the lead or contaminate your drawing with to much oil off your hand with its movements), just to give the idea of how the retina opens and closes, don't press to hard. We will return to this area again during the final touch-ups
Ok now the Eye may have a line over it, again no lines just a slight mark to indicate the skin that allows the eyes covers to fold in as it blinks open and closed, the older the person the darker the fold line. Ok now we can lay out the shape of the Eyebrows, do no try drawing lines to shape it at first, but rather light marks as if you were placing hair implants where ever hair appears to start popping out of the skin on your picture. Wow! It’s really starting to take shape. We will return to finish then on the final phase of completing your portrait. Now lets do the same with the beginning of the upper hair line across the brow just make light stroke in the direction it shows in the picture then go back using our implant procedure, as you move in further on the scalp, stroke your marks as if you were combing it.
Hey! Were, already at the lips. We must first find the upper lip line, and then the lower lip line; again, remember to double check your measurements, ok! Now the inner line off the top lip line, then the upper lip line off the lower lip line. Great, this is tricky (note: carefully find the actually point that allows the mouth to open on both sides, measure from the cheeks first, approximate location, them use the nose angle of picture to see if yours is the same. Then place your picture on the sketch pad and align its square edge to the pads, now place a cleaned ruler ruler, so not to contaminate your pads surface or scare it while sliding it. Ok! Slide it to match up the angles of say, the nose edge or the eye locations, as you slide the ruler around. Once you have an angle you slide it across on to the portrait lightly to match it up to the portrait angle alignments, they should be the same give or take 1/16th of inch. or put a clean piece of white paper squared to the picture that has been square to the edge of your drawing paper, and fine the actually center within the eye, that matches the same location as it appears with the real picture using the same white sheet laid on it. so to get the exact location to where each end of the mouth comes to, so to be sure you have the exact length and width, ( note: Check carefully the space between the bottom of the nose top of the upper lip and the space between the bottom of the lips to the chin). Great were getting close to placing everything, and then it’s all shading for tone and depth, Ok we need to locate the upper tip of the ears and the lower tip of the ear lobe on each side. and last but least the area they extend to(Note: like how far they flare out), then lightly shape it, then place the inner ear depth, and now the rim on the upper part on the ears, go slow they really make or break a picture, ( again no lines shading only)
Ok, we now have the frame of the lips, and were about to bring out your artistic talents with in you, in other words your going to give these lips life. Hey! It really going to be easy for me, but honestly very rewarding for you. If your a bit nervous and would like to have slight crouch around, I'd go to where you laid that Shading stick we bought. And just have it close by, just incase you need a little help in delicate areas. Ok well now move on to the hair again, because we want to finish the lips near the closing out of the portraits, because we won't accidentally smug it when doing other parts of the upper part of the Portrait final shaping and Shading.
Ok, lets carefully draw the hair, almost like drawing one hair at a time, till we have basically given our picture the feel, the hair has a sense of life, (note: don't leave those stragglers, they count in getting that realistic touch) ok, then lightly darken the area in the center of this shaping(Note: Now be careful here not to get any of that excess carbon on other areas of the drawing as you move both the paper and your hands around in the placing of the line strokes, again do not push to hard to leave an pencil indent mark into the paper or rub hard enough to damage the finish of the papers surface) great. Now then rub your finger lightly to spread the Lead evenly, then where it’s darker, add some more, and spread again, once the coloration is ok, lets touch up the lines again.
Ok, its time to pull the face edge down, remember the face is round and these edges are actually 6 or 7 inches back, so to give that impression, we must carefully build a shading line that is only about 1 inch thick but its a gradual thinning of the shading from dark to light shading, when you master this, you'll see a line when you know you didn't actually draw one. the drawing gives you all the areas of shading just slowly from the nose out duplicate all the areas of shading as close as you can to the intensity of dark out, again keeping in mind to avoid the areas of rise around such areas as Cheeks, Nose and eyebrows edges, and the thickest areas such as the rise of the lips and eye lashes Note:( we do them at the very last) ok, lets take that tissue we had for are hands palms, and kind of bush it up, Or buy a dust bag that cleans a drawing. Then carefully wipe ups excessive graphic on the paper by ever so lightly stroke over the entire face except the inner eye area and the center of the nose and high points of the check, basically the outer edges of the face line and the hair and body of the face as it drops back. Because that’s where we must mow go back and finalize our shaping with shading to finish the depth in our portrait. Great, were almost there, it takes about 6 hours to do a real good portrait, so don't get frustrated, if it takes longer with the first, and never, tear one up or toss it, even if its not what you would except as your finish work, that’s fine and ok to want perfection, that’s what makes great artist, but finish your works, even if you know your going to redo it, so you make all the mistakes to the last stroke and mark, on this one. ok now be care full to cover or drawing with something that wont move around as we go in for the final details. First the eyes, focus first on the picture then your drawing, transferring any detail that’s missing, like how the details of the marks around the retina, then the eye lashes and the tender flesh in the inner most part of the eyes closest to the nose, Double check the delicate shading in this area also, this is where those shading pencils come in handy. Ok now do the nose drops on the sides of the bridge of the nose (Note: This is one area, there is no line present in any form, just a drop by changing dark and light shading. Ok finalize the lips, basically the outer edges, note the appearance of a white like line around the mouth edges, and that darkening as it tucks I at both ends, and if there are teeth showing, you must also as you did the eyes keep lead off the white area of the teeth, here and here only that you can ever so lightly use the tip of your point to actually draw the teeth actual shape one tooth at a time, from the center to the inner part of the back teeth. And the shading here is only to be done by a paper pencil with a really fine hard point. Leaving the centers of the teeth gleaming white. Ok let’s check the chin, this area is very important, we must not lose the shape by not shading both the area under the chin as well as the chins curvature. This usually requires turning the picture up side down to do the chins curvature, and it’s equally important to note the indent in the chin where the lip curls into the chin, shading here is very important, you can over age or lose age if done improperly. Just as in the shading around the outer edge of the nostrils to the roll up edge to the cheeks. On the lips, we must capture those final lip edges and highlighted light spots; even the nose has a few, as the nose ever so slowly curves into the lower cheeks curvature. Now the forehead has a shine and shading that is a cast off at time of the shadows of the hair, check for those. and the shaping of the skull, is portrayed in the light and dark areas of the hair, noting that as the hair appears from the back where it dropped out of site its actually the darkest and thinnest line, an almost opposite of the sides of the face.
Ok were actually coming to a finish, we only need to keep looking at the picture and glancing back over our drawing, trying to catch those little things we might have missed, Its also good to know that a picture is best viewed at least 4 feet away. Well I'm sure as you continue to draw one portrait after another you will create your own unique style and who knows one day being doing this for others to learn from. Or so other artist can compare their methods to yours. Now don't limit your self draw everything and don't be afraid to try other mediums, like pastels, and water colors and finally Oil Painting abet slower but far more rewarding, to me personally. I love using the pallet Knife and too do Flowers and Landscapes, and my finest hours were spent drawing all the types of Trees and all the creatures of our forest and jungles. One will never get bored of all that art can bring before us. Good luck I hope that I have been of help to those of you is entering the magical world of personnel expression of art.
