Easy Corn Crafts for Kids
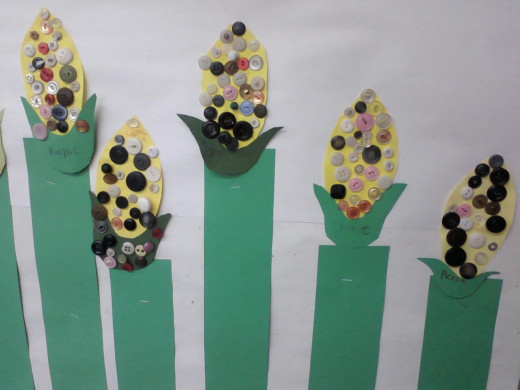
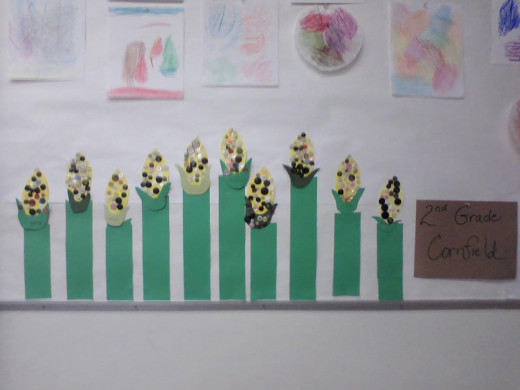
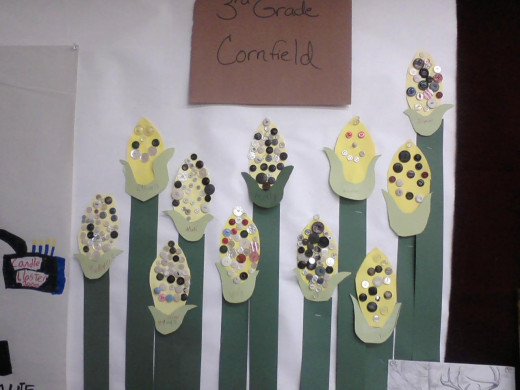
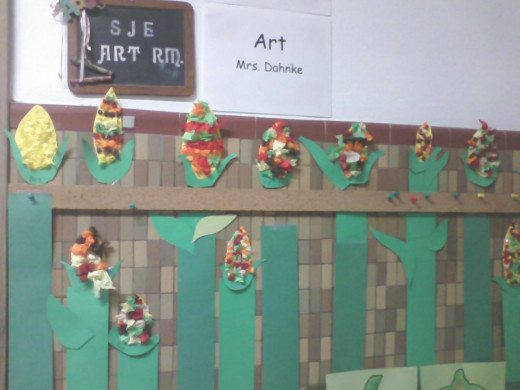
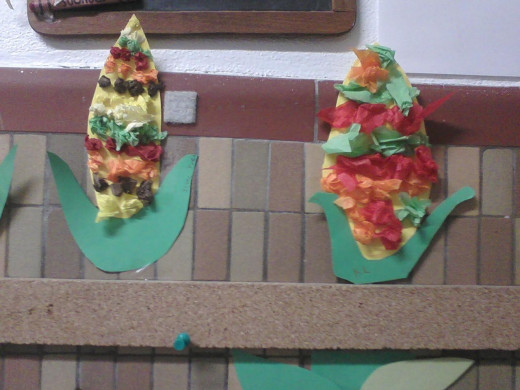
This is a fun fall project for elementary students. It's very colorful, whether you use buttons or tissue paper for the Indian corn kernels. Before starting the project, I discussed the art principle of pattern with the students. I talked about repeating patterns and random patterns. I had the older students use a repeating patterns for their kernels and the younger students use random patterns. Not all students wanted to do repeating or random pattern, and that was ok, too. They could choose to do each piece in their own way.
I did make corn templates for the younger student to use when for drawing out their ears of corn. They all had to cut their corn out of the construction paper by themselves. It is always a good idea to have some fine-motor skills practice for the students. I had the first and second graders use buttons for their kernels and had the fourth and fifth grade students use tissue paper for their kernels.
The fourth and fifth graders did have to draw their ears of corn by hand, I told them the variety would make the corn much more interesting. Which, of course, it does in my opinion. I allowed the younger students the use of the templates I had made, because they would have a more difficult time drawing out the ears and we may never gotten to put the kernels on the ears the same day!
I did have each student make a leaf to hold the ear of corn, too. This also helped give variety to the many ears of corn that we made.
Instructions
- I made templates for the ears of corn and the leaves for my younger students out of heavy stock paper. I varied them in size some so they would not all look exactly the same. The students traced the templates onto yellow and green paper and then cut them out.
- Each student had a bottle of Elmer's white glue and a pile of buttons to choose from. Some buttons worked better than others, if they were too raised or bumpy, it was hard for the glue to hold them on the paper. I had the younger students do random patterned kernels since the buttons were so varied in shape and size. The students glued the leaves onto the ears of corn with the glue also. Once they had glued on enough buttons to cover the ear, they placed the projects onto the drying rack so the glue could dry. I was able to hang them up after they had dried completely, this did take a couple of hours. I made long stalks of corn for the ears to perch on top of out of green construction paper. I placed some in the room and some in the hall as decorations/displays.
- The older students needed to draw their own ears of corn. I had a sample drawn on the chalkboard for them to look at as reference, but I did not let them use the templates. They are old enough to do a good drawing of an ear of corn. I did let them know that the variety would be good. There was some frustrations with some students thinking they could not draw these, but with some encouragement, they all did wonderfully.
- I instructed the older students to try making repeating patterns with their kernels of tissue paper. Most did, but some wanted to make random patterns and I am ok with that. After they cut out their ears of corn and leaves, they glued them together. Then they could get going making their patters of crumpled up tissue paper. I gave the students 4 x 4" squares of tissue paper in multiple colors and they ripped small pieces of that off for the kernels of corn.
- I had the students put the ears of corn on the drying rack so the glue would set properly after they completed their ears. I was then able to place them around the room on the stalks of corn I had made out of green construction paper. The art room looks really great!

