Easy Ornament Craft for Kids Using Crayola Model Magic
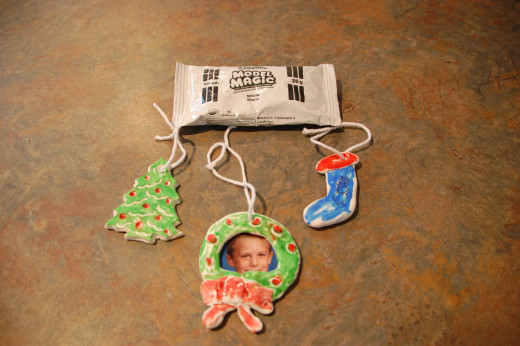
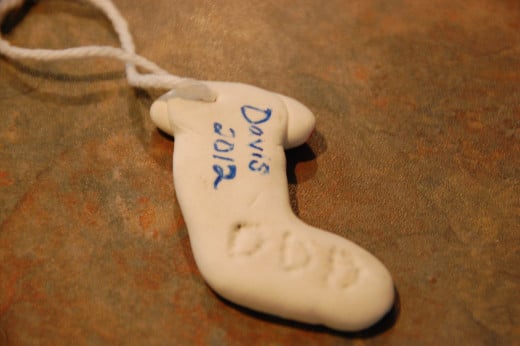
Crayola Model Magic is one of my favorite 3-dimensional materials to use with my students and my own children. It is so versatile and takes only a few days to dry. It can be molded into almost anything and can be colored with paint or finished even easier with markers. Markers also make for a less messy project. I have done this project with high school students and with grade school students. All ages love working with Crayola model magic. It is made by Crayola and comes either white or colored. I prefer using white so that the students can color the piece whatever way they would like. It also comes in a variety of sizes. There are two pound tubs available, 3 or 6 oz packages and 1 oz individual packages in the class packs that they sell. It is really not very expensive either. The colored model magic is very brilliant and bright and comes in a variety of colors. It air dries within about 24 colors and does not get flaky.
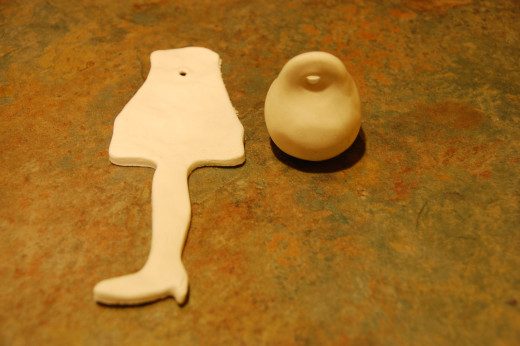
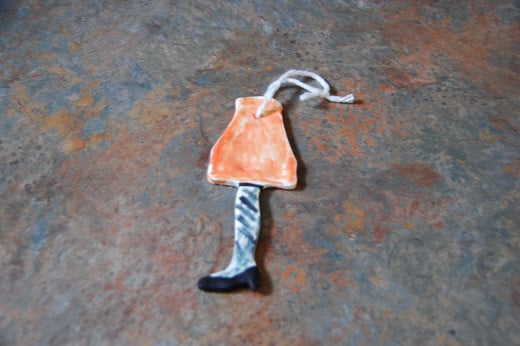
When I taught high school, I had the students create characters from the movie "A Nightmare Before Christmas" out of the model magic. We had watched the movie to put us in the Halloween spirit and the students picked their favorite characters to build. They painted the characters with tempera paint after they had dried. The classroom was decorated quite nicely for Halloween that school year.
This year, I decided to have my students make Christmas ornaments as gifts for their parents out of the Model Magic. I also decided to have the students color the ornaments with markers instead of paint, as I had done with the high school students. I do not have a sink in the classroom, so that makes using paint a bit more difficult. It is also much messier with grade school students. Markers just seem to work out better with grade schoolers.
Instructions
- Each student in my class was given an individual package of Crayola Model Magic. Each package was one ounce and allowed for at least two ornaments, some students were able to make six thin ornaments.
- I helped the students split each section into two or four pieces to start making ornaments. Then I had them make each smaller piece into a ball.
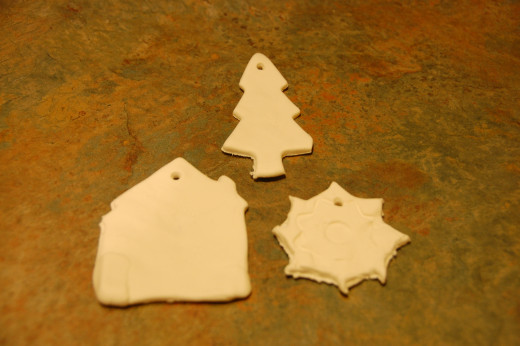
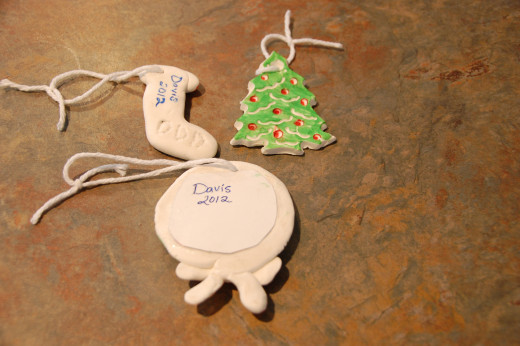
- I had cookie cutters available to cut the forms out of. These included wreaths, trees, houses, turkeys, and various other forms. The students could also free form build their ornaments. Some students built snowmen by stacking two or three small balls, some made snakes or coils and formed their own ornaments. I had the students keep the ornaments about 1/4 inch in thickness for best results. I then helped the students put a hole into the ornament for the yarn to hang it with.
- We let the ornaments dry overnight and the next time the students had class, we colored the ornaments in with markers. The model magic dough never gets completely hard, it is still able to be indented to a certain extent. It does break fairly easily, so I had the students "gently" color the pieces with marker. If the pieces do break, they can be glued with Elmer's white glue. I helped put yarn through each ornament hole so they would have hangers for the Christmas trees. You can use whatever color you have on hand.
- I also made some ornaments at home with my kids and placed my son's picture in one of the wreath ornaments. I just used school glue to glue the picture onto the ornament. My kids gave ornaments to their aunts and uncles and grandparents as gifts. Of course, these went over quite well as gifts and my kids were very pleased that they made something for everyone's trees.

