Easy Trick or Treat Bag Sewing Tutorial

Pattern Pieces

Monster Munchies
What's your favorite Halloween treat?
Instructions
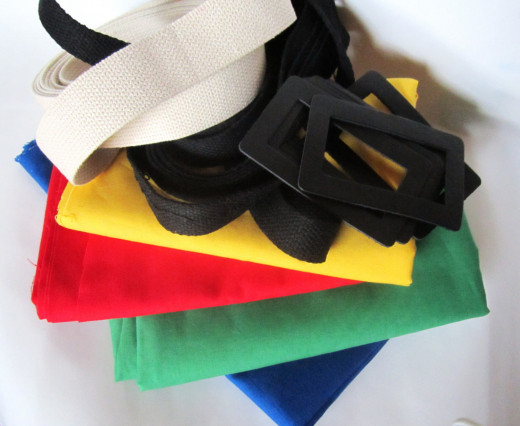
- Cut out your pieces. You will need two 11"x13" pieces from your outer fabric and two 11"x13" pieces from your inside lining fabric.
- Pin your right sides (the side of the fabric that will show) of your outer fabric together and then do the same with your lining fabric. Sew along the sides and bottom of each part of the bag leaving the top side open. You should have two separate pieces.
- Flip your outer fabric portion right side out so that it resembles what your tote will look like when you're done. Place it inside of your lining with right sides together.
- Position your straps around the rim. Tuck and pin them in between the layers. Make sure that the straps are not twisted inside as this will be very difficult to fix after the bag has been sewn shut.
- Pin all the way around the top of the bag.
- Sew around the top of the bag, starting from one of the straps, stopping about 4"-6" from your starting point, leaving an opening to turn your work inside out. Be sure to stop just after the last strap.
- Reach into the opening and grab as much fabric as you can. Pull the whole bag inside out and you will see what your bag will look like! There's only one last step.
- After pushing the lining into the bag and smoothing the bag into the right shape, top stitch around the top of the bag, tucking in the fabric at the opening and sewing it closed for a seamless look. Press the corners in and you've created your new trick or treat tote!
Tip
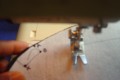
For a boxed bottom, pinch the corners of each piece so that it comes to a point with the seams together following Step 2 of the instructions. Sew across about an inch from each point and continue on to Step 3.