Tips to Improve Your Landscape Photography for Professional Results
Despite all the recent image enhancing technological advancements in digital cameras which have resulted in a whole host of additional user friendly innovations and functions that have recently been introduced to the enthusiastically receptive consumer market, for example, ease of use, multiple built in presets that allow the photographer to instantaneously program the unit to automatically adjust to the prevailing landscape or scenery, automatic stabilization features that can, if properly triggered, significantly reduce or in some cases virtually eliminate blur distortions and other distracting real time artifacts that might have otherwise ended up ingrained in the image forever, it appears as if many digital cameras of today, including some of the most popular and expensive makes and models, are designed, engineered, and manufactured exclusively for the purpose of capturing a raw, two dimensional essence of a real time live image. Regardless of natural clarity and in some instances, adequate color, most hot off the shutter photos still require a certain amount of post production fine tuning to achieve a more aesthetically appealing and professional level of depth, dimension, and overall brilliance via the use of high end, extravagant photo editing software such as universally acclaimed Adobe, or, your choice of any number of alternative, free, acceptable grade online programs that can be found with a simple Internet search and then downloaded, or, applied right in your browser.
In the current, ever evolving, light speed information exchange environment of online marketing, social networking, job searching, blogging, journalism, etc., the packaging, placement, and incorporation of digital photos in an effort to augment and emphasize your work experience, attributes, skill set, or casual, entertaining play moments is an essential element of every day interaction with the general public, and your creative boundaries extend to infinity as your imagination is applied to daily participation. Whether you are upgrading an existing resume to be electronically transmitted to several interested employer prospects, or snapping a few delectable digitals of a steeping deep dish of Baked Stuffed New England Lobster with a side of Oysters Rockefeller resting on the half, or, simply keeping a chronological online journal of your every day life experiences for posterity sake, image quality, placement, and topic friendliness are extremely important considerations. Considerations which can indeed create distance between your beloved images and the proverbial crowd. With this said, please read on to find some of my personal, possibly perceived as unorthodox, photography techniques highlighted below in "Part 1" of an ongoing series of educational articles.

>< LIGHTING
Creating the perfect man made artificial lighting or using mother natures unfiltered illumination to capture a natural iridescence from which to augment and highlight the scene, can be a tricky exercise in frustration at best, even for the seasoned professional. But now, with all the new built in advanced technological features, as previously mentioned, that typically come standard with many cameras on the market today, it's easier and much more efficient to create just the right ambiance by simply making the necessary manual adjustments, or, utilizing the cameras automatic features that are integrated within the unit itself to effortlessly achieve the desired settings and results. These automatic adjustments are designed to magnify the complimentary aspects of any given lighting condition and mitigate undesirable elements. Although not perfect, they can indeed work as your friend to capture the perfect mood.
Many cameras on the market today come partially or fully loaded with a whole host of scene enhancing presets already incorporated and ready to use with simple button trigger operation which can provide the photographer, if he or she takes the additional time to become acclimated with the convenient time saving features, with swift, easy, fingertip access to pre-programmed commands that signal the camera's internal mechanisms to immediately adapt to just about any real time situation. Simply press the button that corresponds to the specific backdrop or general scene your subject is engaged in, such as candlelight, night time landscape, sunlight, sunset, snow scene, etc., and the camera's built in sensors will automatically adjust to precision for seamless photo taking. No more long drawn out lamp placement trial and error to find just the right angle as was the case "Pre-Digital", or waiting patiently for the sun to maneuver a few inches in any given direction, in most instances you can now just simply point and capture. But you must thoroughly explore your cameras capabilities to take full advantage and produce the best quality images.
In addition to user friendly camera features, the advent and mass distribution of relatively inexpensive editing software programs that are designed exclusively for the artist to manipulate and mold images subsequent to taking the photo in post production, even the most severe lighting issues can usually be remedied with a few strokes of the computer keyboard. So just relax, frame the subject, utilize a preset if necessary, maintain a steady hand, and let the camera do the work for you.
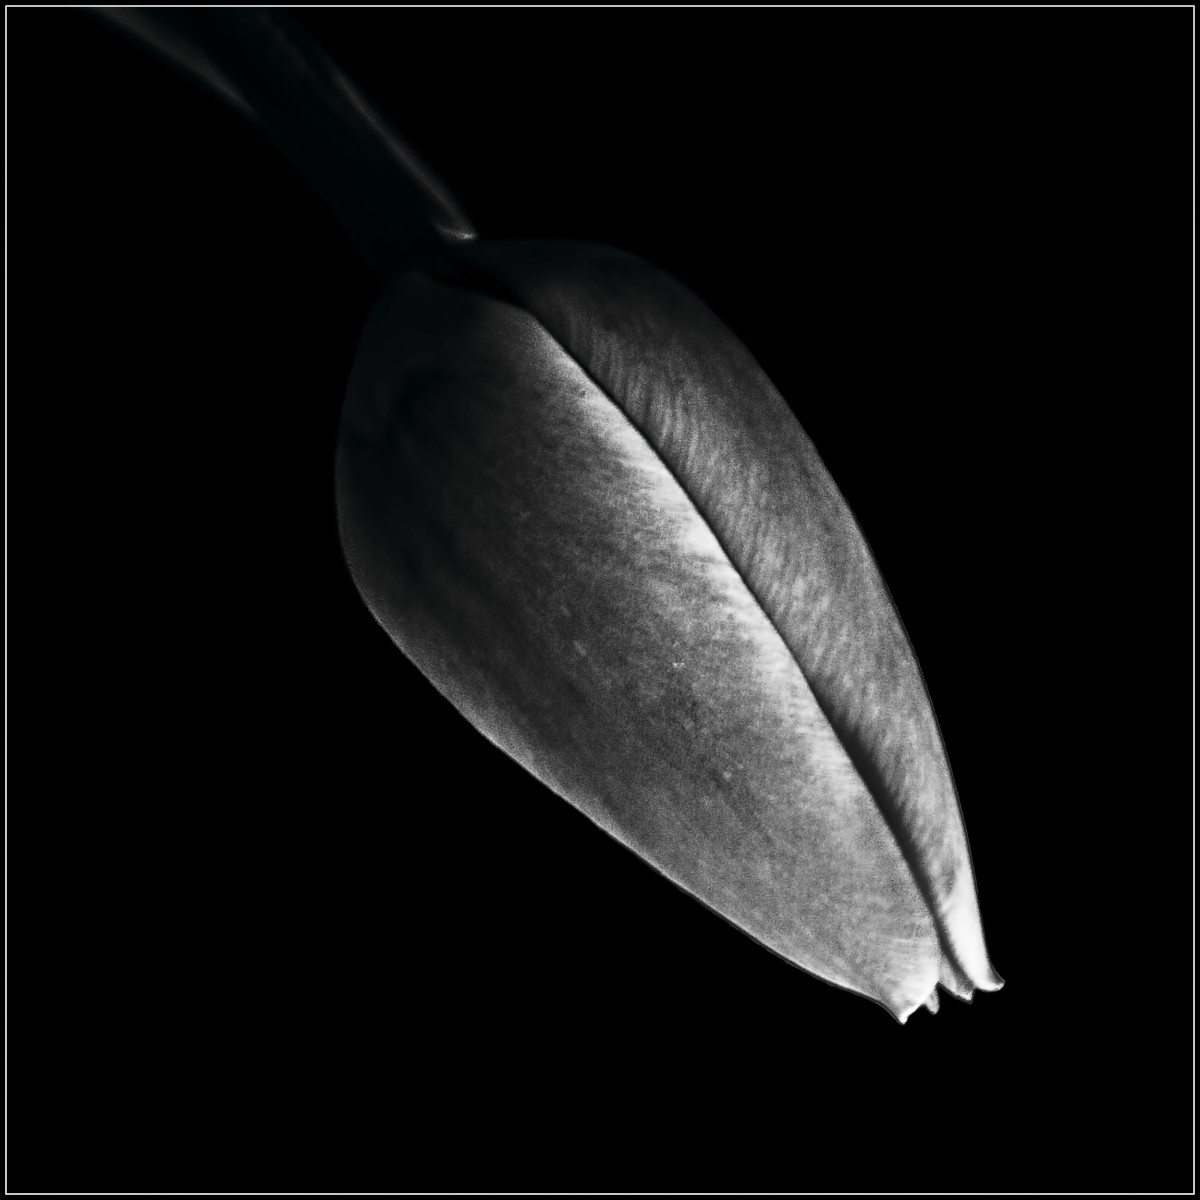
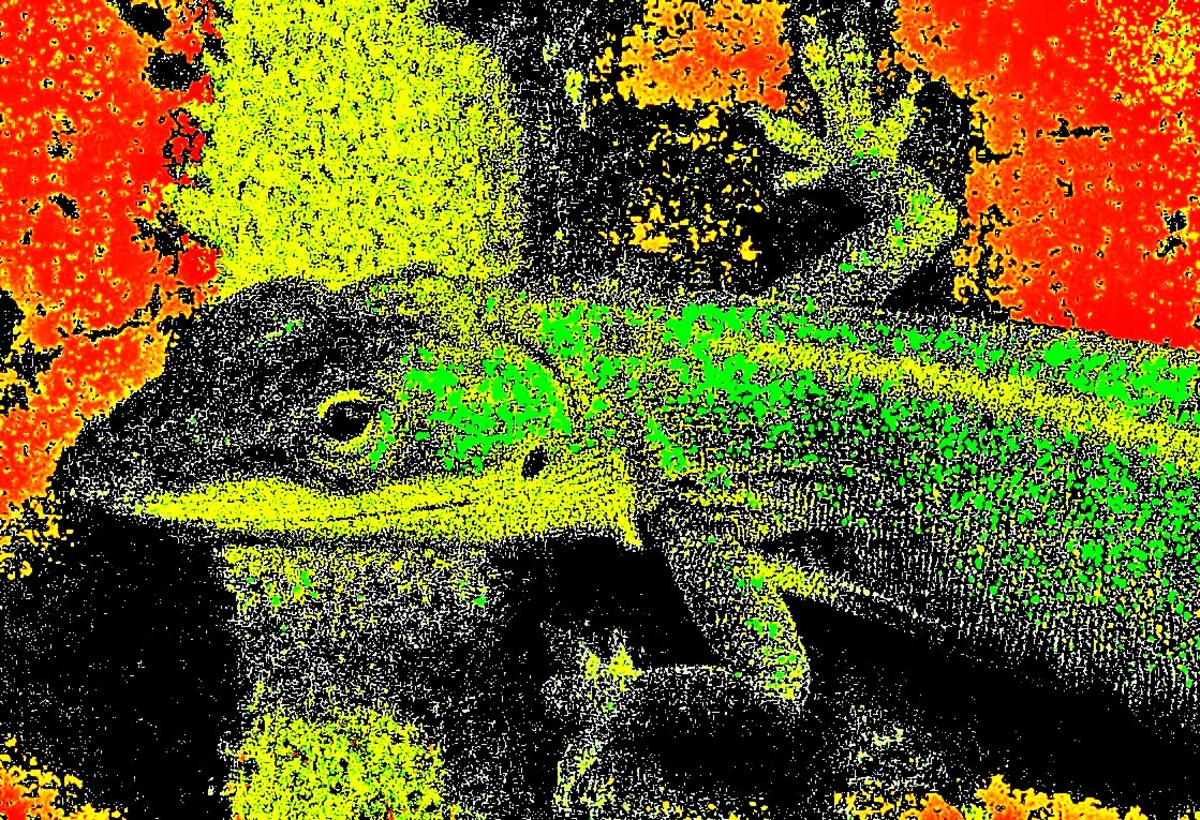
TIP - When a camera's battery begins to "De-Energize", a typical consequence realized with many current models is the unintended production of photos that exhibit the appearance of extremely low lighting or exposure. The subject matter is almost invisible to the naked eye which usually results in the deletion of what appears on the surface to be a wasted frame. On the contrary, you should preserve the photo along with all the keepers and try using a good quality image editor to increase the lighting level which can if properly induced, miraculously transform it in to a distinctly original picture. Experiment with all standard "Lighting Applications" such as "Brightness", "Lightness", "Contrast", and "Curves" to determine which works best. This in conjunction with standard editing enhancements can indeed transform a previously designated "Throw Away" in to a uniquely surreal centerpiece gallery image -
|
|---|


>< IMAGE STABILIZATION
Universally understood as an essential element of producing the sharpest images possible. Unless you routinely use a tripod, which is unquestionably the best way to ensure maximum camera stability and subsequent precise focus while reducing or even eliminating blur or other distracting artifacts when taking a picture under any atmospheric condition, it is absolutely essential that you hold the camera as firmly and steady as possible for at least 5 seconds prior to snapping the shot so the internal mechanisms have ample time to fully focus on the subject, and then continue to hold steady for at least 5 seconds subsequent to snapping the picture to ensure an interruption in exposure does not occur which can cause minor to significant distortion. Employing this technique is especially beneficial when activating a zoom lens feature which has the tendency to magnify even the slightest unintentional twitch or movement due to significantly increased sensitivity to the touch.
Even though I virtually cringe when merely suggesting the use of a tripod, mainly because of my unwavering dedication and conviction as it relates to a "Hands On", natural, and totally infused approach to my art, and instinct reminds me daily that the use of this piece of factory made stabilizing equipment just seems like cheating, or can create the psychological perception of a diminishment of the invaluable spiritual connection a photographer has with his/her work, I will somewhat reluctantly concede the fact that using this three legged anchoring devise is absolutely essential when zooming in on a subject. Especially if your primary goal is to create the best possible image clarity. The novice or intermediate level artist will find it particularly useful.
- Depending on the type of camera used and how steady your hands were prior to, and during the photo session, once these steps are implemented and completed, I think you might be pleasantly amazed to find how much cleaner, crisper, and sharper the image appears after simply applying an exaggerated basic fundamental technique such as exercising discipline necessary to remain completely motionless for an extended period of time. An exercise which of course does take just a little more time, concentration, and patience to hopefully achieve more satisfactory results. A relatively insignificant investment for potentially substantial reward -
When I first began to immerse myself in the fine art of photography as a hobby, I initially endured several painstaking months trying to figure out why the quality of my images did not appear to be quite up to par when compared to photos taken by fellow artists who used similar, or in some cases, the exact same model digital camera. After analyzing and evaluating my technique out of curiosity, both pre and post production, I discovered that there was indeed a primary distinguishing factor that seemed to separate the sharpness of our respective images by a considerable distance. This defining element is commonly known as basic blur. Discovering the main reason why my photos seemed a little more out of focus in comparison to others ultimately led me to develop my own simple, yet very effective and possibly unorthodox remedy as a result of a few hours of trial and error.
The following image stabilization technique I developed early on in my career turned out to be an invaluable, easily applied solution to 90 percent of my blur issue. Simply exercise patience and take your time, aim the camera toward the subject, hold firmly or use a wall or fence as support to anchor your hands and arms, steady the unit for at least FIVE seconds before you even place a finger on the button trigger, wait for the audio or visual focus signal, check the LCD for precise focus, then depress the button to initiate picture exposure. Then, wait at least FIVE seconds after this final step before moving the camera, even if the picture appears on the LCD screen. Now you're done. Take the photo and compare to another frame in which the technique was not applied and I can assure you this attention to detail and slightly prolonged process can make a significant difference in image sharpness.


<> NEXT INSTALLMENT Part 2 - Photographing Food & Editing / Post Production <>
|
|---|

To my rapidly growing and expanding international & domestic audience of students, loyal readers, first time visitors, friends, acquaintances, & peers, I sincerely appreciate your overwhelming number of E-Mails, Correspondance, & Comments - I will continue, as I have in previous years, to provide my highest quality work via web based contributions as we move forward and progress together - I hope you found this information beneficial as we venture on with our quest for - PHOTO EXCELLENCE -
|
|---|
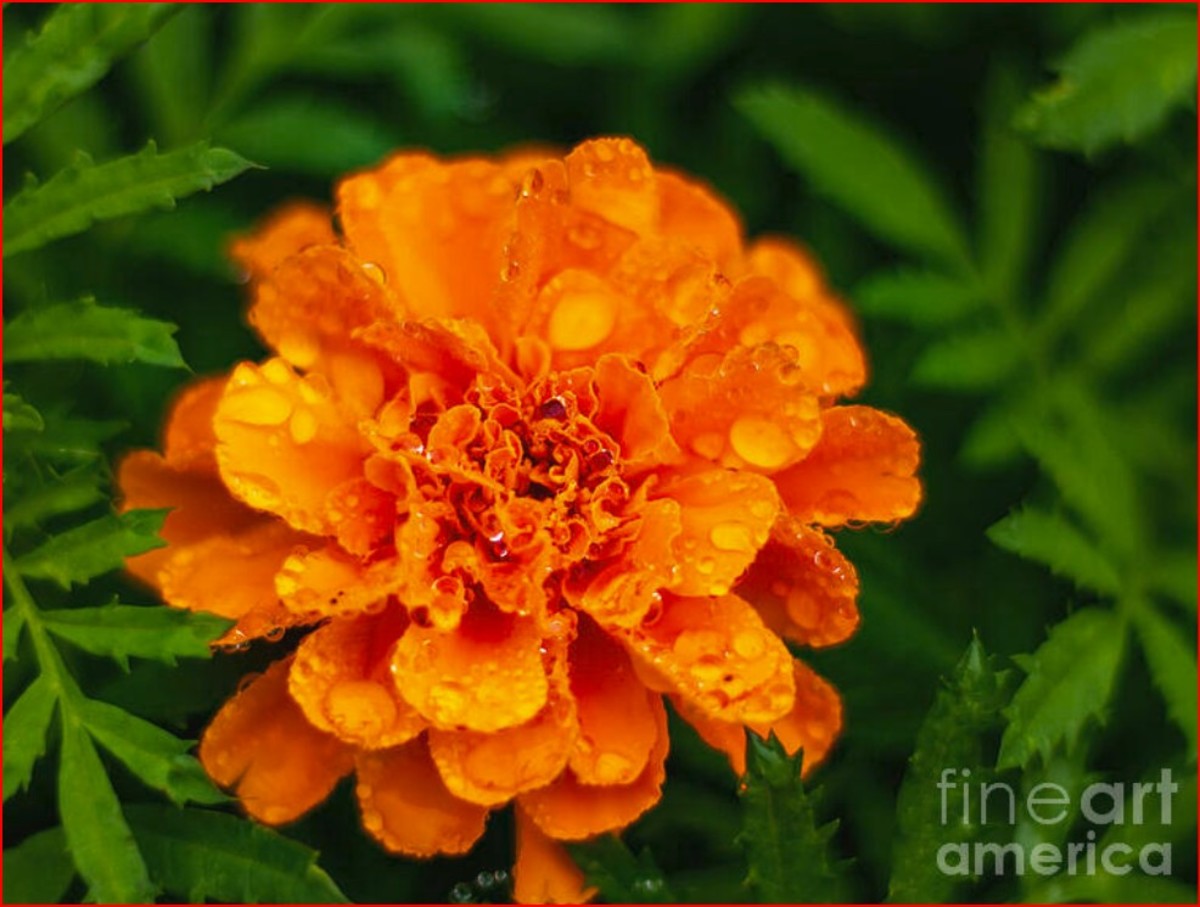
NOTE: All photos typically experience a slight to moderate degradation in overall quality as a result of simply uploading to a web site. A slight but noticeable blur in the images on this page has occurred as a result of the uploading process - Applying the "Unsharp Mask" tool in a standard photo editor can sometimes solve or mitigate this problem - To prove a basic point that the editing process is just as important a factor in creating a quality image as the camera itself, the above photos were produced with a relatively inexpensive camera sporting a retail price tag of $100 -
|
|---|

<> Conceived * Designed * Developed * Written * Created By Alternative Prime <>
|
|---|
<> Exclusive * Original * Images Created By Alternative Prime <>
|
|---|

- "Read & Experience" more highly acclaimed literary and visual imagery by this Writer * Photographer * Author * Publisher * - Click "Alternative Prime" next to avatar at top of page -
|
|---|


