4 Tips for Amateurs Learning Photography
Tip #1: A Quality Photo Isn't a Product of the Camera, but the Photographer
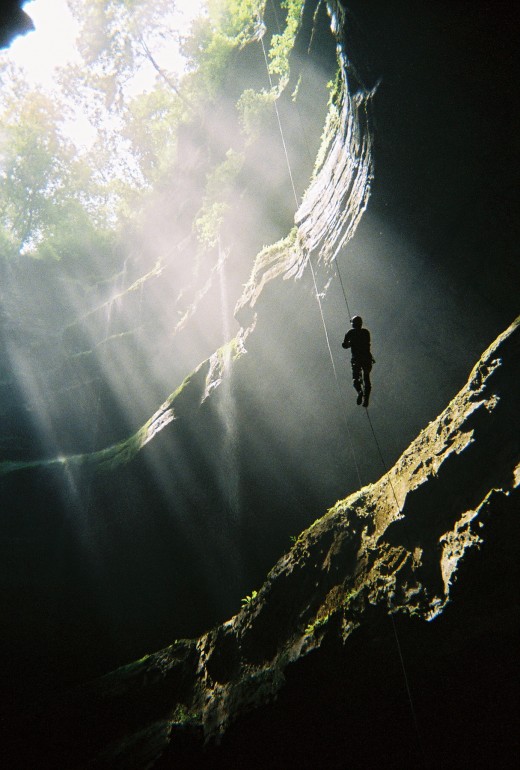
Before a caving trip, I picked up a 400 ISO 35 mm camera because I didn't want to risk damage to my 'real' camera. Surprisingly, that camera produced one of my all time favorite shots and I actually liked the grainy effect so much that I had it put on canvas. The lesson here for amateurs is that just because a photograph isn't a 'perfect' photo, that doesn't mean it isn't a worthy photograph. As an example, that same grainy photo taken with a disposable camera later sold online.
The downside to disposable cameras and low grade cameras; however, are low megapixels. The lower the mega pixel, the more quality you sacrifice when blowing images up and while a high quality camera is important, it is not imperative for most uses. Today we are so spoiled that we cannot accept less than 9 megapixel shots or higher in mainstream photography without considering them substandard. Big is better! Even I-phones are taking higher quality shots.
If output quality is your concern, then generally speaking you need a 4 megapixel to get a good 8x10 print, a 7 megapixel to get a good 11 x 14 print, and higher if you want poster sized prints. As I learned, even disposable cameras still make GREAT 5 x 7 and 8 x 10 prints.
What Camera to Buy?
What I learned from my first exposure to a digital cameras (get the pun?) is that the quality of your photography is radically affected by your understanding of how to operate your camera. Features range from relatively simple to extraordinarily complex, so shop for a camera that suits your needs. Your choice for camera hinges largely on what you expect to do with the photographs. Some amateurs want to try and sell them online. Some simply want to build a collection for private use or for posting on Facebook.
If your intent is to try and sell photos online, you will want to make sure your camera is a digital lens single-reflex (DSLR). A mirror inside the DSLR permits you to see in real time what you are about to shoot on a viewfinder. They also have an autofocus mode which enables you to let the camera do the guess work. This may seem counterintuitive to learning how to use your camera, but you can learn a lot about how to set ISO, aperture, and f-stop from seeing what your camera's autofocus thinks is best. Simply review the camera's options in photo properties and tweak the settings accordingly in future photos.
Whatever camera you buy, be patient with it. I purchased a DSLR camera (mainly for the zoom feature) which I mistakenly thought I could learn to use overnight. After several months of trial and error, and many more months of bad shots, I finally conquered this camera such that it affords me decent shots of the quality online photography sellers want or require without having to change lens (something this amateur doesn't aspire to get into). As a side note, if you want to learn about the quality expected from online stock photo companies, reviewing the requirements of online stock photo companies in and of itself is a great education in photo quality.
Tip #2: Understand the Difference Between Shutterspeed, ISO, and Length of Exposure
Among your digital camera's features, you will find ISO, f-stop and aperture but it's important first to understand how your camera responds to light and movement. For instance, there is a difference between ISO, shutter speed and overall exposure. It is important to distinguish these three features as follows:
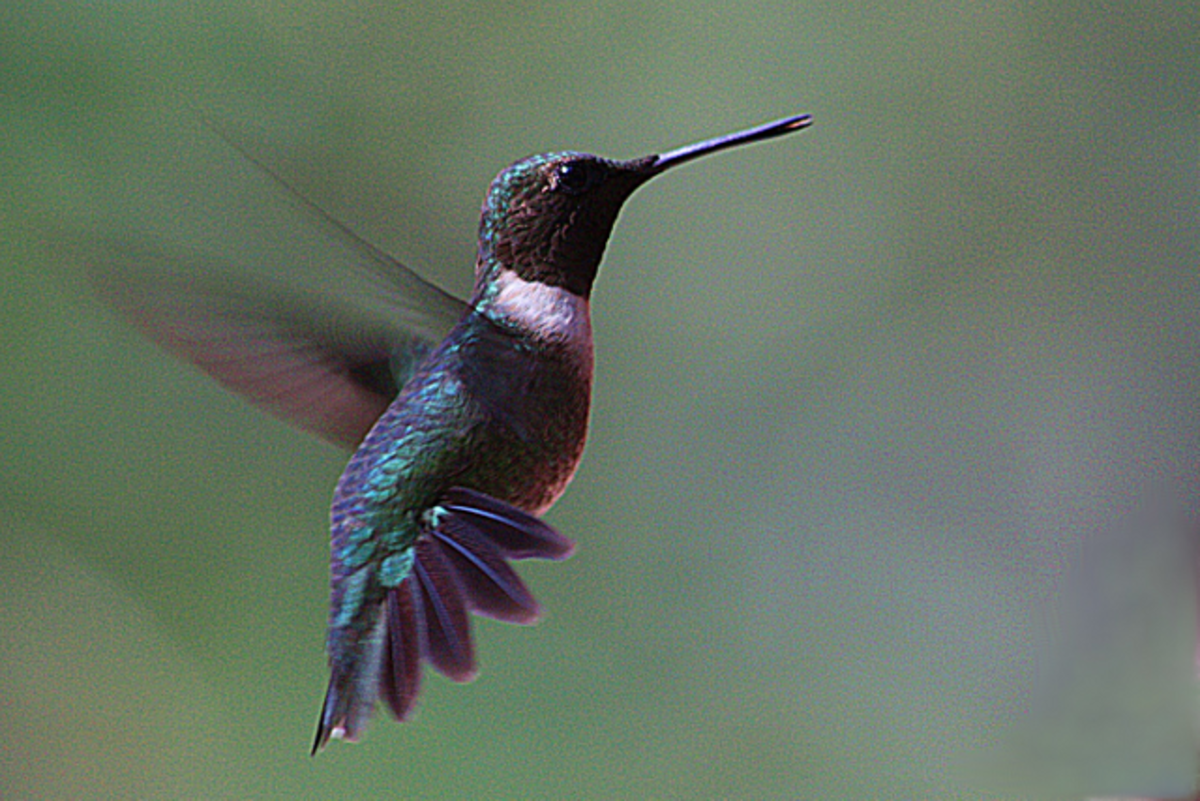
- Shutter speed refers to the length of time a camera shutter is open; thereby, allowing light to reach the camera's sensor. It can literally range from milliseconds to minutes. The shutter speed is read as 1/2000 seconds, 1/400 seconds, 1/20 seconds, 2 minutes, 10 minutes and so on. The higher the number of seconds, then the higher your shutter speed. For instance, 1/500 of a second lets in half as much light in as 1/250 of a second. A fast shutter speed has the affect of freezing motion. Slower shutter speeds require minutes and require a tripod. A slow shutter speed has the affect of blurring motion, capturing water or cloud movement, or freezing moving light among other creative uses. DSLR cameras; however, have limits on shutter speed, most going up to 30 seconds.
- ISO indicates how sensitive the camera's image sensor is to the amount of light present in the environment where the photo is being taken and can range from less than 100 up to 3200. You may read confusing information about ISO, but the bottom line is that a lower ISO means the camera's sensor is is receiving more light and a higher ISO means the camera's sensor is receiving less light. In other words, the lower the ISO, the brighter the image; and the higher the ISO, the dimmer the image. ISO and shutter speed are directly related to one another, that is, they each have an impact on the other. A good ISO for sunny days is 200. An ISO of 400 is twice as bright as 200 and so forth but you don't necessarily need to increase your ISO if you are able to brighten your photo with shutter speed or aperture. The reason being is that if the ISO is too high, the translation can be a lot of grain or noise in the photo.
- Exposure refers to a combination of all things that affect the camera's sensor to light (including f-stop which will be mentioned shortly). It is the length of time as well as how well lit the material being photographed is. The slower the shutter speed, the longer the exposure will be, while the faster the shutter speed, the shorter the exposure will be. F-stop and shutter speed are used to achieve exposure.
Understanding these concepts can be daunting until you begin taking action shots, nighttime shots, or shots involving a tripod. Practicing on waterfalls is an excellent way to see the differences in outcomes between faster and slower shutter speeds. You can also use times like dusk and dawn to help you learn ISO.
Generally speaking, use 1/30 seconds or a higher shutter speed for night shots but this will require a tripod. Note that using 1/15th to 1/30th second can be used with image stabilization but this is close to your limit without a tripod But there are dozens of opportunities to take shots without a tripod.

- What is Shutter Speed? | Photo Lowdown
This link contains a great shutter speed cheat sheet in the event your camera doesn't come with one.
Tip #3: Understanding Aperture and f-Stop
Maintaining control of your photographs requires balancing ISO, shutter speed and last but not least, aperture. Aperture has been referred to as the pupil of your camera and controls how much light passes through the lens. It is the size of the opening in your camera's lens. It is important because it adds dimension or depth of field to your photographs. It can be the difference between a blurred background and very sharp focus. It can also affect exposure, that is, how bright or dark your photographs are. Aperture affects all photographs and all aspects of photographs whether day or night, slow shutter speed or fast.
Aperture can be referred to as wide or narrow (large or small) and its size is measured using the f-stop scale. So while the term aperture and f-stop are sometimes used interchangeable, the f-stop actually tells you how wide (or narrow) the aperture is. The aperture scale is written as f/1.4, f/2, f/2.8, f/4, f/5.6, f/8, f/11, f/16, f/22 with some third stops in between. Yes, there are full stops, half stops and third stops. An f-stop of 1.4 will allow the most amount of light while f/22 will allow the least. Consequently, as the f-stop increases, the aperture of the lens decreases meaning that it allows less light. If you change an f-stop of f/2.8 to f/5.6 your image will have four times less light.
There are some great cheat sheets for photographers online. Simply google "photography cheat sheet" and click on Images. Among them, you will find a cheat sheet for aperture that indicates how aperture affects not just light, but blur. For instance, a narrow f-stop like 2.8 may allow blur while wider f-stops like 8.0+ can result in crisper detail in both the foreground and background.
Tip #4: Color, Balance, and Composition
Color
Color isn't always what you see. That sounds like a deeply philosophical statement, but it's a fact that the human eye cannot detect all of nature's existing colors. Moreover, your own interpretation of color and your camera's interpretation of color are two different things. It will be up to you to manipulate your camera's features into achieving desired color outcomes. Practice on the same sunset but practice fast since they don't last long! This exercise will help teach you the nuances of color. Even when using pre-programmed settings like monochromatic or vivid color, it is your use of shutter speed, ISO and aperture that will help you achieve the results you are looking for. In a sunset, oranges can quickly turn to pink when the photo is processed although they appear brilliantly orange in your view finder.
Another thing to consider when learning color concepts is raw versus jpeg. Your digital camera will be automatically set to take jpeg or .jpg photos but you will have even more control over color if the photos are shot in raw format. In fact, raw photographs give you more control over the entire end product AND increases the megapixels! If you ever intend to submit stock photos, this feature is important. Some cameras even allow you to take both raw and jpeg photos of the same image simultaneously.
Balance
The term 'balance' is misleading because sometimes balance is not 'balanced' at all. For instance, balance can be asymmetrical. There is symmetrical balance, asymmetrical balance, radial balance, allover balance and more. Your subject matter will help you determine balance. For instance, if you a shooting a bird with a reflection in the water, you're striving for symmetry. But if you're shooting the inside of a nautilus shell, it's important to note that the human eye will be drawn to the center. Consequently, composition and orientation become important aspects of your photograph.
Composition
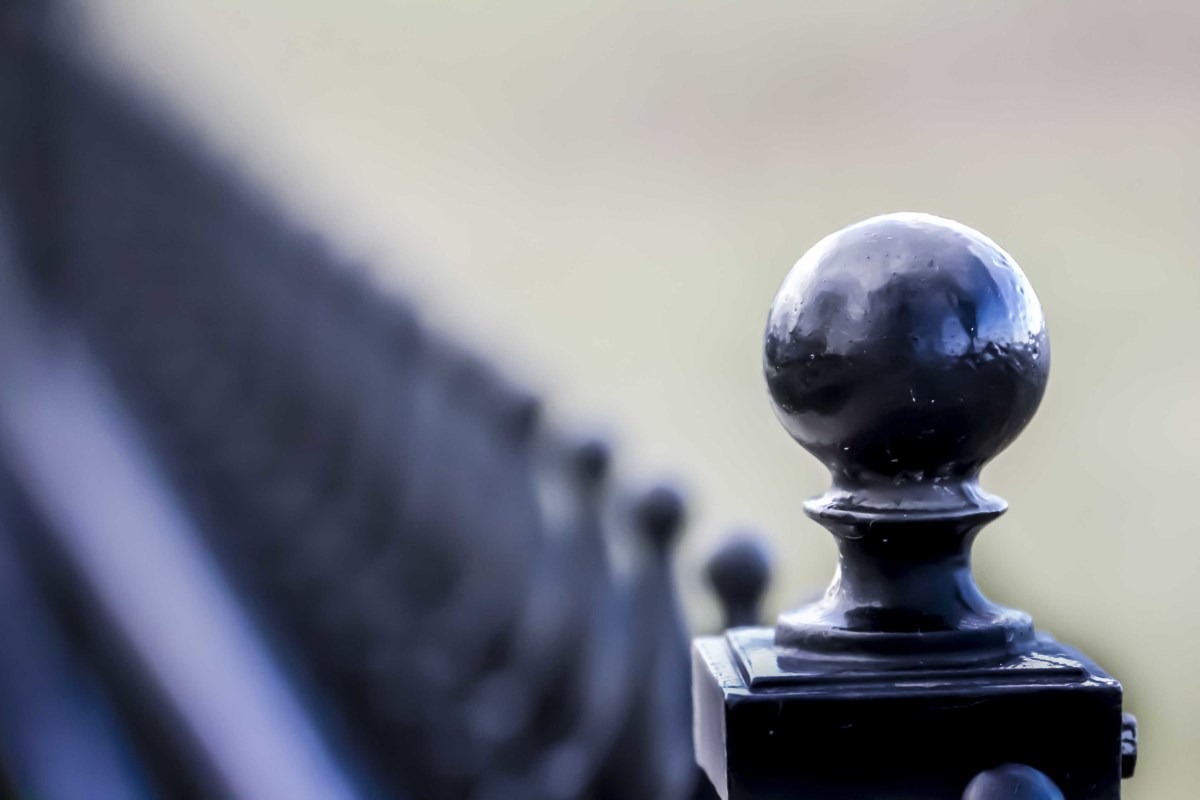
Composition and the orientation of your subject matter control the visual flow of your photo. It guides the human eye through the picture as though one were behind the lens with you when the photograph was taken. You can shoot upside down, diagonally, vertically, horizontally, standing on a roof, lying on the ground, wading in a river, diving from an airplane, and so on. The only limit is your physical ability (or courage) and creativity. For instance, imagine or practice taking a photograph of a line of cars or flags from every possible angle, including diagonally. Each angle from which the photo is taken directly affects the result. Interestingly, diagonal images will always appear heavier than vertical or horizontal images.
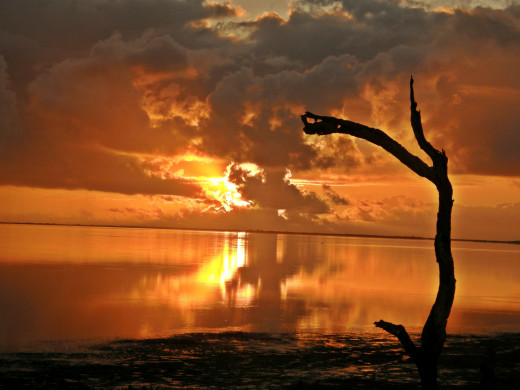
There are numerous tips to composition espoused by professionals though a good eye instinctively knows them. They include using contrasting colors, eliminating clutter or simplifying your focus, creative framing, using leading lines, creating depth of field, knowing when to use symmetry or asymmetry, etc. But the most important rule to composition is the Rule of Thirds. This rule assumes that the primary subject is within the 1/3rd mark of the photo which has the affect of giving more emphasis to your subject despite the background. For instance, in the sunset photo shown below, the eye is drawn to the stump in the left 1/3rd of the photo.
Did you find some helpful advice here for amateur photographers?
This content is accurate and true to the best of the author’s knowledge and is not meant to substitute for formal and individualized advice from a qualified professional.
© 2009 Vicki Carroll
