- HubPages»
- Arts and Design»
- Crafts & Handiwork»
- Textiles
Free Pattern: Square Crochet Owl Hat

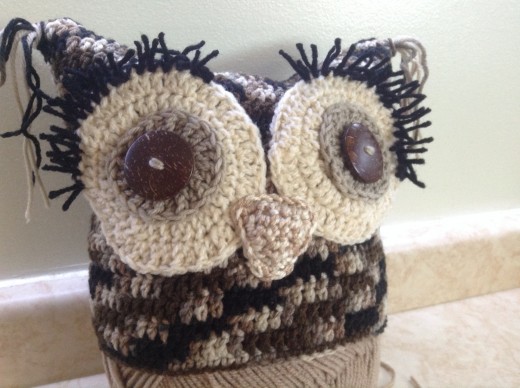
A little while ago, I was asked to crochet an owl hat for a friend's adult daughter who volunteers at a bird sanctuary. This friend raided her many bags of scrap yarn and handed over some very owl-like colours and I got to work.
In the past, I've always crocheted a beanie hat and added the eyes, beak, etc, but this time, I wanted to try something different. I like the look of the square hats and, let's face it, I hate making the ears for the beanie hats.
Two birds, one stone, right?
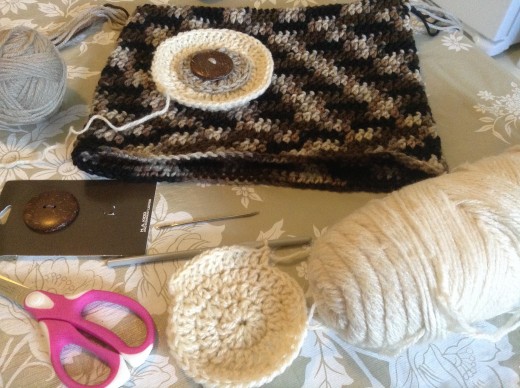
You will need
As with most crochet projects, the list of supplies is short and inexpensive:
- yarn (left-overs, scraps)
- a crochet hook, sized to suit the yarn
- scissors
- yarn needle
- two buttons
The Square Hat
This square hat is made by working in rounds.
Start by chaining enough to fit around your head. Join, being careful not to twist the chain.
To start the next round, ch 1 and then start what I like to call gradient stitches. I have no idea what the "official" term would be.
By gradient, I mean that you can't start doing double crochets right away. If you do, you will work the round and not have a clean "step up" to the next round.
To solve that problem, you'll do that ch 1 that I mention earlier and follow it with a SC, then a HDC, then a DC. A small stitch to a medium stitch to the full DC that you'll be working around in circles.
Continue working in rounds (a DC in each stitch) until the hat covers the top of your head and you feel that you can pull two sides together.
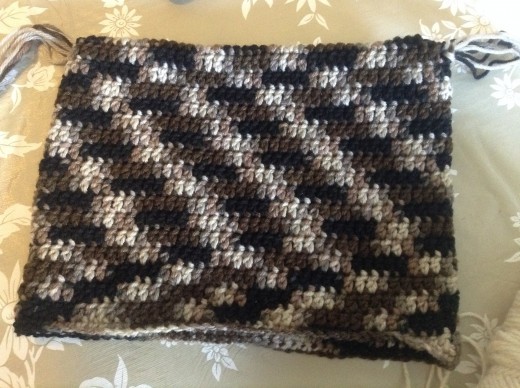
Do not tie off or cut your yarn. Now turn the hat inside out and lay it flat on the table, making a square. Join the top together with SCs. Cut your yarn and sew in the tails.
Turn the hat right side out again.
Ears
The ears are ready-made because of the square shape, but I like adding a few threads of differing lengths.
Eyes
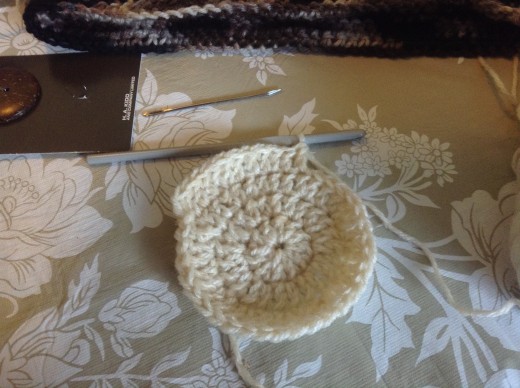
The eyes are made as flat circles, like the top of a beanie hat.
Round 1: ch 3. Add 11 DC into the first ch hoop. (12)
Round 2: ch2. Add a DC into the same stitch. Follow with DC x 2 into each stitch around. Join. (24)
Round 3: ch 2. Add a DC into the same stitch. DC x 1 in the next stitch. Then DC x 2 in the next stitch. Alternate between DC x 2 and DC x 1. Join. (36)
Round 4: ch 2. Add a DC into the same stitch. DC x 1 into the next 2 stitches. Follow that pattern of having DC x 2 in one stitches and then the next two stitches only having 1 DC each. Join. (48)
Leave a long tail to sew the eye to the hat.
I added a smaller circle in a different colour. That circle only had two rounds instead of four.
Add a pretty button on top of that. Sew the eye pieces together.
Eyelashes
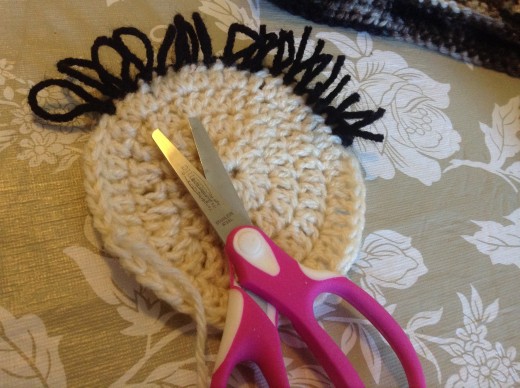
I'd like to say that the eyelashes were tricky but they're really not. I made these using the loop stitch, which I learned but studying this video (Thank you, June!) and this video.
I did 18 loop stitches along the outer edge of each eye.
Then I snipped each loop with scissors.
Beak
I was never happy with the usual crochet beak design of using gradually bigger stitches to form a triangle (SC, HDC, DC, TC), so I went looking for an alternative. I found it at crafterchick.com:
Round 1: Using your orange yarn (or desired beak color in this project) ch 6. Sc in the 2nd ch from hook and next 4 ch. Ch 1 and turn. (5 sc)
Round 2-4: Sc in second st from hook, skipping 1st st in each round, placing 1 sc in each of the following st. Ch 1 and turn at end of round.
Round 5: Sc in remaining st. Ch 1 and turn.
Round 6: Make 1 sc in each st around the whole perimeter of your beak, placing 3 sc in each of the two top corners and beak tip point to give it a more defined plus rounded look.
Cut yarn leaving a long enough tail to have enough yarn to sew the beak securely on to the hat. Put aside until ready in finishing off stage.
It turned out much better than previous beaks I'd made. It was a bit fatter, a bit wider and just plain prettier.
Assembly
Lay the hat down and lay the eyes and the beak out where you'd like them to be, pinning them in place if you like.
Using the long tails, sew the eyes into place.
Using the long tail, sew the beak into place. For a "puffed up" look, stuff the beak with leftover yarn before you finish sewing.
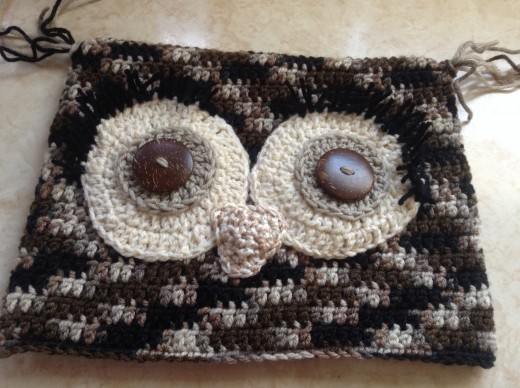
Final Thoughts
As with every project, I learned a few things and I would change a few things if I could.
For me, I placed the eyes and the beak too high up on the hat. It looks fine laying flat on the table but the eyes are hard to see when the hat is on my head. Lesson learned.
You might like to try placing the eyes while the hat is on your head.
