Fun Fall Leaf Projects for Kids
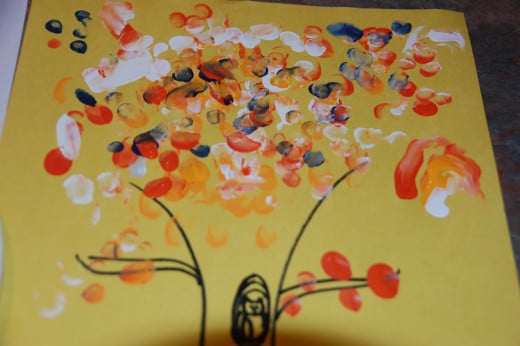
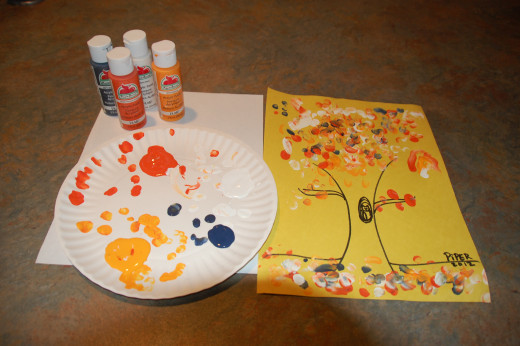
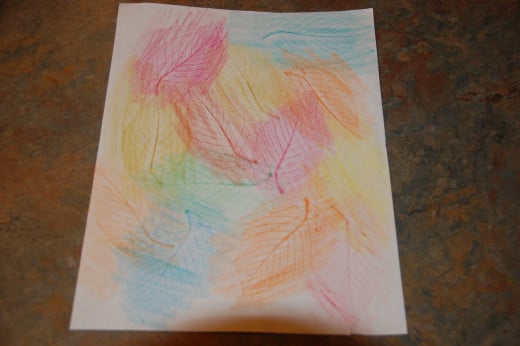
I love teaching in the fall! There are so many different fall art projects to make with kids that the hardest part of teaching in the fall is choosing which projects the students will complete. So far, my students have made a variety of fall leaf projects, including a tree using the student's fingerprints in fall colors for the leaves. We have also done leaf rubbings using crayons and oil pastels on white paper and coffee filters. I plan on making leaf suncatchers with the students, too. I have done this at home with my children but not in the classroom yet. This particular project is a bit more involved so I am trying to adapt it to the classroom better. I only work one day a week in the school, so two-part projects are a bit difficult to accomplish. Some of these projects use real leaves, some do not, but they all make beautiful fall art in the end. Everything can be used as fall decorations in the years to come by the student's family.
Instructions
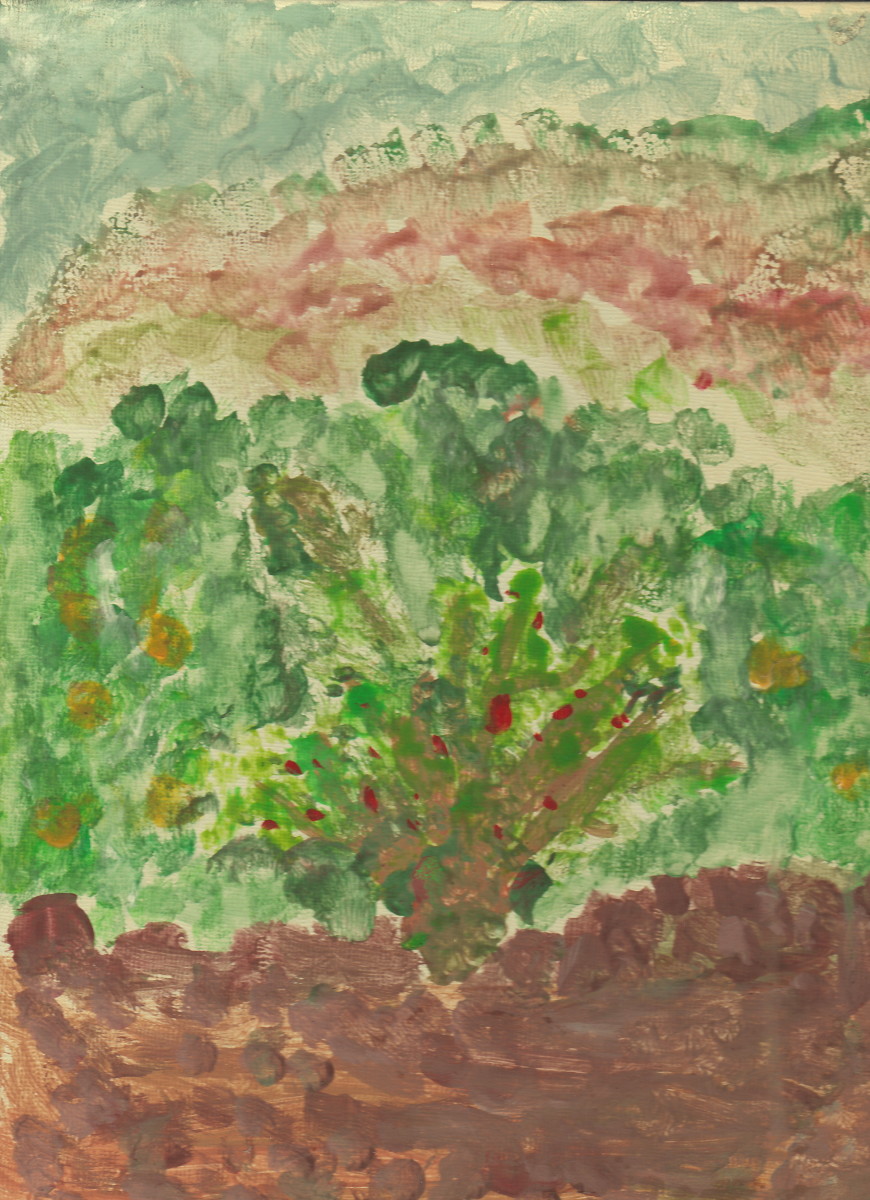
- The fall leaf fingerprint tree uses acrylic craft paint in fall colors. I had the kids just dip one finger in the paint to keep the mess minimal. I had drawn the tree trunk with a sharpie for the younger grades. The older students drew their own tree trunks with markers, and again I had them use paint on only one finger. They washed their fingers in between colors and put the leaves wherever they wanted on the page, they turned out so colorful!
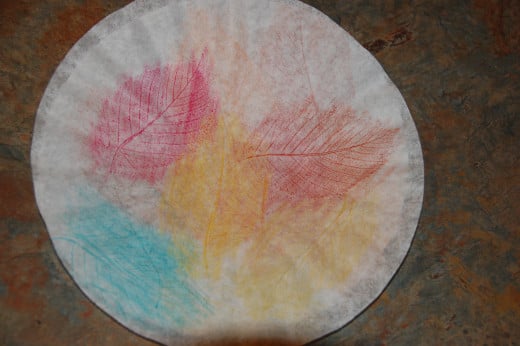
- For the leaf rubbings, I brought in a variety of freshly fallen leaves for the students to do the rubbings off of. I had the younger students do their rubbings on white paper and the older students used coffee filters. These were a bit harder to work with, so I only had third, fourth and fifth grade use these. They also did rubbings on both sides of the coffee filters. I plan on hanging some of these with fishing line from the classroom ceiling before letting the kids take them home. The younger students used crayons for the rubbings and the older students used oil pastels to make theirs.
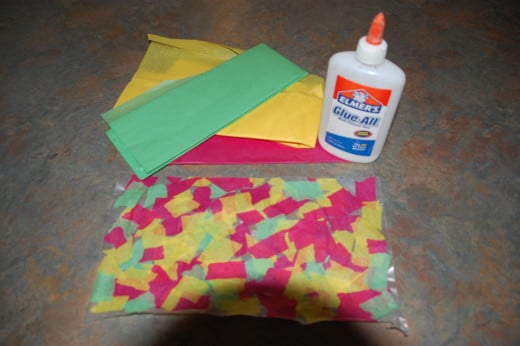
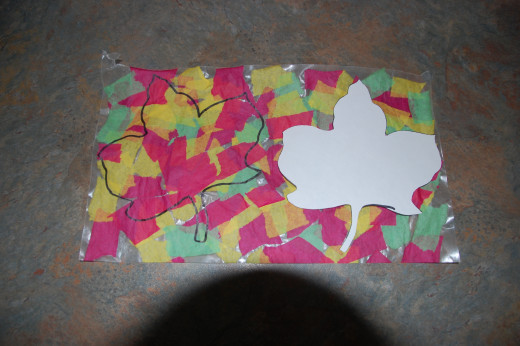
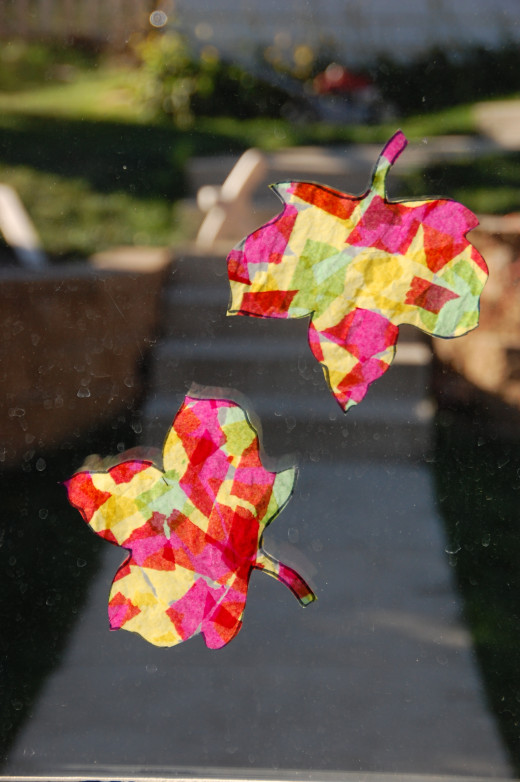
- The stained glass leaves take a few steps. First you need to tear small pieces of fall colored tissue paper to use. Then the pieces of tissue paper are adhered to a piece of waxed paper with a thinned out glue mixture. This mixture is made with equal amounts of water added into Elmer's white glue (a one to one ratio). We used a paintbrush to "paint" the glue mix onto the tissue paper pieces as each piece was placed on the wax paper. They were placed randomly all over the waxed paper. The piece will be very saturated when it is covered with the tissue pieces and needs to be set aside to dry on a wire rack. At home, I used to the top of the dog's crate as the drying rack.This was allowed to dry overnight. The next day I helped the kids trace leaf stencils (I made these out of heavier stock paper) onto the dried paper. We then cut them out and hung the leaves on the windows as suncatchers. These turned out really beautiful!

