Fun Scarecrow Crafts for Kids
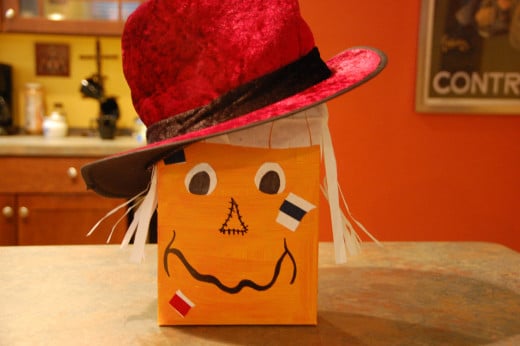
It's that time of the year! The end of season harvest has happened and corn mazes abound. So do scarecrows! I made these scarecrow crafts with my daughter and my kindergarten and first grade students. The cereal box scarecrow was painted by myself and my daughter helped me glue on the eyes and patches around his face. I made him to take into my classroom as a decoration for the fall.
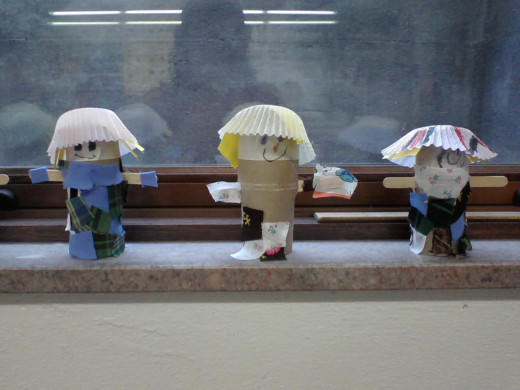
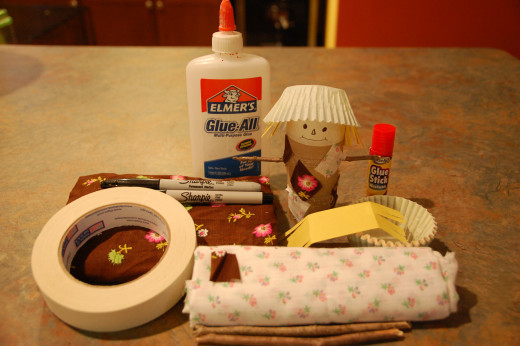
The toilet paper scarecrows were made by my students at school. They can be used as adorable fall decorations at their house in the years to come and they absolutely loved making them. My older students actually want to make some also, but I had them work on another project the same day. I will have them make a doll of some sort in the near future with the cardboard cores.
These are both great projects to make and are easily personalized. I think I actually have a mad hatter hat on the scarecrow centerpiece. I had intended on using a straw hat, but fell in love with the velvet one at the store instead.
Instructions
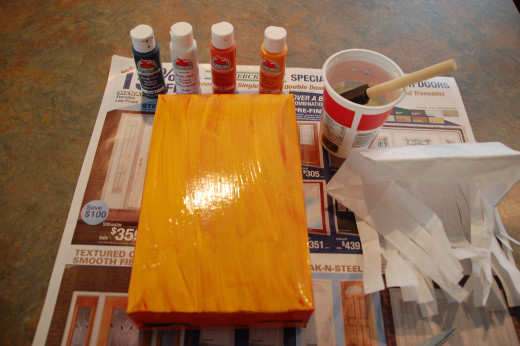
- Paint a cereal box with your choice of fall colors (think orange and brown). I started with a spray painted coat of deep orange. I then used a sponge brush and acrylic craft paint in a lighter shade of orange to cover the spray paint layer.
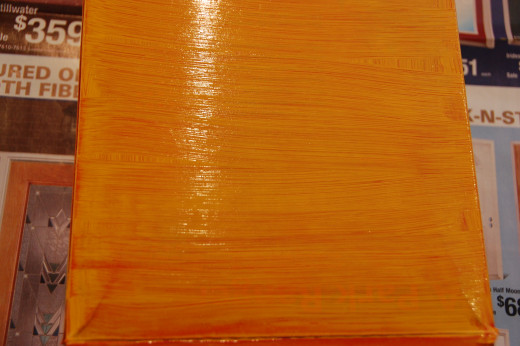
- I used the brush in one direction for the first coat. I then allowed that to dry. After the first layer dried, I painted another layer in the opposite direction, perpendicular to the first layer. This helps give the cereal box the cross-hatch look of burlap.
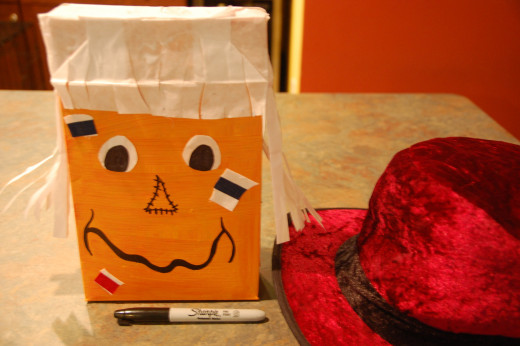
- I then used a Sharpie marker to draw the nose and mouth of the scarecrow. I cut two circles out of white paper for the eyes and drew the pupils on with the Sharpie.
- I used a white paper bag for the hair of the scarecrow and cut hair strands into the bag. I then glued it onto the cereal box with Elmer's white glue.
- Finally, I cut fabric scraps apart into various sized squares. My daughter then helped me decorate the scarecrow with patches by gluing them all over the box with Elmer's glue. The hat is the final touch, use whatever kind of hat that you like.
- For the toilet paper roll scarecrows, you must first cut slits into both sides of the roll. This is where you place the arms. At home, I used a twig for the arms, at school I used craft sticks for the kids. As each child finished pushing the craft stick down into the slit, I wrapped masking tape around the top. This holds the stick in place and gives definition to where the face can be drawn. My students used markers and crayons to draw the faces onto the scarecrow.
- I gave the students various pieces of fabric that I had already cut into small squares. They glued these all over their scarecrows to dress them. Some students even put mittens on their scarecrows!
- I had about 3-4 inch long yellow pieces of construction paper cut for the scarecrows hair. I fit the pieces onto the tube and folded them down, then cut fringe for the hair. The students put a little glue from a glue stick on the edge of the cardboard core, placed the hair on, and then I helped them put a small piece of tape on the back to hold the hair in place better. On top of the hair I put a loop of masking tape and then had the students place the paper cups upside down for hats. Some students decorated their hats before placing them on the scarecrow. The masking tape loop holds the hat onto the hair. I even had one student put his paper cup on right-side up and that was cute, too.
