Making Fun Stationery Designs
Now that the Internet has been around for a couple of decades, people are tired of social networking 24/7. In the age of Instagram, some will find it is surprising that there are actually a few people who want to get back into old fashion letter writing. With social networking most replies are instantaneous, and there is never this waiting or anticipation period before a letter arrives. Part of the fun of writing letters is that you can actually look forward to checking your mail once a week or so, and it will not simply be filled with junk mail. If you enjoy drawing then you can create your own stationery with blank cards purchased from a craft store. All you need for this project is:
- a package of blank cards
- colored pencils
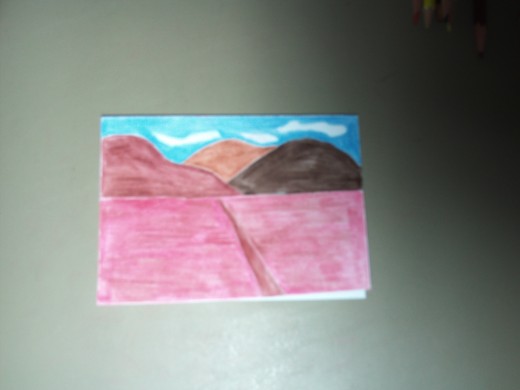
One of the things I enjoy doing is drawing pictures on cards for my friends. Sometimes I draw an elaborate picture that I could spend days on, but other times it is a simplistic picture that just comes to me. For this project I decided to create a simple desert landscape. As you can see drawing a picture on a card can be simple, fun, complicated, easy, detailed, or anything that you want the illustration to be. Here is what I did for this project:
Step One: Find A Blank Card
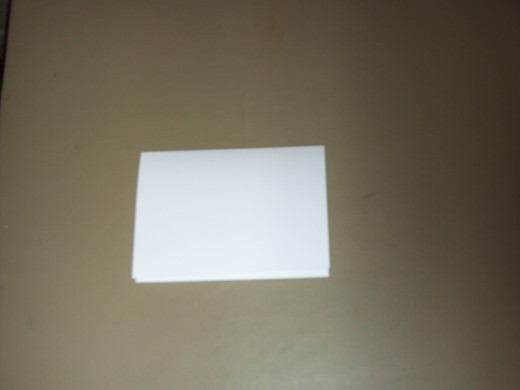
For this project I already had purchased a package of blank heavy-duty cards, but you can buy a package of cardstock and cut the cards down to the size you prefer to make your own. Also, any blank piece of computer paper would work well for your project, so just decide what you want to use. I am not rigid when it comes to doing arts and crafts activities and I like to use whatever I have on hand.
Step Two: Use A Ruler To Create Your Horizon Line
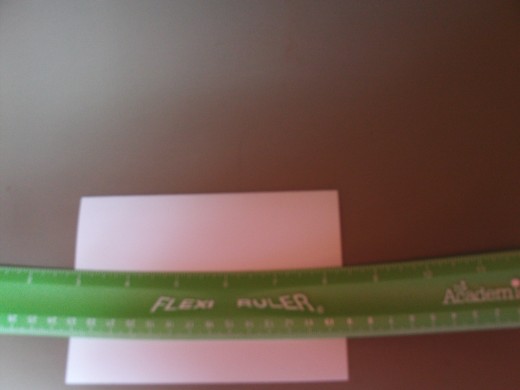
A ruler is a good tool for create a quick and accurate horizon line on your drawings. Sometimes I do not use a ruler, other times I do. I just always love having a straight edge for making straight lines because it saves time when you are making a quick sketch.
Step Three: Add Some Mountains
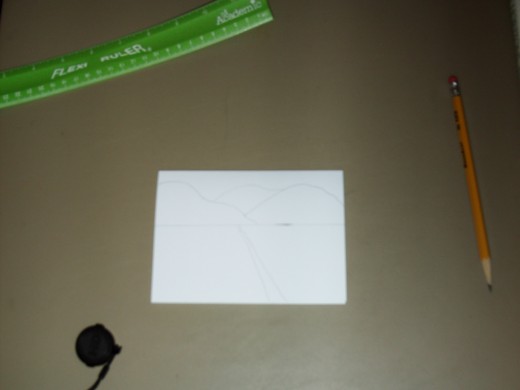
For this project I am making a Southern California desert scene, so I decided to add a few mountains to the background of this perspective drawing. I love how trails and roads disappear in the distance out in the deserts of California, and it brings back many good memories of hiking out in the desert with my family. We used to go on four wheeling and hiking trips, and I captured many scenes such as this one with my camera.
Step Four: Add Colors To The Picture
In this YouTube video I show how I begin to add the color to the sky. Also, I suggest places you can buy cardstock if you want to make cards by hand. The idea of this first short video is to get over your fear of adding color to the page and just do it! It is your creation and it will be unique from start to finish.
Step Five: Adding More Color
In this video clip I am showing the finishing touches of adding more color to the card. I like how the trail is heading into the horizon, which creates a vanishing point and gives more depth and perspective to this quick drawing. I only spent a few minutes on this picture, but you can spend as much time as you like when it comes to drawing a picture on your own card.
Step Six: Finish Adding Color To Your Card
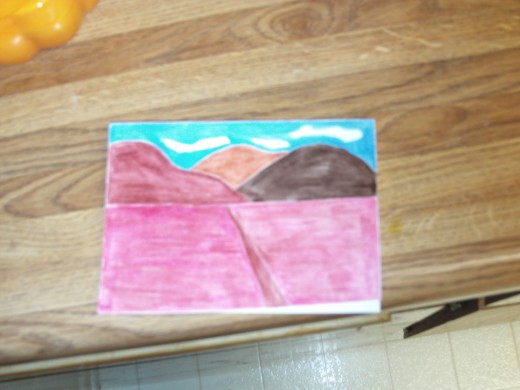
The card is finished and now I am ready to write a short note on the inside to my friend. Sometimes I like to draw pictures on the inside to, but most of the time I just leave the inside blank so I can write a short letter to my friend. The purpose of this activity was to demonstrate how easy it is to make your own card and now you can use the two dollars that would usually spent on a card for something else. Maybe you can use it for postage and send more cards this way!

