Getting Started: Materials

Basic Materials to Get You Started
Mosaics are unique to each artist that creates them. I will be giving you examples of the methods that I use and what works for me. Many books on mosaics use different materials, methods, etc. It is up to you to try them out and decide for yourself what you like best!
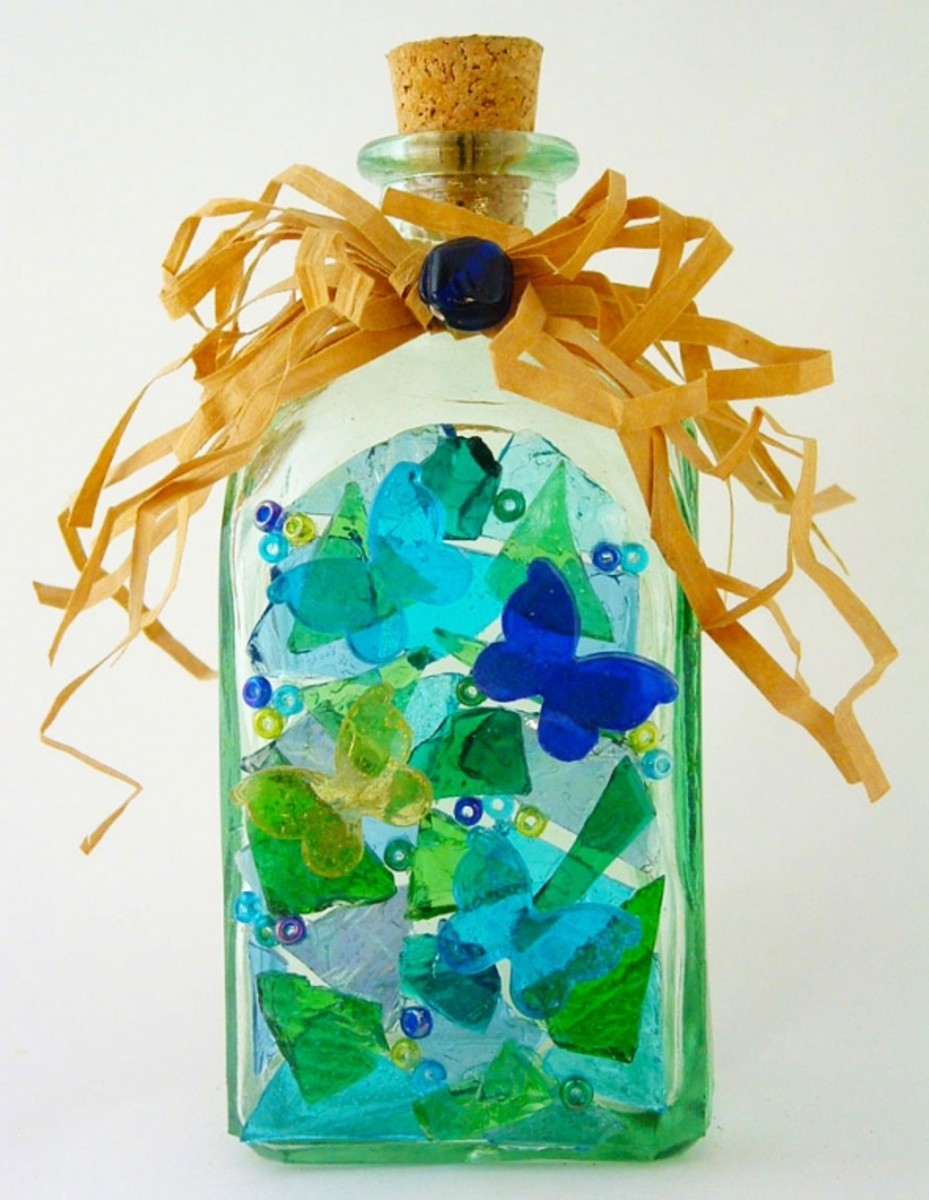
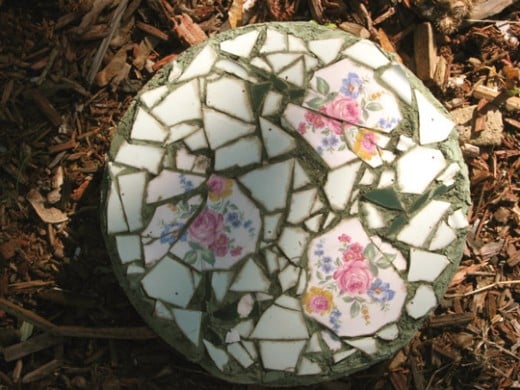
For your projects, you can virtually use anything that can be glued to a backing! Broken china, dishes, ceramic tiles (floor, wall), stained glass pieces, shells, pebbles, crockery are some of the various materials used in mosaic creations.
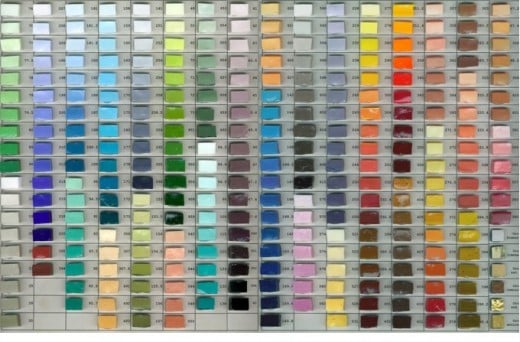
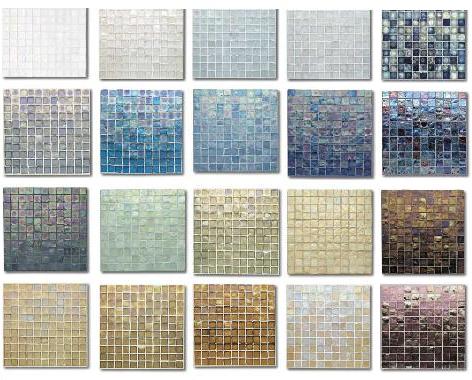
Over the years, I have used ceramic tiles for many of my creations. Ceramic tiles can be bought individually at your local hardware, flooring or any other speciality store. Many of these places keep opened boxes that you can buy individual tiles instead of buying a full box. Depending on how much you need of a certain colour for your project, this is the best way to go! I also go around to the ceramic flooring stores and ask them for their sample boards. Stores change their samples often and when they do, they simply throw them away! I have speciality places that call me when they have several sample boards ready to be thrown away and I pop over and pick them up!
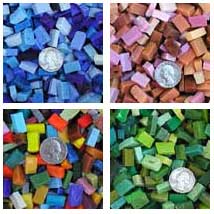
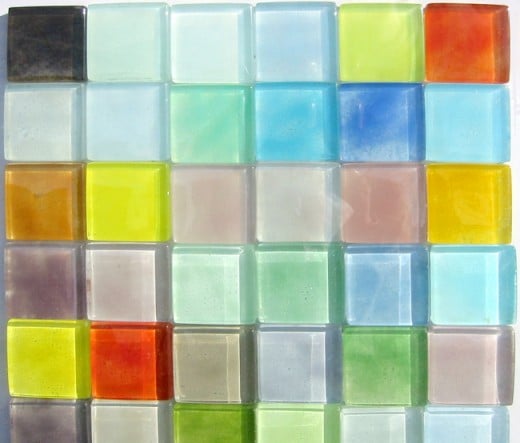
I also buy Mexican tiles (or they can be under another name) on EBay. These are industrial thin wall tiles that are damaged and broken and are sold in wholesale quantities on eBay for cheap! I also buy stained glass pieces this way from stained glass speciality stores that sell their used scraps through EBay! Some of the sellers even tumble the glass shards so that they are not sharp and cutting. You can also buy vitreous glass tesserae which are small squares of manufactured glass tiles corrugated on the back to be easily glued and can range from 1/4'' to 3/4'' in various colours. This is one of the most popular materials for making mosaics. It is very hardwearing and excellent for outdoor projects!
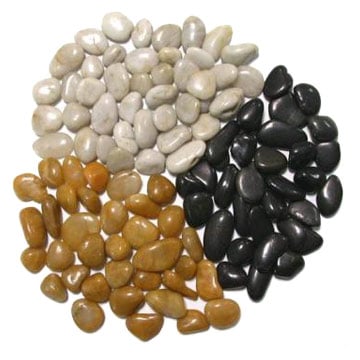
I also use pebbles and stones in some of my projects. You can buy beautiful tumbled pebbles and larger tumbled stones in various colours at your dollar store or Wal Mart! I also use those rounded glass pebbles you can buy at Wal Mart, dollar or craft stores that people use to put into aquariums and potted plants! The sky is the limit!
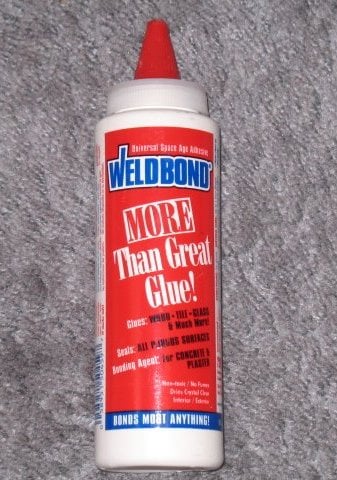
For indoor mosaics, I use Welbond white glue that you can buy at the hardware or Wal Mart (Wal Mart is usually a little cheaper!). This is non-toxic white glue that has a super, waterproof bond when dried for more than 24 hours. I have been using this for years and highly recommend it. Even if I am doing projects for clients that are to be inserted into walls or floors using a fibreglass mesh, I still use Welbond to glue my work onto the mesh.
For tools, I'm pretty basic here. I use a hammer to break up my pieces of ceramic. When doing this, I always use an old towel to cover the tile as not to receive a shard in the eye! This is dangerous, so be careful.
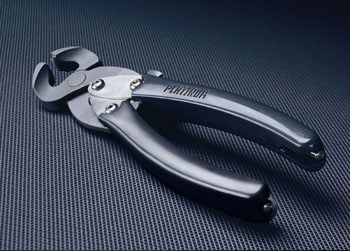
For nipping the ceramic, I use tile nippers that you can buy at any hardware store. You can buy several sizes; I work with a medium sized one, sometimes with a larger one to nip my floor tiles, which are much thicker and harder. You can use machines or saws also, but I never have due to the fact that I want to keep the artwork hand-made and not machined as many flooring stores offer.
For backing, depending on the project. I usually, once again, pick up the scraps that they sell at the local hardware store in the cutting section. This may be MDF, HDF board, plywood (1/8'' to 1/4'') . I also go to a local carpentry store where they make cupboards and buy various cupboard doors that are framed in real hardwood. The base of the cupboard is usually wood veneered plywood and is excellent for gluing your mosaic to. When the project has been completed, you can varnish or stain the hardwood frame and it is ready to be hung like a picture! I also go to the used goods store and pick up old picture frames (I discard the pictures when I get home) and strip/sand the frames and glue plywood or mdf backing to them to create once again, panels to make my projects with. Use your imagination!
For grouting my project, once finished, I use a sanded grout. Over the years, I have found the sanded grout to be the easiest grouts to work with. For indoor projects, I use the sanded grouts they sell at the hardware store in the various colours available. The unsanded grout I use very rarely, except once in a while for stained glass mirrors where the tile spacing is very small. The reason is because it is much harder to work with. Sand in the grout is great because it will fill in the gaps better; leaving no bubbles or missed spaces...unsanded grout is less forgiving. Once you get enough experience under your belt, try the unsanded grout.
If doing an outside project, be sure to buy a grout for the outdoors, same with the adhesive. I usually use a cement-based adhesive that will be able to take the freezing and extreme temperatures in my part of the world!
The next section will deal with creating your first mosaic!
© 2008 K D Martel


