Getting Started: Step 2 Grouting your Mosaic Project
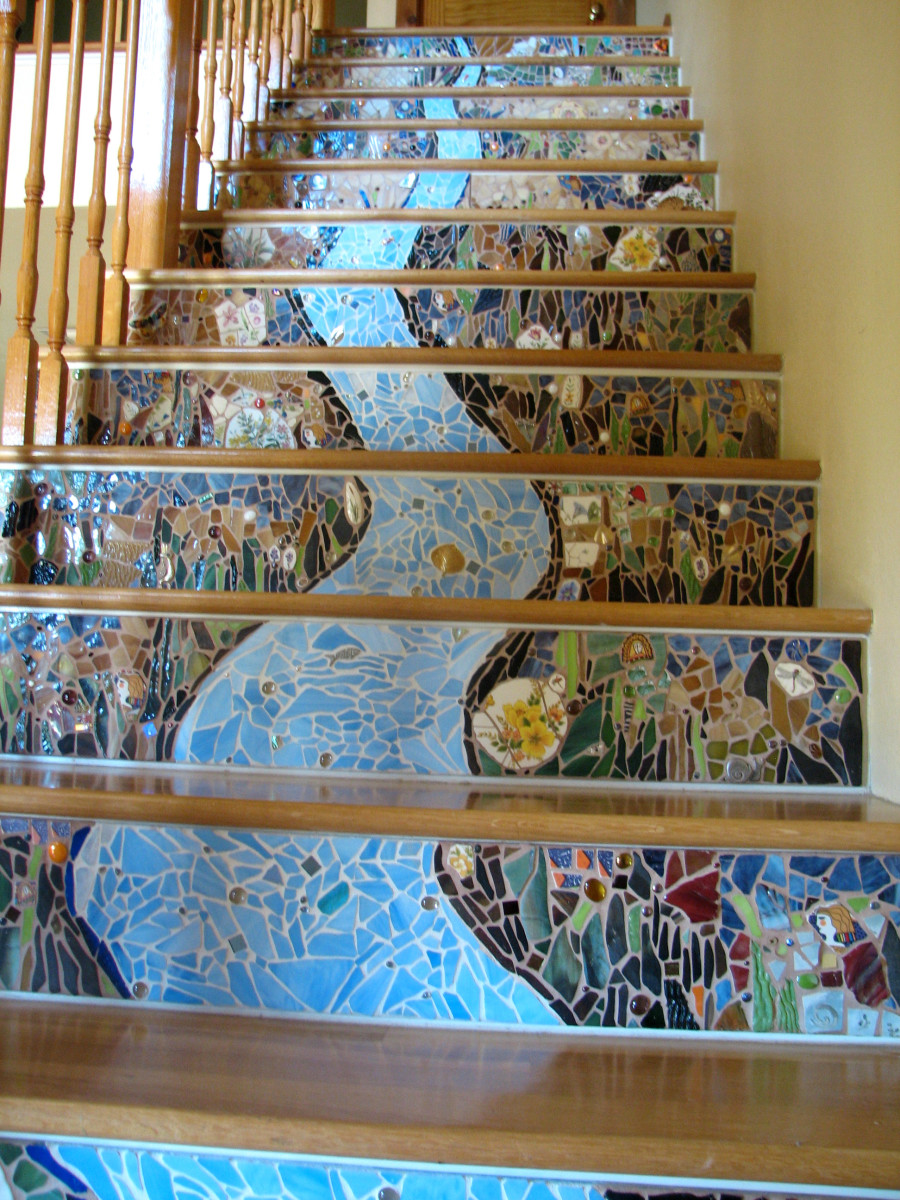
finished pieces
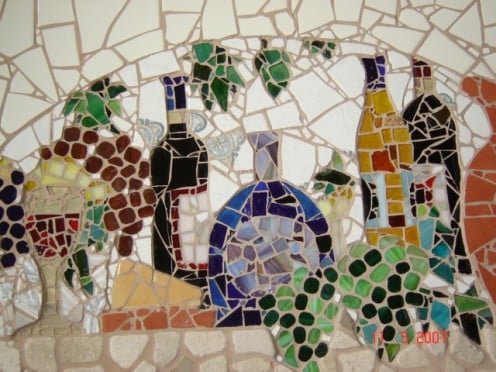
Final Step: Grouting Your Mosaic Tile Project
Sorry to all for not continuing much sooner, lots of things going on in my life! Lol
The final step to creating your mosaic tile project is to grout it. Now that you have waited at least 24 hours for the glue to properly bond and dry, the fun begins! Normally, when I've been working on a project, I don't really realize the beauty of the piece UNTIL it's been grouted!! The grout finalizes the piece and brings it all together, and then, the "Wow" factor kicks in; did I really create this wonderful work of art all by myself??
For starters, I won't bore you all with the different types of grouts out there. Going along my experience, I'll tell you what works the best for me and it's up to you to decide what you want to use. Experiment!!
I usually buy my grout in 10 lb. bags and the local hardware store. For most of my projects, I go with a silver grey which I find is the most neutral and sets off the piece beautifully. A good point to remember is that the lighter coloured your grout (or cement) is, the more it will draw attention to the eye and isolate the individual mosaic tiles. What you really want is for the eye to see the mosaic piece as a collective image. By using a neutral colour grout, you will achieve this. Of course, you can use other colours, but make sure that they are neutral so that the whole artwork flows as a visual piece. Example, if you make a piece and there is a lot of reddish, sand, beige colours, a light terra cotta grout would do fine and the final effect will be flowing and beautiful to look at.
Now, back to the grout. Experience has taught me this: go with the sanded grout!! Even though they say that the sanded grout is good for tiles placed more than 1/8'' apart, even if you have a smaller spacing, this will do fine. The reason is that sanded grout is MUCH easier to work with than unsanded grout. The grout, being sanded, rarely creates air bubbles, much easier to mix, spread and clean. Unsanded grout is very touchy, it takes longer to set, is much more fragile when cleaning and takes much more grout to fill in the spaces. Often after having cleaned off your work, you'll notice air bubbles that have formed and are difficult to get rid of and can ruin a nice piece of art! So, practice with the unsanded grout until you are a pro, then if you want to try unsanded, go ahead. Try to use it on a piece that has very small spacing, like stained glass mosaic tiles. Even then, with the years, when I do stained glass tiles with extremely small spacing, I will use unsanded grout because the finishing is much finer..but there is more work involved. I still use sanded grout on most of my stained glass works.
Mix your grout as per the manufacturer's instructions. Once the mix is ready to use, you have to work fast because it does set rather quickly. I use a large rubber spatula to spread the grout over the mosaic. You can buy these at the dollar store in various sizes which is excellent when you have smaller works of art to grout. The rubber is pliable and pushes the grout easily into the spaces between the tiles. Once you have slathered the grout over the tiles (don't forget to tape areas such as frames, mirrors, etc) remove the excess with your spatula the best you can until the surface of the tiles are pretty free of grout. I usually wait about 10-15 minutes depending on the manufacturer's instructions for cleaning the grout off the tiles with a sponge.
I usually collect all my used kitchen sponges to clean my mosaics after grouting. I usually put on a pair of latex gloves because the grout is caustic and will dry your hands to kindling if you don't! I take a bucket of warm water and using the sponge (remove the excess water) I begin cleaning the grout off the tiles, taking care as not to push the sponge into the cracks between the tiles or else you will remove the wet grout there and cause a hole! When the sponge is full of grout, rinse it, and continue wiping until the tiles are pretty much clean. Then put the work aside to dry for a while. I usually wait an hour or so before cleaning the piece more thoroughly.
Depending on your work of art, sometimes you will notice that smaller or uneven tiles become hidden with the grout and you might have to dig them out! Now, since the grout has hardened, you will have to take a tool of some sort and scrape the grout away to reveal the tile. I sometimes use clay wire tools to scrape away the cement IF I'm sure that the tile will not scratch. Most of the time, though, I will use hard plastic sticks (like my daughter's used Nintendo DS sticks, or my favourite, those plastic pointy containers that they put cut flowers in to preserve them! ) Use your imagination! This way, I am certain as not to scratch the ceramic, especially if it's wall ceramic with a delicate finish. Once you have cleaned off the tiles to your satisfaction, scrub it with a soft brush to polish it and a cloth to buff away the cloudiness that forms on the tiles. You will be amazed at how good your mosaic looks and wonder how the heck you did that!!
The final step is depending on how you are finishing it, is to stain and varnish your frame if you have created it this way.
I will be returning with how to create stained glass mosaics which are a little bit different from the ceramic method.
© 2008 K D Martel

