- HubPages»
- Arts and Design»
- Drawing»
- Drawing Tutorials
Drawing Technique - Grid
My Work
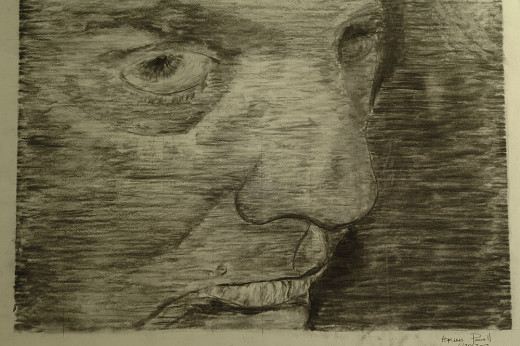
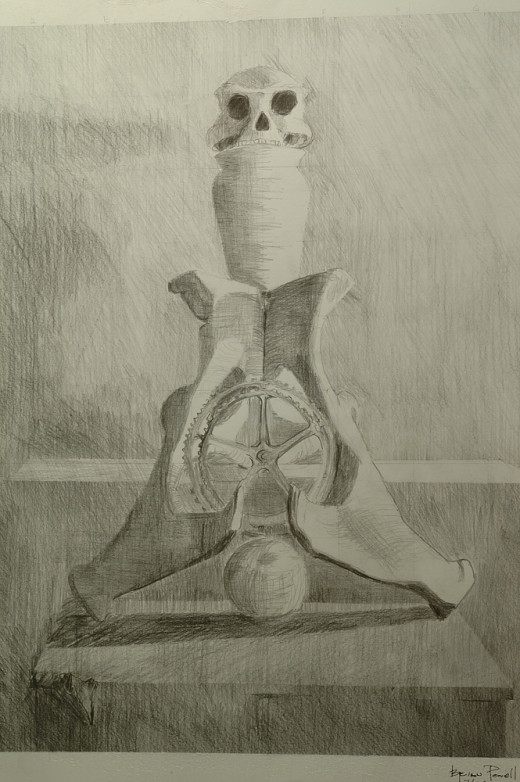
Intro
I picked up this technique in a basic drawing class. This technique is very use full, if you are working toward a realistic style in your drawing and like to work from photographs. (Photographs are much cheaper than models.)
Renaissance artists used a similar drawing technique in which a model is viewed through a wire grid which forces the artist to concentrate on the drawing image rather than what the artist, usually an apprentice, thinks the subject should look like.
Here is some advice: Don’t rush through the preparation stage.
Equipment Needed
You will need the following items
- One picture 8-1/2 x 11 inches - I use a jpeg to print a black and white copy on regular paper at a copying machine. The paper is easier to draw on and I don’t need the super details on photo paper for this type of drawing.
- On sheet of drawing paper 18 x 22 inches – Get a good quality paper appropriate to your medium. Charcoal will need a rougher surface than graphite.
- Pencil – This is for drawing on the smaller sheet of paper
- Knead it Eraser – This is my preferred eraser because it does not damage the surface of the paper as much.
- Drawing Board – It is important to keep the paper stable so attach the drawing to the board. I use painter’s tape which can be found in most hardware stores. Drafting tape works but you have to go to an art supply store and it is getting harder to find.
- Optional: An easel makes this much easier, but that is an expensive tool. The still life drawing was done primarily at a table, so it can be done.
- Drawing Medium – Charcoal, pencil, ink. Chuck Close is an artist that uses a variation on this technique in oil painting. He is worth checking out on You Tube.
Drawing Steps
- Select your photograph. If you are so inclined, take photos specifically for this project. Pay attention to composition and lighting. This is the foundation image for your drawing. A strong photograph will make a strong drawing.
- Print the photo.
- Draw a one inch by one inch grid over the photograph. It should be eight inches by ten inches. Make sure that the grid is perpendicular and accurate. The grid will not fit the paper and will need to be centered over the image. I like to leave margins on the final drawing. They allow for handling without smearing the mediums.
- Draw a two inch by two inch grid on the larger sheet of drawing paper. It should be sixteen inches by 20 inches. The number of grids must match the smaller drawing. Center the margins. I usually leave a larger margin and the bottom of the drawing. That is a style adjustment that you may or may not like.
- Using the photograph as the model draw what is in each square. Start in the upper left hand corner and work diagonally across the paper. Reverse the direction if you are left handed. If you have trouble concentrating square by square the find a way to cover what you are not working on.
Be patient. This technique will take more than one day, even if you have nothing else to do. This is not an easy technique and it’s forcing your brain to process information differently. I warm up with a few quick sketches of something else before working on my drawings.
© 2014 Brian L. Powell

